360-degree cameras are becoming increasingly popular as people look for new and innovative ways to capture their surroundings. These cameras offer a unique perspective that traditional cameras simply cannot match, allowing you to capture everything around you in a single image or video. While there are many 360-degree cameras available on the market, they can be quite expensive, making them out of reach for many people. However, with the rise of DIY culture, it’s now possible to build your own 360-degree camera at a fraction of the cost of a commercial camera.
Building your own 360-degree camera may seem daunting at first, but it’s actually a relatively simple process. You’ll need a few basic components, including a camera, a lens, and a way to mount everything together. There are many different ways to build a 360-degree camera, and the exact components you’ll need will depend on the specific design you choose. However, with a little bit of research and some basic DIY skills, you can create a camera that’s capable of capturing stunning 360-degree images and videos.
Key Takeaways
- You can build your own 360-degree camera at a fraction of the cost of a commercial camera.
- Basic components you’ll need to build a DIY 360-degree camera include a camera, a lens, and a way to mount everything together.
- With a little bit of research and some basic DIY skills, you can create a camera that’s capable of capturing stunning 360-degree images and videos.
Understanding 360 Degree Cameras
https://www.youtube.com/watch?v=xqWkJJOcU4g&embed=true
If you are interested in photography and want to take your skills to the next level, then you might want to try your hand at creating a DIY 360 degree camera. But before you jump into building one, it’s important to understand the basics of 360 degree cameras.
Camera Basics
A camera is a device that captures images by recording light. Traditional cameras capture images in a flat, two-dimensional format. A 360 degree camera, on the other hand, captures images in a spherical format, allowing you to see everything around you.
A 360 degree camera typically has two or more lenses that capture images from different angles. These images are then stitched together to create a single, seamless image that covers 360 degrees.
360 Camera Technology
Image sensors and lenses are two of the most important components of a 360 degree camera. The image sensor captures the light that enters the camera, while the lens focuses that light onto the sensor.
One of the most popular types of image sensors used in 360 degree cameras is the CMOS sensor. This type of sensor is known for its low power consumption and high image quality.
When it comes to lenses, 360 degree cameras typically use fisheye lenses. These lenses have a wide angle of view, allowing them to capture more of the surrounding environment. They also tend to have a distorted image that is corrected during the stitching process.
In conclusion, understanding the basics of 360 degree cameras is essential if you want to create your own DIY 360 degree camera. By knowing how cameras work and the technology behind 360 degree cameras, you’ll be better equipped to build your own camera and capture stunning images.
DIY 360 Degree Camera Overview
https://www.youtube.com/watch?v=vaogtrRmAuI&embed=true
« How to Use a 360 Camera: A Beginner’s Guide
How Much Does a 360 Degree Camera Cost? Find Out Here! »
If you’re interested in capturing 360-degree photos and videos, you don’t necessarily have to spend a lot of money on expensive cameras. With a little bit of DIY know-how, you can create your own 360-degree camera for a fraction of the cost. In this section, we’ll give you an overview of what’s involved in building your own DIY 360-degree camera.


Benefits of DIY
One of the main benefits of building your own 360-degree camera is that it can save you a lot of money. Commercial 360-degree cameras can be very expensive, but by building your own camera, you can save hundreds or even thousands of dollars.
Another benefit of building your own camera is that it can be a fun and rewarding DIY project. You’ll learn a lot about cameras, electronics, and optics, and you’ll end up with a camera that you can be proud of.
Required Skill Set
Building a DIY 360-degree camera requires some basic skills in electronics, optics, and programming. You’ll need to be comfortable soldering and wiring components, and you’ll need to understand the basics of optics and lenses. You’ll also need to be comfortable working with Raspberry Pi or Arduino programming.
If you’re not comfortable with these skills, don’t worry. There are plenty of tutorials and resources available online that can help you learn what you need to know. You can start with Tinkernut’s tutorial on building a DIY 360-degree camera for under $50. This tutorial provides step-by-step instructions on how to build your own camera using a Raspberry Pi and a USB camera.
In summary, building your own DIY 360-degree camera can be a fun and rewarding project that can save you a lot of money. With the right skills and resources, you can build a high-quality 360-degree camera that can capture stunning photos and videos.

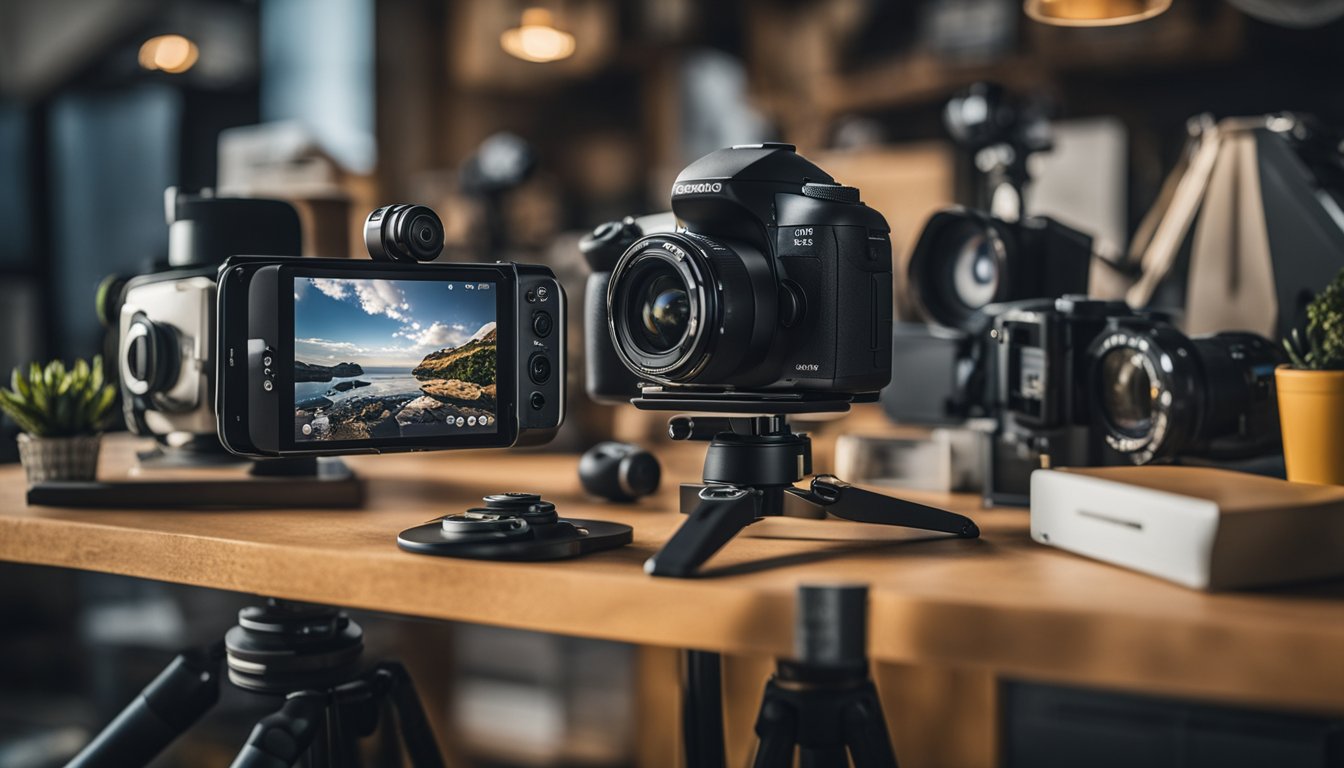
Choosing the Right Components
https://www.youtube.com/watch?v=5MvtlBYOFHg&embed=true
When it comes to building your own 360-degree camera, selecting the right components is crucial. In this section, we’ll go over some key considerations to help you choose the right cameras and processing unit for your DIY project.
Selecting Cameras
The cameras you choose will have a significant impact on the quality of your 360-degree footage. You’ll want to select cameras that are high resolution and can capture a wide field of view. Some popular options include the Raspberry Pi camera module and the Terasic DE10-Nano FPGA development board.
The Raspberry Pi camera module is a compact camera that can capture high-quality images and video. It’s easy to use and relatively inexpensive, making it a popular choice for DIY camera projects. The Terasic DE10-Nano FPGA development board, on the other hand, is a more advanced option that provides greater flexibility and control over the camera system. It’s a bit more expensive, but it’s a great choice for those who want to customize their camera system.
Choosing a Processing Unit
Once you’ve selected your cameras, you’ll need a processing unit to handle the data. The processing unit is responsible for stitching together the images from the cameras into a single 360-degree image or video. One popular option is the Cyclone V SoC, which is a powerful system-on-chip that can handle complex image processing tasks.
The Cyclone V SoC is a great choice for those who want to build a high-performance 360-degree camera system. It’s a bit more expensive than some other options, but it provides a lot of flexibility and power. If you’re looking for a more affordable option, the Raspberry Pi is also capable of handling basic image processing tasks.
Overall, selecting the right components is essential for building a high-quality DIY 360-degree camera. By choosing the right cameras and processing unit, you can ensure that your camera system is capable of capturing stunning 360-degree footage.
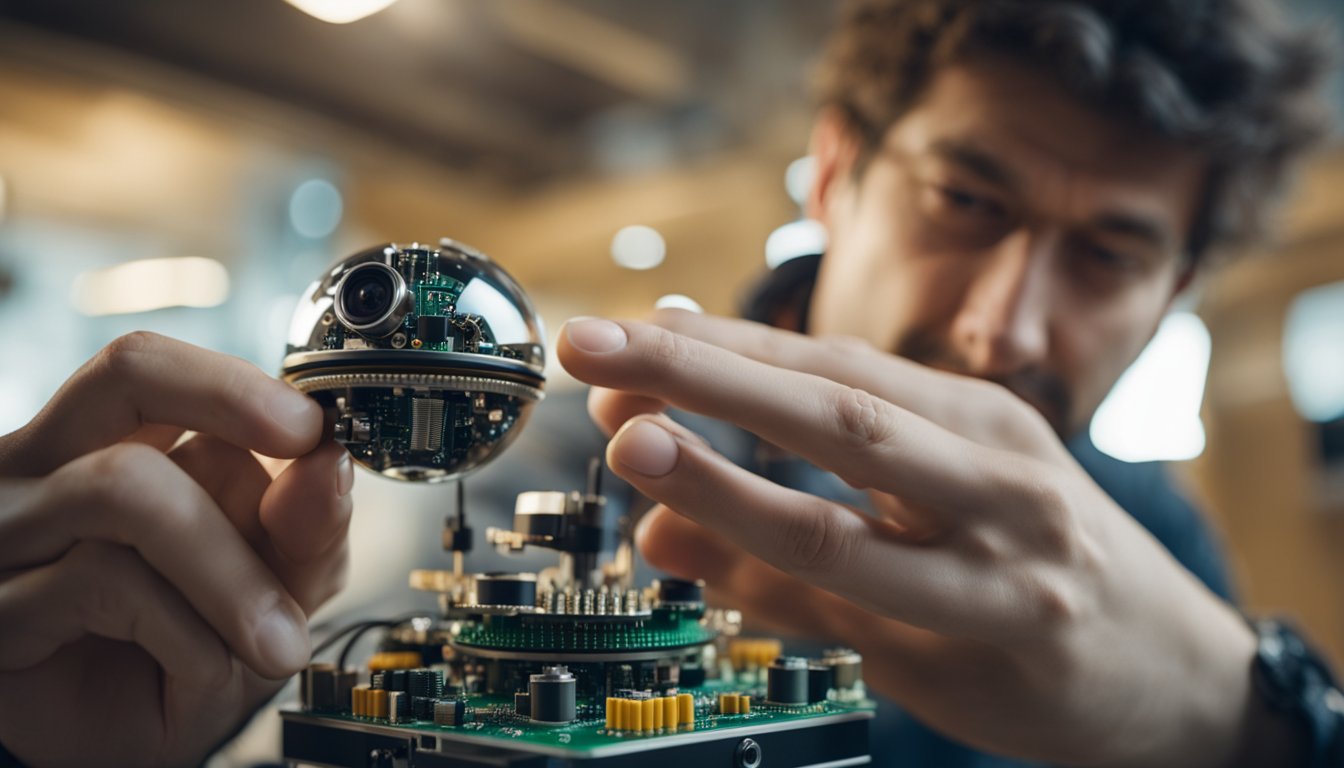
Building the Camera Rig
https://www.youtube.com/watch?v=I4V85zGbRLM&embed=true
Building your own DIY 360 degree camera rig can seem like a daunting task, but with the right tools and resources, it can be done with ease. In this section, we will cover the two main aspects of building the camera rig: designing the rig and 3D printing the parts.
Designing the Rig
The first step in building your own camera rig is to design it. This involves deciding on the size, shape, and materials of the rig. You can use a 3D modeling software such as Tinkercad or Fusion 360 to design your rig. Make sure to take into account the size of the omnivision ov5642 camera modules that you will be using and leave enough space for them.
When designing the rig, it is important to consider the weight distribution of the rig. You want to make sure that the rig is balanced and stable when rotating. You may also want to consider adding a handle or tripod mount for easier use.
3D Printing Parts
Once you have designed your camera rig, the next step is to 3D print the parts. You will need access to a 3D printer and the necessary filament. PLA is a good choice for printing the parts as it is easy to print and strong enough for the job.
Make sure to print each part with the correct settings and orientation. You may also want to print a few extra parts in case of any mistakes or failures.
After printing the parts, it is important to assemble them correctly. Follow the instructions carefully and make sure all parts fit together snugly. You may need to use screws or other fasteners to secure the parts together.
In conclusion, building your own DIY 360 degree camera rig requires some design and 3D printing skills, but with the right tools and resources, it can be done with ease. By following the steps outlined in this section, you can create your own camera rig and start capturing amazing 360 degree videos.
Setting Up the Software
https://www.youtube.com/watch?v=MShyZfczPuU&embed=true
Once you have assembled the hardware components of your DIY 360-degree camera, the next step is to set up the software. This involves choosing the right operating system and camera control software.
Operating System Choices
There are several operating systems you can choose from to run your DIY 360-degree camera. One popular option is Linux, which is free and open-source. Linux offers a wide range of software tools for image processing and computer vision, which are essential for creating and manipulating 360-degree images.
Another option is Windows, which is widely used and has a large user base. However, Windows is not free and may require a more powerful computer to run smoothly.
Camera Control Software
Once you have chosen your operating system, the next step is to install camera control software. There are several options available, including OpenCV and SimpleCV.
OpenCV is a popular computer vision library that provides a wide range of tools for image processing, including features like object detection and tracking. OpenCV is available for multiple operating systems and can be integrated with several programming languages, including Python and C++.
SimpleCV is another option that provides a higher-level interface for image processing and computer vision tasks. SimpleCV is built on top of OpenCV and provides an easy-to-use interface for capturing and processing images.
Whichever camera control software you choose, make sure to follow the installation instructions carefully and test the software to ensure that it is working correctly.
In summary, choosing the right operating system and camera control software is essential for setting up your DIY 360-degree camera. Linux and OpenCV are popular choices, but there are several other options available depending on your needs and preferences.
Capturing the Images
https://www.youtube.com/watch?v=cRzBL4fhDnM&embed=true
To capture 360-degree images, you need to synchronize multiple cameras and adjust the focus and aperture settings. Here’s how to do it:
Synchronizing Cameras
If you’re using multiple cameras, it’s important to synchronize them to ensure that they capture the same images at the same time. You can use a remote trigger to take the pictures simultaneously or use a software solution to trigger all cameras at once.
Adjusting Focus and Aperture
To get the best results, you need to adjust the focus and aperture settings of your cameras. The focus determines which part of the image is in sharp focus, while the aperture controls the amount of light that enters the camera.
To get the best focus, you can use a manual focus lens or a lens with autofocus capabilities. Make sure that the lens is set to the correct focal length and that you’re using the right settings for the lighting conditions.
The aperture setting also affects the depth of field of your images. A larger aperture (lower f-stop number) will result in a shallower depth of field, while a smaller aperture (higher f-stop number) will result in a deeper depth of field.
In general, you’ll want to use a smaller aperture for landscapes and a larger aperture for portraits. However, this will depend on the specific scene and your artistic preferences.
By adjusting the focus and aperture settings of your cameras, you can capture high-quality 360-degree images that are sharp and well-exposed.
Stitching and Editing
https://www.youtube.com/watch?v=1idjcc2X_FU&embed=true
Creating a 360-degree camera is only half the battle; stitching and editing the video is the other half. In this section, we’ll go over the software you’ll need to stitch your footage together and how to edit it for a VR experience.
Stitching Software
To stitch your 360-degree footage, you’ll need specialized software that can handle the unique format. One popular option is Hugin, a free and open-source panorama photo stitching program. Hugin is compatible with a wide range of image formats and can stitch together multiple photos to create a seamless 360-degree panorama.
Once you’ve imported your footage into Hugin, you can use the program’s built-in tools to adjust the alignment and exposure of your shots. You can also use Hugin to export your footage in a variety of formats, including equirectangular projection, which is the most common format for 360-degree video.
Editing for VR
After you’ve stitched your footage together, it’s time to edit it for a VR experience. One important thing to keep in mind is that traditional video editing techniques won’t work for 360-degree video. Instead of cutting between shots, you’ll need to use transitions that smoothly guide the viewer’s gaze from one part of the scene to the next.
Another thing to consider is the placement of text and other on-screen elements. Since the viewer can look in any direction, you’ll need to make sure that any important information is visible from every angle.
Finally, it’s important to optimize your video files for VR playback. This means compressing your footage to reduce file size without sacrificing quality. You should also make sure that your video is compatible with the platform you’re planning to upload it to, whether that’s YouTube, Facebook, or a dedicated VR platform like Oculus.
Sharing Your 360 Videos
https://www.youtube.com/watch?v=8OMHTnapXP8&embed=true
Once you have created your DIY 360-degree camera and captured your footage, it’s time to share your videos with the world. There are several platforms available for sharing your 360 videos, and each has its own advantages and disadvantages. Here are some of the most popular platforms for sharing your 360 videos:
Platforms for Sharing
YouTube
YouTube is one of the most popular platforms for sharing your 360 videos. It supports 360-degree videos, and you can upload your videos directly from your DIY 360-degree camera or from your computer. Once your video is uploaded, you can embed it on your website or share it on social media. YouTube also allows you to monetize your videos, so you can earn money from your content.
Facebook is another popular platform for sharing your 360 videos. You can upload your videos directly from your DIY 360-degree camera or from your computer. Once your video is uploaded, you can share it on your timeline or in groups. Facebook also allows you to monetize your videos, so you can earn money from your content.
Vimeo
Vimeo is a video-sharing platform that supports 360-degree videos. You can upload your videos directly from your DIY 360-degree camera or from your computer. Once your video is uploaded, you can share it on your website or on social media. Vimeo also allows you to monetize your videos, so you can earn money from your content.
Optimizing for Web
When sharing your 360 videos, it’s important to optimize them for the web. Here are some tips for optimizing your 360 videos:
- Keep the file size small: Large file sizes can slow down your website and make it difficult for viewers to watch your videos. Try to keep your file size under 100 MB.
- Use a high-quality codec: Use a codec that supports high-quality video, such as H.264 or H.265.
- Use a high-quality resolution: Use a resolution of at least 1080p for your 360 videos.
- Use a high-quality bitrate: Use a bitrate of at least 10 Mbps for your 360 videos.
- Use a compatible format: Use a format that is compatible with the platform you are sharing your video on, such as MP4 or MOV.
By following these tips, you can ensure that your 360 videos look great and are easy to watch on the web.
Troubleshooting Common Issues
https://www.youtube.com/watch?v=RO3a6EGlQcA&embed=true
If you’re having issues with your DIY 360-degree camera, don’t worry, you’re not alone. Here are some common issues and their solutions.
Hardware Troubleshooting
Wi-Fi Connectivity Issues
If you’re having trouble connecting to your camera’s Wi-Fi network, try the following:
- Make sure you’re within range of the camera’s Wi-Fi network.
- Check that your camera’s Wi-Fi network is turned on.
- Restart your camera and try connecting again.
- Try connecting to the camera’s Wi-Fi network with a different device.
Cable Issues
If you’re having issues with your camera’s cables, try the following:
- Make sure the cables are properly connected to the camera and your computer.
- Check that the cables are not damaged.
- Try using a different cable.
Software Troubleshooting
Computer Vision Issues
If you’re having issues with your camera’s computer vision, try the following:
- Make sure your camera’s software is up to date.
- Check that your camera’s computer vision settings are configured correctly.
- Try recalibrating your camera’s computer vision.
Wi-Fi Connectivity Issues
If you’re having trouble connecting to your camera’s Wi-Fi network, try the following:
- Make sure you’re within range of the camera’s Wi-Fi network.
- Check that your camera’s Wi-Fi network is turned on.
- Restart your camera and try connecting again.
- Try connecting to the camera’s Wi-Fi network with a different device.
If you’re still having issues with your camera, try searching for solutions online or contacting the manufacturer for support.
Enhancing Your DIY 360 Camera
https://www.youtube.com/watch?v=9Nj1c4J7bE8&embed=true
If you have built your own DIY 360 camera, congratulations! You are now ready to take your panoramic photography to the next level. But did you know that you can further enhance your camera by upgrading its components and exploring advanced features? Here are some tips to help you get started.
Upgrading Components
One way to improve the quality of your 360 photos is by upgrading your camera’s components. For example, if you used a Raspberry Pi camera to build your DIY 360 camera, you can consider upgrading to a higher resolution camera module such as the Raspberry Pi High Quality Camera. This will allow you to capture more detailed panoramic photos.
Another option is to use a Kogeto Dot lens attachment, which can be attached to your smartphone’s camera to capture 360-degree photos and videos. The Kogeto Dot works by using a spherical mirror to reflect light onto your camera’s lens, allowing it to capture a full 360-degree view.
Exploring Advanced Features
Once you have upgraded your camera’s components, you can start exploring advanced features to take your panoramic photography to the next level. For example, you can experiment with different exposure settings to capture photos with better lighting, or use filters to add creative effects to your photos.
If you are interested in virtual reality (VR) photography, you can also explore using your DIY 360 camera to capture VR photos and videos. You can then view your VR content using a VR headset such as the Oculus Quest or Google Cardboard.
In conclusion, upgrading your camera’s components and exploring advanced features can help you take your DIY 360 camera to the next level. Whether you are looking to capture higher quality panoramic photos or experiment with VR photography, there are many options available to help you enhance your camera.
Projects and Inspirations
If you’re looking for inspiration for your DIY 360-degree camera project, you’re in luck. There are plenty of community projects and innovative uses for this technology to help guide you.
Community Projects
One popular community project is the Kogeto Panoramic Camera. This camera attaches to your smartphone and allows you to capture 360-degree panoramic videos and photos. It’s a great option if you’re not looking to build your own camera from scratch.
Another community project is the Open Spherical Camera API. This open-source project provides a standard way to control 360-degree cameras and process their output. It’s a great resource if you’re looking to build your own camera and want to ensure compatibility with other software.
Innovative Uses
360-degree cameras can be used for more than just capturing panoramic photos. One innovative use is in the field of stereoscopic 3D. By using multiple cameras and stitching their output together, you can create a 3D environment that can be viewed in 360 degrees.
Another innovative use is in the field of virtual reality. By capturing 360-degree video, you can create immersive experiences that make the viewer feel like they’re actually there. This technology is being used in everything from video games to real estate listings.
No matter what your project entails, there are plenty of resources available to help guide you. From community projects to innovative uses, the possibilities are endless with DIY 360-degree cameras.
Frequently Asked Questions
How can I build my own 360-degree camera rig?
Building your own 360-degree camera rig can be done with some basic tools and materials. You can use a fisheye lens or multiple cameras to capture a full 360-degree view. You can also use a motorized turntable to rotate the camera for panoramic shots. Check out this guide for a step-by-step process on building your own 360-degree camera.
What materials do I need to create a DIY motorized turntable for 360 photography?
To create a DIY motorized turntable for 360 photography, you will need a stepper motor, a motor driver, a power supply, and a turntable. You can also use an Arduino or Raspberry Pi to control the motor. Check out this guide for a detailed list of materials and step-by-step instructions on building your own motorized turntable.
Is it possible to make a 360 rotating camera stand on a budget?
Yes, it is possible to make a 360 rotating camera stand on a budget. You can use a Lazy Susan or a DIY turntable made from cardboard or wood to rotate the camera. You can also use a stepper motor and motor driver to automate the rotation. Check out this guide for a detailed list of materials and step-by-step instructions on building your own rotating camera stand.
Can I use a Raspberry Pi to construct a 360 camera for a car?
Yes, you can use a Raspberry Pi to construct a 360 camera for a car. You will need a Raspberry Pi, a camera module, a fisheye lens, and a 3D printed camera mount. You can also use a GPS module to geotag your photos. Check out this guide for a detailed list of materials and step-by-step instructions on building your own 360 camera for a car.
What are the steps to making a DIY digital camera with 360-degree capabilities?
To make a DIY digital camera with 360-degree capabilities, you will need a Raspberry Pi, a camera module, a fisheye lens, and a 3D printed camera mount. You can also use a motorized turntable to rotate the camera for panoramic shots. Check out this guide for a step-by-step process on building your own DIY digital camera with 360-degree capabilities.
How do I integrate a 360-degree camera into Unity for virtual reality projects?
To integrate a 360-degree camera into Unity for virtual reality projects, you will need to use a plugin or script that supports 360-degree video. You can use the Skybox 360/VR plugin or the Easy Movie Texture plugin to import and play 360-degree videos in Unity. Check out this guide for a step-by-step process on integrating a 360-degree camera into Unity for virtual reality projects.