Installing a 360 camera in your car might seem like a daunting task but it’s a project that can offer significant benefits. A 360 camera provides you with a panoramic view of your car’s surroundings, making maneuvers like parking, reversing, and navigating through tight spaces much safer and easier. As accidents in parking lots and while backing up are quite common, this technology can be a real game-changer in terms of safety.
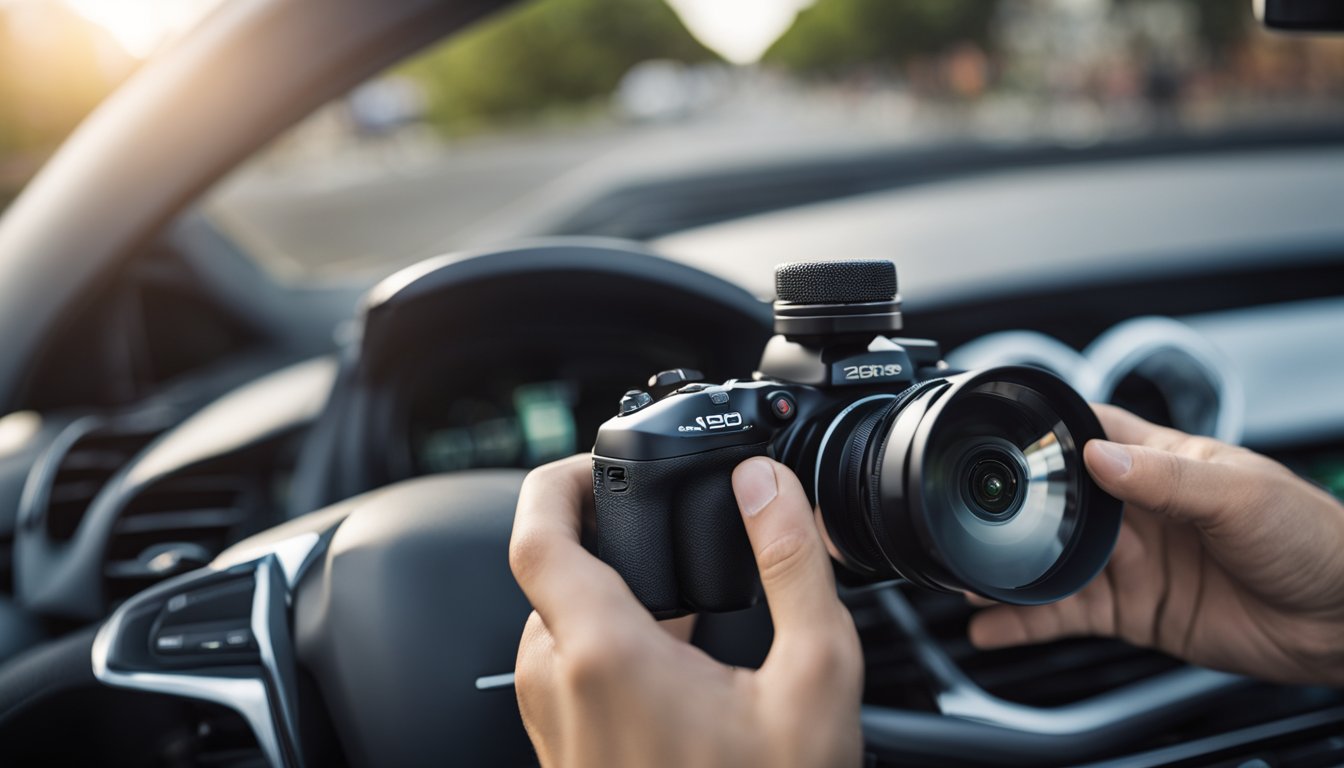
Selecting the appropriate 360 camera system for your vehicle is crucial. It’s about finding the balance between compatibility with your car model and the quality of the camera’s output. While some 360 cameras are universal, others might be tailored to specific models. After procuring the right system, gathering the necessary tools and materials is your next step. The installation process involves careful planning and a step-by-step approach, ensuring everything is properly set up without interfering with your car’s existing systems.
Key Takeaways
- A 360 camera enhances your car’s safety by providing a comprehensive view of the surroundings.
- Choosing a compatible 360 camera and preparing the required tools are essential steps.
- The installation process should be methodical, integrating the camera with your car’s systems.
Understanding 360 Camera Systems
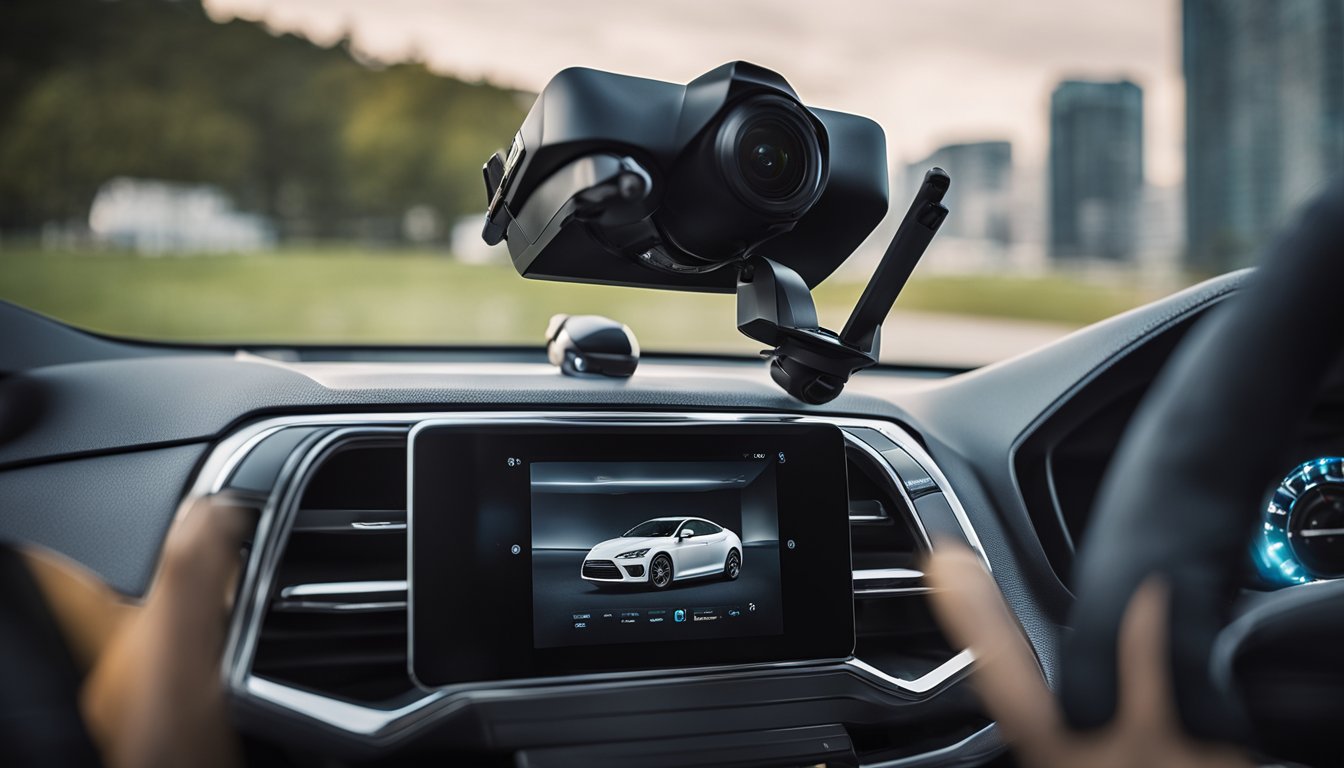
When you’re equipping your vehicle with a 360-degree camera system, you’re adding an advanced surround-view camera system for enhanced visibility. Think of it as your digital copilot, giving you a panoramic view to make driving and parking simpler and safer.
These systems stitch together images from multiple cameras to create a cohesive top view or bird’s eye view of your car, which appears on your dashboard screen. They work by placing cameras in strategic locations around your vehicle:
- Front: Usually in the grille or on the bumper.
- Rear: Above or near the license plate.
- Sides: Under side mirrors or on the vehicle’s flanks.
Here’s a quick rundown:
| Camera Location | View Provided |
|---|---|
| Front | Clears the path ahead. |
| Rear | Eases reversing. |
| Sides | Eliminates blind spots. |
Remember, the goal of a view camera system is to create a comprehensive panoramic view. When you start your car and engage the system, you’ll see a real-time stitched image that looks as if it’s filmed from above, offering unparalleled perspective.
Lastly, consider your comfort with technology and DIY projects before undertaking the installation. You can purchase aftermarket kits, but ensure compatibility with your vehicle for optimal functionality. If DIY isn’t your style, a professional installation is always a recommended option.
Benefits of Installing a 360 Camera in Your Car
Installing a 360 camera system in your vehicle is a forward-thinking step to enhance your driving convenience and security. You’ll find parking effortless, driving safer, and that you’re more aware of your surroundings.
Enhanced Parking Assistance
With a 360 car camera system, you can see a virtual top-down view of your car, making it far easier to fit into tight spots. Parking sensors, along with the camera, alert you to obstacles, reducing the risk of collisions and helping you park with confidence.
Improved Safety and Security
A surround-view camera not only aids in driving but also serves as a vigilant security feature. You can monitor around your car when parked, and some systems may even record incidents, providing video evidence if needed.
Minimized Blind Spots
One of the biggest advantages of a 360 camera is its ability to virtually eliminate blind spots. This panoramic view ensures you have eyes on every angle, substantially reducing the chances of missing something in your blind spot while making any maneuvers.
Choosing the Right 360 Camera for Your Vehicle
Selecting the ideal 360 camera for your car involves scrutinizing image resolution and quality, ensuring compatibility with your vehicle’s make and model, and evaluating the price to fit your budget.


Camera Resolution and Image Quality
« Can You Add a 360 Camera to a Ram 1500? Upgrading Your Truck’s Vision Simplified
360 Cameras vs DSLR Cameras: Choosing the Best for Your Photography Needs »
Image quality is paramount when choosing a 360 camera for your vehicle. Higher resolution cameras provide clearer images, making it easier to spot small details that might be crucial in parking situations or while recording footage. Look for cameras that offer at least 1080p resolution to ensure a satisfactory level of clarity.
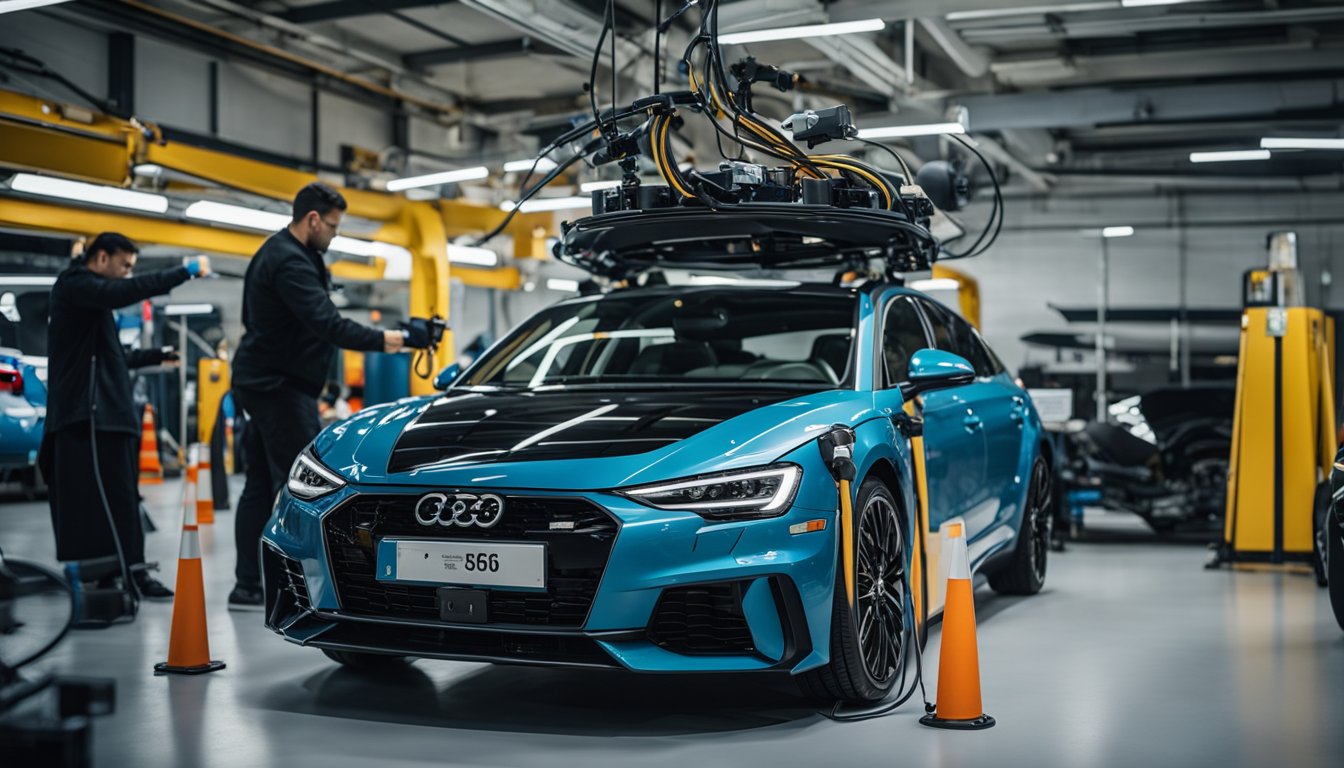
Compatibility with Different Car Brands
Check the compatibility with your car brand, be it an Audi, Toyota, BMW, or Mercedes-Benz. Not all cameras fit every vehicle seamlessly, and some might require specific mounts or additional equipment. Confirm that the 360 camera you’re considering can be integrated with your car’s existing systems without any issues.
Cost Considerations
Finally, assess the price of the camera in relation to its features. While you might be tempted to go for a budget-friendly option, remember that a higher-priced model could offer better image quality and longer durability. Balance the cost against the benefits each camera offers to find the best value for your investment.
Tools and Materials Needed for Installation
Before you start installing your 360 camera in your car, gather all the necessary tools and materials. It’s important to have everything you need on hand to ensure a smooth installation process.
Mounting Equipment
For securing your camera, the mounting equipment typically includes a camera mount, often with a suction cup design for attaching to your windshield or dashboard. Ensure you have a strong adhesive if required, to keep the mount firmly in place. A level might also be useful to ensure your camera is mounted evenly for optimal recording.


- Camera mount
- Adhesive (if necessary)
- Level (optional, for precise installation)
Wiring and Power Supplies
The camera needs to be connected to a power source, like your car’s electrical system, for operation. You’ll need an assortment of wiring to connect the camera to the power source. This often includes a power cable that may come with your camera. Additionally, consider having cable clips or ties to securely and neatly organize the wiring, avoiding any loose cables that can get in the way.
- Power cable (typically included with camera)
- Cable clips or ties for organization
- Electrical tape (for insulating any connections)
Preparing for Installation
Before you begin the installation process of a 360 camera in your car, ensuring that everything is in place is crucial. Your efforts should focus on prepping your vehicle and organizing the camera system components for a smooth setup.
Vehicle Preparation
Firstly, find a level and well-lit area to work on your vehicle. Make sure your car is clean and dry, especially the areas where cameras will be mounted. Check your vehicle’s power system to ensure it’s capable of supporting the additional power demands of a 360 camera system. Ideally, your car battery should be fully charged to avoid any power interruptions during installation.
- Checklist:
- Find a suitable work area.
- Clean and dry the car’s surface.
- Test the vehicle’s battery and power system.
Camera System Components Setup
Each 360 camera kit will come with its own set of components. Unbox your camera system and lay out all the parts, such as cameras, mounting brackets, wiring, and the central processing unit (CPU), to ensure nothing is missing. If you are not familiar with car electronics, consider enlisting the help of a professional for installation. It’s crucial to understand the wiring and connectivity of your particular model before starting the actual installation.
- Components:
- Cameras
- Mounting brackets
- Wires and cables
- Central Processing Unit (CPU)
By taking the time to carefully prepare both your vehicle and your camera system’s components, you’ll set yourself up for a successful and efficient installation.
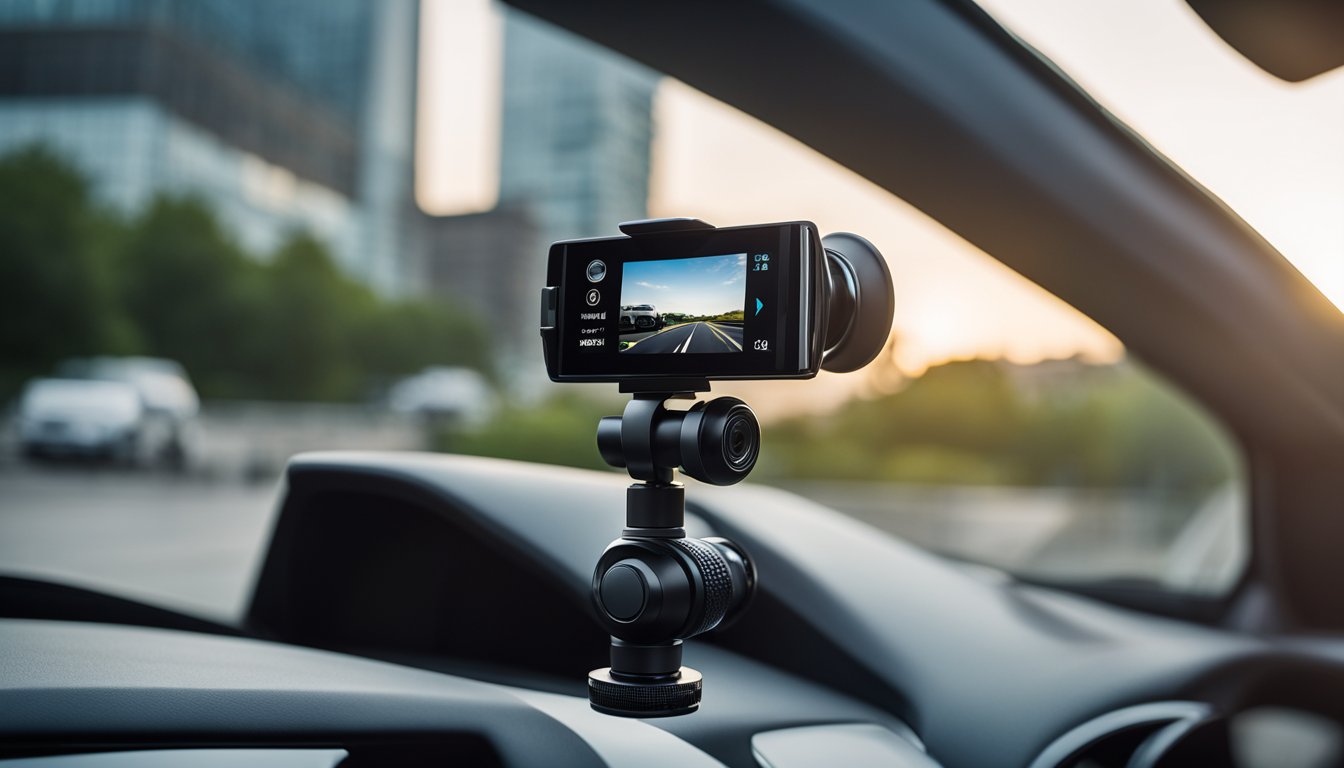
Step-by-Step Installation Process
Installing a 360 camera in your car is a transformative step towards enhancing your driving experience. You’ll need a set of tools, patience, and precision to mount the cameras correctly, connect the wiring, ensure power supply, and calibrate the system for optimal performance.
Mounting the Cameras
First, identify the ideal locations for your 360 camera installation. You want to capture a broad view without obstructing visibility. Most often, cameras are placed at strategic points: one on the front bumper, one on the rear, and one on each side mirror. Ensure the cameras are secured firmly and that their field of vision is not impeded by any car parts.
Connecting the Wiring
After mounting, you’ll need to carefully run the wires from each camera to the head unit—avoiding any moving parts or heat sources. It’s important to conceal the wiring for both aesthetic and safety reasons—use your car’s trim and crevices to hide the wiring as much as possible. Tech Journal suggests using a fish tape tool to pull wires through tight spaces, which can prevent potential damage during installation.
Power Supply and Calibration
Connecting your cameras to a power supply is crucial. Typically, your car’s fuse box is the best source for a consistent 12V supply. Remember to connect the system to a circuit that shuts down when the car is off to avoid draining your car’s battery. Once everything is powered, you’ll need to calibrate your cameras. Follow the manufacturer’s instructions to align the cameras correctly, ensuring a seamless surround view without blind spots. This may involve adjusting camera angles and setting up software if provided.
Integration with In-Car Systems
Integrating a 360 camera with your vehicle’s systems enhances your driving experience by providing a seamless connection between the camera feeds and your car’s display and apps.
Linking Cameras to the Display
Step 1: Identify the Connection Type
Your car’s infotainment system, often displayed on the dashboard screen, is the primary monitor for your 360 camera. Determine if your system supports HDMI, USB, or proprietary inputs.
Step 2: Establish the Connection
Connect each camera — placed around your vehicle for a full view — to the central processing unit (CPU). This CPU will stitch images together and send the composite feed to your car’s display, usually replacing or augmenting the view from your rearview mirror.
App Integration for Advanced Features
Leverage Mobile Apps
Many 360 cameras offer accompanying apps that unlock advanced features. These can range from parking assistance to security monitoring, all accessible at your fingertips.
Syncing with your System
Connect your mobile app to the car’s system via Bluetooth or Wi-Fi. This allows for real-time control and viewing, enhancing the functionality of your dash cam setup. Ensure that your app and in-car system firmware are up-to-date for optimal performance and compatibility.
Post-Installation Testing
After you’ve installed your 360 car camera system, it’s important to ensure everything is functioning as intended. This will involve verifying camera angles and testing the system’s functionality to guarantee a seamless surround-view experience.
Checking Camera Angles
First, power on your system to begin the review of the four cameras. You’ll want to check each camera individually to ensure they are capturing clear views with no obstructions. Second, examine the live feed to verify that the cameras cover the necessary vantage points for a full 360-degree view.
- Front Camera: Should capture the view straight ahead, including a bit of the hood.
- Rear Camera: Needs to show the area behind your car and the rear bumper.
- Side Cameras: Ought to provide a clear sight of the blind spots on both sides.
If any camera is off-angle, adjust it until you achieve the correct coverage.
Ensuring Full Functionality
To confirm that the cameras are stitched together correctly for a complete surround-view, observe the transitions between camera feeds. You’ll be looking for:
- Seamless Stitching: The images from each camera should combine without noticeable gaps or misalignments.
- Sensor Integration: If your system includes obstacle detection or parking assist, ensure these are working in harmony with the visual feed.
Cycle through various modes, if available, such as top-down, wide-angle, and split-screen views, to ensure all are accessible and displaying correctly.
Remember, this 360 car camera system is designed to bolster your driving safety and convenience, so take your time during post-installation testing to ensure optimal performance.
Maintenance Tips for 360 Camera Systems
Maintaining your 360 camera system is crucial to ensure that it continues to record with the highest image quality. Proper care will prevent common issues and extend the lifespan of your camera.
Regular Camera Cleaning
Frequency:
At least once per month, depending on usage and environment
Steps:
- Lens: Carefully wipe the lens using a microfiber cloth. Avoid harsh cleaning agents.
- Housing: Dust off the camera housing with a soft brush.
- Connectors/Ports: Use compressed air to remove debris from connectors and ports.
System Updates and Troubleshooting
Software Updates:
Regularly check for firmware updates from the manufacturer to improve functionality and security.
Troubleshooting Tips:
- If you encounter glitches or poor image quality, reset the camera system to its factory settings.
- Consult your camera’s manual or online support for specific troubleshooting guidance related to your model.
By following these maintenance tips, you’ll help ensure that your 360 camera system remains in top condition, providing you with clear and comprehensive recording of your drives.
Legal Considerations and Compliance
When installing a 360 camera system in your car, you need to be aware of local privacy laws and ensure your setup complies with vehicle regulations. This is to protect the rights of others and to avoid legal trouble.
Privacy Laws and Recording
Understand that recording with your 360 camera, especially when it captures footage beyond the confines of your vehicle, can be subject to privacy laws. You must:
- Ensure that you are not recording in areas where there’s an expectation of privacy without consent.
- Be cautious if using the footage from your camera, particularly in the event of an accident, to respect the privacy of individuals involved.
Compliance with Vehicle Regulations
Dash cams and 360 cameras must be installed according to your local vehicle regulations to ensure:
- The camera’s placement does not obstruct your view or hinder the safe operation of your vehicle.
- Your setup meets any specific legal requirements about the recording of public interactions or events.
Your awareness of these considerations is crucial for responsible camera use and adherence to legal standards.
Professional Installation vs. DIY
Choosing between professional installation and doing it yourself for a 360 camera in your car depends on your confidence in handling technical tasks and the complexity of the camera system you’ve chosen. Each option carries its benefits and specific instances where one might be more suitable than the other.
When to Seek Professional Help
In circumstances where your car requires complex wiring or you’re not familiar with your vehicle’s electrical system, seeking professional help is advisable. Most professionals will ensure a seamless integration of the 360 camera system with existing in-car technology. Additionally, if your camera system requires calibration that aligns with your car’s computer, a professional installer has the tools and expertise needed to execute this precisely.
Benefits of DIY Installation
If you have some technical expertise and a good understanding of car electronics, a DIY installation can save you money and give you a sense of accomplishment. The installation process can be straightforward if you follow the manufacturer’s instructions closely. This approach allows you to learn more about your vehicle’s functioning and makes it easier for you to troubleshoot any potential issues in the future.
Frequently Asked Questions
In this section, you’ll find specific answers to common questions about installing a 360-degree camera system in your car, ensuring clarity and a better understanding of the process.
What tools do I need to install a 360-degree camera in my vehicle?
To install a 360-degree camera, you’ll typically need a drill, screwdrivers, electrical tape, a wiring kit, and possibly a trim removal tool. It’s essential to have a clear idea of your car’s layout to choose the right tools.
Can I install an aftermarket 360-degree camera system in any car model?
Most car models can accommodate an aftermarket 360-degree camera system. However, compatibility and installation complexity may vary based on the car’s design and existing equipment.
What are the steps involved in wiring a 360 camera in a car?
The wiring process generally involves connecting the cameras to a central processing unit, running wires to a power source, and integrating the system with your vehicle’s display. Precise steps can differ depending on the camera kit and car model.
How do I calibrate a 360-degree camera for optimal bird’s eye view?
Calibration is typically done through software that comes with your camera system, often requiring you to place calibration mats around your vehicle and following on-screen instructions to achieve the optimal bird’s eye view.
Where is the best place to mount the cameras for a 360-degree view system in a car?
The ideal locations are the front grille, beneath the side mirrors, and the rear of the car to cover all angles. Ensure the cameras have an unobstructed view to maximize the system’s effectiveness.
Are there any special considerations when adding a front camera to an existing 360-degree system?
When adding a front camera, consider the camera’s viewing angle, the mounting position for full coverage, and integration with the existing system for seamless operation. Proper synchronization with other cameras is crucial.