If you’re looking to take your photography to the next level, 360 cameras are a great way to do it. With the ability to capture everything around you, you can create immersive photos that transport viewers to another place entirely. But what are the best poses for 360 photos? In this article, we’ll explore some creative ideas to help you get the most out of your 360 camera.
But first, let’s start with the basics. Understanding 360 photography is key to getting the most out of your camera. We’ll cover essential gear for 360 shooting, how to set up your camera, and lighting and exposure tips to help you get the perfect shot. Once you’re comfortable with the basics, we’ll dive into some creative pose ideas to take your 360 photos to the next level. From action shots to group photos, we’ll cover it all. So, grab your camera and let’s get started!
Key Takeaways
- Understanding 360 photography is essential to getting the most out of your camera.
- Lighting and exposure are crucial to capturing high-quality 360 photos.
- Creative pose ideas can take your 360 photos from ordinary to extraordinary.
Understanding 360 Photography
If you’re interested in capturing immersive, panoramic photos, you need to understand 360 photography. This type of photography allows you to capture a full 360-degree view of your surroundings, making it perfect for landscapes, architecture, and other wide-angle shots. In this section, we’ll explain the basics of 360 photography and how it works.
360° Cameras Explained
360 cameras are specialized cameras that capture a full 360-degree view of your surroundings. These cameras use multiple lenses or a fisheye lens to capture a wide-angle view of your surroundings. The images captured by these cameras are then stitched together to create a seamless panoramic photo or video.
There are several types of 360 cameras available, including DSLR and mirrorless cameras with fisheye lenses, as well as dedicated 360 cameras that come with multiple lenses. Dedicated 360 cameras are often more convenient and easier to use, but they may not offer the same level of image quality as a DSLR or mirrorless camera.
The Role of Lenses in 360 Imagery
Lenses play a crucial role in 360 photography. Fisheye lenses are often used to capture a wide-angle view of your surroundings, which is necessary for creating a panoramic photo. These lenses have a very short focal length, which allows them to capture a wide field of view.
When choosing a fisheye lens for your 360 camera, it’s important to consider the lens’s distortion characteristics. Some fisheye lenses have a lot of distortion, which can make your photos look warped or distorted. Other lenses have less distortion, which can result in more natural-looking photos.
In conclusion, understanding 360 photography is essential if you want to capture stunning panoramic photos. By using a 360 camera with the right lens, you can capture a full 360-degree view of your surroundings and create immersive, high-quality photos and videos.
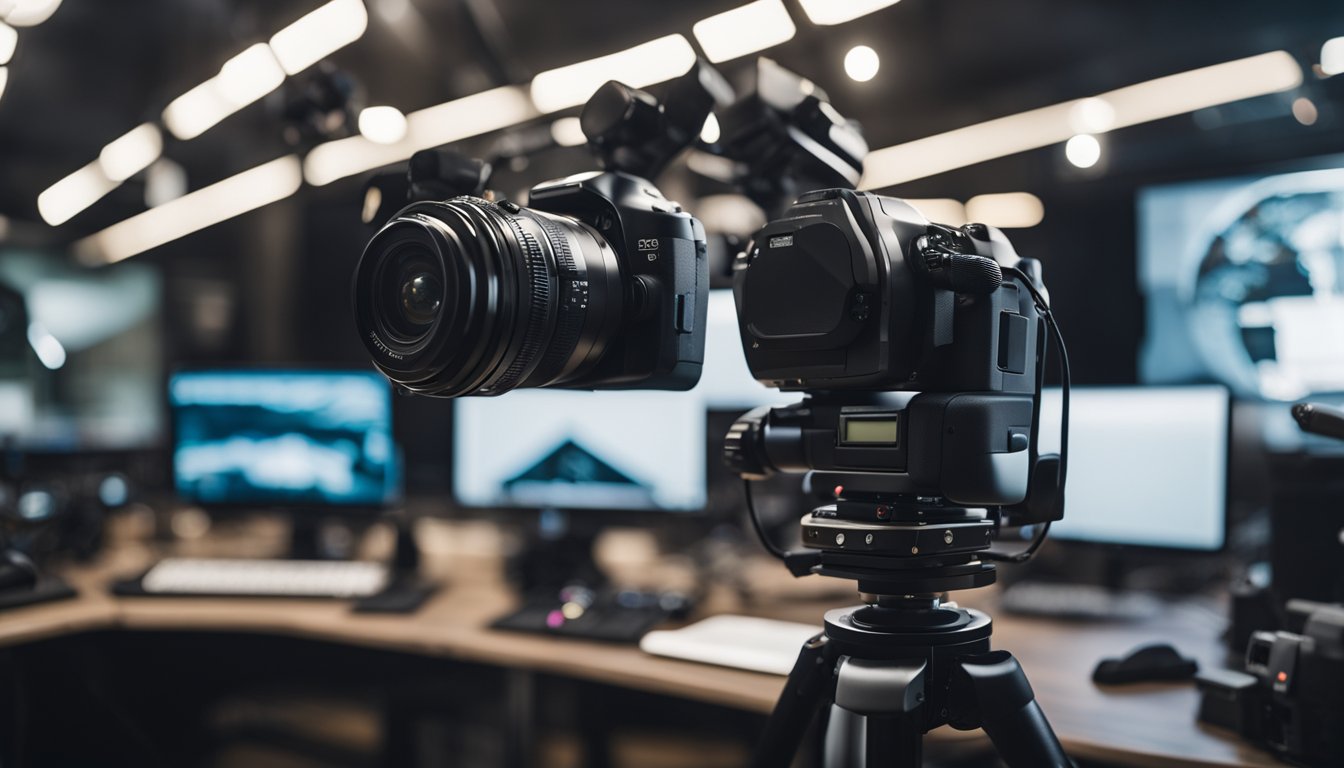
Essential Gear for 360° Shooting
https://www.youtube.com/watch?v=V6e-Ltiw0NA&embed=true
When it comes to shooting in 360°, having the right gear can make all the difference. In this section, we’ll cover some essential gear that you’ll need to get started.
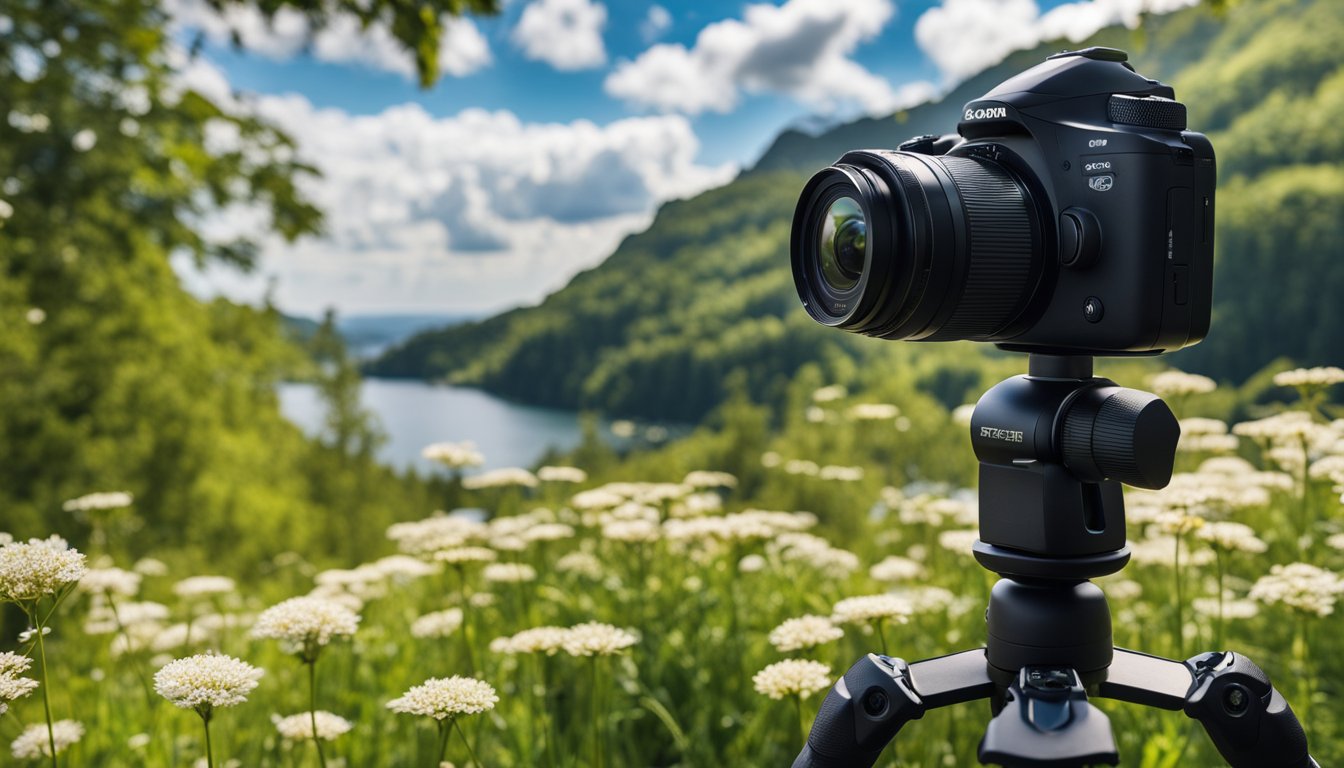
Choosing the Right Tripod
« Best 360 Camera for Skiing: Capture Your Adventures in Stunning Detail
Where to Buy 360 Camera: The Best Places to Find Them »
Choosing the right tripod is crucial for 360° shooting. You’ll want to look for a tripod that is lightweight, portable, and sturdy enough to support your camera. Avoid big tripods as they do not work well for 360° photography. Most of them have large bases designed to hold a heavy DSLR camera, which can be visible in the photo and look huge. Instead, go for a compact and lightweight tripod that will be easy to carry around and won’t obstruct your shots.


The Importance of a Panoramic Head
A panoramic head is an essential piece of gear for 360° shooting. It allows you to rotate your camera around its nodal point, which is necessary for creating seamless panoramas. The nodal point is the point in the lens where light rays converge and cross over. If your camera is not rotated around its nodal point, it can cause parallax errors, which can be difficult to correct in post-production. Some popular panoramic head brands include Nodal Ninja and Panohead.
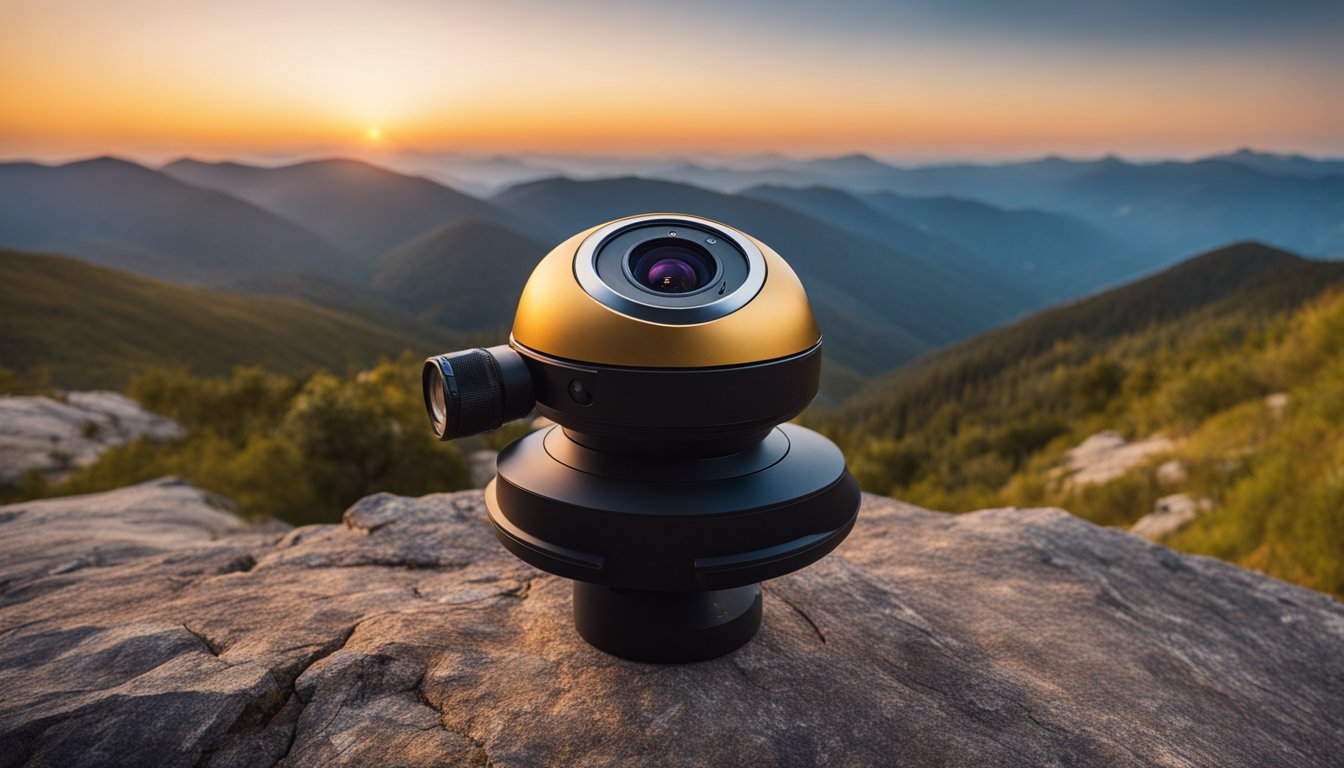
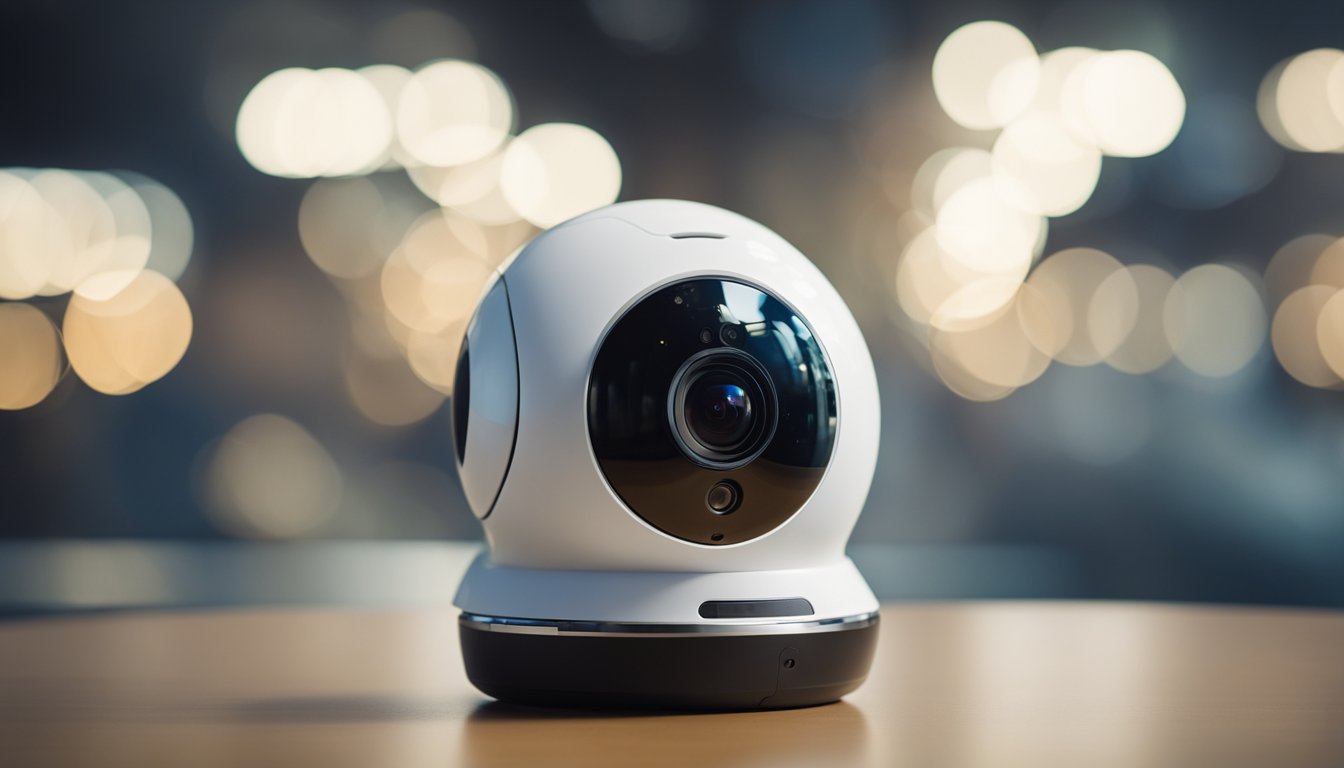
Selecting a 360° Camera
Choosing the right 360° camera is also important for getting the best results. There are many options available, including the GoPro Hero and the Ricoh Theta S. When selecting a camera, look for one that offers high resolution, good low-light performance, and a wide field of view. Consider the battery life and storage capacity as well, as you’ll likely be shooting a lot of footage. Additionally, make sure the camera has a built-in gyroscope for stabilization, which is crucial for creating smooth and stable footage.
In conclusion, when shooting in 360°, having the right gear can make all the difference. A lightweight and portable tripod, a panoramic head, and a high-quality 360° camera are all essential pieces of gear that will help you capture stunning panoramic shots.
Setting Up Your Camera
Before you start shooting, it’s important to properly set up your 360 camera. This will ensure you get the best possible results. Here are a few things to keep in mind when setting up your camera.


Adjusting Camera Settings
First, make sure you adjust your camera settings to get the best exposure and image quality. For shooting in low light conditions, increase the ISO setting to around 800-1600. This will help capture more light and reduce noise in your images. You should also set your camera to manual mode to ensure that each photo you take has the same exposure settings.
Finding the Nodal Point
Another important aspect of setting up your camera is finding the nodal point. This is the point in the lens where light converges and the image appears undistorted. Finding the nodal point is crucial for capturing high-quality 360 images, as it helps to eliminate parallax errors and ensure that your images stitch together seamlessly.
To find the nodal point, you can use a tool like the Nodal Ninja. This is a device that helps you adjust the position of your camera lens to find the nodal point. Once you’ve found the nodal point, mark it on your lens so that you can easily position your camera in the future.
By properly adjusting your camera settings and finding the nodal point, you can ensure that your 360 images come out looking great. Keep these tips in mind when setting up your camera for your next shoot.
Creative Pose Ideas for 360° Photos
https://www.youtube.com/watch?v=iwgMNax3zto&embed=true
Taking a 360 photo is a unique way to capture your surroundings, and it’s important to get the right pose to make the most of the camera’s capabilities. Here are some creative pose ideas for 360° photos that will make your pictures stand out.
Innovative Angles and Perspectives
One of the best ways to make your 360 photos stand out is by using innovative angles and perspectives. Try shooting from a low or high angle to add depth to your photos. You can also experiment with different curves and shapes to create a more dynamic composition.
To get the best results, make sure to pay attention to the details in your shot. The 360 camera captures everything, so it’s important to ensure that everything in the frame is in focus. You can also use natural elements, such as trees or rocks, to frame your shot and add visual interest.
Interactive Group Shots
Group shots are a great way to capture memories with friends and family. With a 360 camera, you can take interactive group shots that allow everyone to be in the picture. One fun idea is to have everyone lay down in a circle and take the photo from above. You can also experiment with different poses, such as jumping or holding hands, to create a more dynamic shot.
When taking group shots, it’s important to pay attention to the composition. Make sure everyone is visible in the shot and that there is enough space between each person. You can also experiment with different backgrounds to add visual interest to the shot.
In conclusion, taking creative and engaging 360 photos requires some experimentation and creativity. By using innovative angles and perspectives and experimenting with interactive group shots, you can create stunning photos that capture the moment and the environment. Don’t be afraid to try new things and have fun with your 360 camera!
Lighting and Exposure Tips
https://www.youtube.com/watch?v=fRwiJrr0sXk&embed=true
Capturing stunning 360° photos and videos requires the right lighting and exposure. Here are some tips to help you get the perfect shot.
Working with Natural Light
Natural light is a great way to add depth and dimension to your 360° photos. The key is to choose the right time of day and position your camera accordingly. Early morning and late afternoon are the best times to capture stunning natural light photos. During these times, the light is softer and more diffused, which can help to create a more natural look.
When working with natural light, it’s important to keep in mind the direction of the light source. For example, if the sun is behind your subject, it can create a beautiful halo effect. If the sun is in front of your subject, it can create harsh shadows. Experiment with different angles and positions to find the perfect lighting for your shot.
Using Flash in 360° Photography
Using flash can help to improve the overall image quality of your 360° photos. However, it’s important to use flash correctly to avoid overexposure or underexposure. When using flash, make sure to adjust your camera’s exposure settings accordingly. This will help to ensure that your photos are properly exposed.
Another tip when using flash is to position the flash off-camera. This can help to create more natural-looking lighting and avoid harsh shadows. You can also use diffusers or reflectors to soften the light and create a more natural look.
In conclusion, lighting and exposure are crucial elements in 360° photography. By following these tips, you can create stunning photos and videos that capture the beauty of your surroundings.
Post-Production Techniques
After capturing your 360° photos, the next step is post-processing. This is where you can refine your photos and make them look their best. In this section, we’ll cover stitching your photos and editing them with software.
Stitching Your 360° Photos
Stitching is the process of combining multiple images into a single, seamless 360° photo. There are several software options available for stitching your 360° photos, including Adobe Photoshop and specialized stitching software like PTGui and Autopano. These software options allow you to stitch your 360° photos together with ease.
When stitching your photos, it’s important to shoot in RAW format to ensure that you have the highest quality images to work with. RAW files contain more data than JPEG files, which gives you more control over the final image. Once you have your RAW files, you can use stitching software to combine them into a single, seamless 360° photo.
Editing with Software
After stitching your photos, you can edit them with software to enhance their look. Adobe Photoshop is a popular choice for editing 360° photos. With Photoshop, you can adjust the exposure, contrast, and color balance of your photos to make them look their best.
Another option for editing your 360° photos is specialized editing software like Pano2VR and Krpano. These software options allow you to add hotspots, text, and other elements to your photos to create interactive virtual tours.
In conclusion, post-processing is an important step in creating high-quality 360° photos. By stitching your photos and editing them with software, you can create stunning images that capture the beauty of your surroundings.
Sharing Your 360° Content
https://www.youtube.com/watch?v=T9qslAaN8Vs&embed=true
After capturing stunning 360° images, the next step is to share them with your audience. In this section, we will discuss the best platforms for sharing your 360° images and social media strategies to get the most out of your content.
Best Platforms for 360° Images
When it comes to sharing 360° content, there are several platforms to choose from. Here are some of the best platforms to consider:
Facebook: As one of the most popular social media platforms, Facebook is a great place to share your 360° images. You can easily upload your images to Facebook and share them with your friends and followers. Facebook also supports 360° videos, so you can create and share immersive video content as well.
YouTube: As the largest video-sharing platform, YouTube is an excellent platform to share your 360° videos. You can upload your videos to YouTube and share them with your audience. YouTube also supports 360° live streaming, so you can live stream your 360° content to your viewers.
Flickr: Flickr is a popular photo-sharing platform that supports 360° images. You can upload your images to Flickr and share them with your audience. Flickr also allows you to embed your images on your website or blog.
Social Media Strategies
To get the most out of your 360° content, it’s essential to have a social media strategy. Here are some social media strategies to consider:
Create a Facebook Album: Instead of sharing your 360° images individually, consider creating a Facebook album. This way, your followers can view all of your 360° images in one place.
Use Hashtags: When sharing your 360° content on social media, be sure to use relevant hashtags. This way, your content will be more discoverable to users who are interested in similar content.
Engage with Your Audience: When sharing your 360° content on social media, be sure to engage with your audience. Respond to comments and messages, and ask for feedback. This way, you can build a community around your content.
In conclusion, sharing your 360° content is an essential part of the process. By using the right platforms and social media strategies, you can reach a wider audience and build a community around your content.
360° Video Techniques
https://www.youtube.com/watch?v=RHejHmUZR_U&embed=true
If you want to create captivating 360° videos, you need to use the right techniques. Here are some tips to help you shoot moving videos and dynamic footage with action cameras.
Shooting Moving Videos
To create an immersive experience, you need to capture moving videos. One technique you can use is the flowing hyperlapse. With the Insta360 ONE X2, you can easily create classic hyperlapses as well as flowing hyperlapses. Simply mount your Insta360 ONE X2 on a selfie stick and start recording. You can also try the “follow me” technique, where the camera follows a moving object, such as a person or a vehicle. This technique is great for action sports and outdoor activities.
Another technique to consider is the “bullet time” effect. This technique involves mounting the camera on a rig and spinning it around a subject to create a frozen-in-time effect. You can also use a drone to capture aerial shots and create a sense of movement.
Action Cameras for Dynamic Footage
When it comes to creating dynamic footage, action cameras are a great choice. They are small, lightweight, and can be mounted on almost anything. The GoPro HERO10 Black is a popular choice for shooting action videos. It has advanced stabilization features that help create smooth footage, even when you’re moving.
Another great option is the DJI Osmo Action. It has a front-facing screen, which makes it easy to frame your shots. It also has advanced stabilization features and can shoot 4K video at 60 frames per second.
When it comes to mounting your action camera, there are endless possibilities. You can mount it on a helmet, a bike, a car, or even on your body. Just make sure to use the right mount for the job and secure it properly.
With these techniques and cameras, you can create stunning 360° videos that will transport your viewers to another world.
Interactive 360° Experiences
If you want to create immersive and interactive experiences with your 360 camera, there are a few things you can do to make your content stand out. In this section, we’ll explore two ways you can use your 360 camera to create interactive experiences: virtual reality integration and creating engaging virtual tours.
Virtual Reality Integration
One of the most exciting ways to use your 360 camera is to integrate it with virtual reality (VR) technology. By doing so, you can create a fully immersive experience that allows your viewers to feel like they are actually in the environment you’ve captured.
To get started with VR integration, you’ll need a VR headset. There are many different types of VR headsets available, ranging from high-end devices like the Oculus Rift to more affordable options like the Google Cardboard. Once you have your headset, you can start experimenting with different ways to create VR experiences with your 360 camera.
One way to create a VR experience is to use a platform like Google’s VR View. This platform allows you to embed 360-degree photos and videos into your website or app, and users can then view the content in VR using their headset. Another option is to use a dedicated VR app like VeeR VR, which allows you to upload your 360 content and create a fully immersive VR experience.
Creating Engaging Virtual Tours
Another way to use your 360 camera to create interactive experiences is to create engaging virtual tours. Virtual tours are a great way to showcase a location or space, and they can be used for everything from real estate listings to museum exhibits.
To create a virtual tour, you’ll need to plan out your shots carefully and make sure that you capture all of the important details in each location. You’ll also need to think about how you want your viewers to navigate through the tour. Do you want them to be able to move freely through the space, or do you want to guide them through a specific path?
Once you’ve captured your footage, you can use a platform like Cloudpano to create your virtual tour. This platform allows you to upload your 360 content and add interactive hotspots that viewers can click on to learn more about different parts of the space.
By using these techniques, you can create engaging and immersive 360 experiences that will keep your viewers coming back for more.
Cost-Effective 360° Solutions

If you’re on a budget, there are still plenty of options available to you for capturing stunning 360-degree images. Here are some cost-effective 360° solutions to consider:
Budgeting for Your 360° Setup
Before you start shopping for a 360 camera, it’s important to set a budget. Determine how much you’re willing to spend, and then look for cameras that fit within that budget. Keep in mind that you’ll also need to purchase accessories like a small tripod to keep your camera steady and a microSD card to store your images.
One option to consider is using your smartphone to capture 360-degree images. Many modern smartphones come equipped with 360-degree photo and video capabilities, making it a cost-effective alternative to purchasing a dedicated 360 camera. You can also purchase a low-cost 360-degree camera that can serve as an entry point for creating basic 360 models.
DIY Alternatives
If you’re looking for an even more cost-effective solution, consider building your own 360 camera rig. All you need is a camera that can capture wide-angle images, a tripod, and some software to stitch the images together. You can find plenty of tutorials online that will walk you through the process of building your own 360 camera rig.
Another option is to use a 360-degree photo app that allows you to take multiple photos and stitch them together to create a 360-degree image. These apps are often free or low-cost and can be a great way to experiment with 360-degree photography without investing in expensive equipment.
By considering these cost-effective 360° solutions, you can capture stunning 360-degree images without breaking the bank.
Advanced Tips and Accessories
https://www.youtube.com/watch?v=UQePS1HEtHE&embed=true
If you’re looking to take your 360 camera poses to the next level, here are some advanced tips and accessories that can help you get the perfect shot.
Utilizing a Timer or Remote
One of the biggest challenges of taking 360 camera poses is getting yourself in the shot without showing your arm or hand holding the camera. A timer or remote can help solve this problem. With a timer, you can set the camera to take a photo after a few seconds, giving you time to hide the camera and get into position. A remote allows you to trigger the camera from a distance, so you don’t have to worry about getting your hand in the shot.
Incorporating a Selfie Stick
A selfie stick can be a great accessory for taking 360 camera poses. It allows you to extend the camera away from your body, giving you more flexibility in your poses and angles. Plus, it can help you get a better view of the surroundings, especially if you’re in a crowded area or trying to capture a wide landscape.
When using a selfie stick, make sure to hold it steady and avoid any sudden movements. You don’t want to accidentally move the camera and ruin your shot. Also, be aware of your surroundings and make sure you’re not blocking anyone’s view or getting in the way.
Overall, these tips and accessories can help you take your 360 camera poses to the next level. Whether you’re using a timer, remote, or selfie stick, make sure to experiment with different angles and poses to find what works best for you. With a little practice, you’ll be able to capture stunning 360 photos that showcase your creativity and personality.
Frequently Asked Questions
What are some creative posing tips for solo shots with a 360 camera?
When taking solo photos with a 360 camera, try to experiment with different poses and angles. Some creative ideas include standing on a chair or bench to create a unique perspective, lying on the ground and shooting upwards, or even jumping in the air for an action shot. You can also try taking a photo while walking or running to capture a dynamic moment.
Can you suggest romantic couple poses for a 360 photo session?
For romantic couple poses, try standing close together and holding hands while looking into each other’s eyes. You can also try sitting together with your legs intertwined or leaning against each other. Another idea is to stand back to back and look out at the scenery together.
How can one use a 360 photo booth to capture fun party moments?
A 360 photo booth is a great way to capture fun party moments. Encourage guests to strike silly poses or dance around in the booth. You can also provide props like hats, glasses, and boas to add to the fun. Make sure to have good lighting and a colorful backdrop to make the photos pop.
What are the best poses to highlight my outfit in a 360-degree photo?
To highlight your outfit in a 360-degree photo, try standing with your back to the camera and looking over your shoulder. You can also try spinning around slowly to show off the entire outfit. Another idea is to strike a pose that accentuates a particular feature of your outfit, such as a twirl to show off a full skirt.
How do you make group photos stand out with a 360 camera?
To make group photos stand out with a 360 camera, try arranging people in a circle or semi-circle facing the camera. You can also try having everyone jump in the air at the same time for a fun action shot. Encourage people to interact with each other and have fun to capture the energy of the group.
What techniques can help capture a flattering full-body shot in 360 photography?
To capture a flattering full-body shot in 360 photography, try standing with one foot in front of the other to create a slimming effect. You can also try elongating your body by standing on your tiptoes or stretching your arms above your head. Make sure to stand up straight and avoid slouching to create a confident and flattering pose.