If you’re interested in creating immersive experiences or virtual reality content, a 360 camera is an essential piece of equipment. With a 360 camera, you can capture video or images that allow viewers to see everything around them, creating a fully immersive experience. While there are many 360 cameras available on the market, they can be quite expensive. However, with a little bit of know-how, you can create your own DIY 360 camera for a fraction of the cost.
To make your own 360 camera, you’ll need some basic equipment, including a Raspberry Pi, a USB camera, and a spherical reflective surface. While the process may seem intimidating at first, it’s actually quite simple, even for those who are new to DIY projects. By following a few easy steps, you can create a high-quality 360 camera that will allow you to capture stunning immersive content.
In this article, we’ll walk you through the process of building your own DIY 360 camera, from understanding the basics of 360 cameras to planning your shoot, setting up your camera, and post-production workflow. We’ll also cover filming techniques for 360 video, audio for 360 video, and how to share your 360 video with your audience. By the end of this article, you’ll have all the knowledge you need to create your own DIY 360 camera and start capturing stunning immersive content.
Key Takeaways
- A 360 camera is an essential piece of equipment for creating immersive experiences or virtual reality content.
- With a Raspberry Pi, a USB camera, and a spherical reflective surface, you can create your own DIY 360 camera for a fraction of the cost of a commercial 360 camera.
- By following a few easy steps, you can create a high-quality 360 camera that will allow you to capture stunning immersive content.
Understanding 360 Cameras
https://www.youtube.com/watch?v=qExPe-nKdfI&embed=true
If you are interested in creating 360 videos, you will need a 360 camera. These cameras are specifically designed to capture video in all directions at once, allowing you to create immersive videos that your viewers can explore. In this section, we will explore the different types of 360 cameras available and how they work.
Types of 360 Cameras
There are two main types of 360 cameras: single-lens and multi-lens. Single-lens cameras are typically more affordable and easier to use, but they may not capture as much detail as multi-lens cameras. Multi-lens cameras use multiple lenses to capture video from different angles, resulting in higher-resolution videos with more detail.
How 360 Cameras Work
360 cameras work by capturing video in all directions at once. They use either a single lens or multiple lenses to capture video from different angles. The video is then stitched together using specialized software to create a spherical video that can be viewed in 360 degrees.
The process of creating a 360 video involves capturing video in all directions, stitching the video together, and then editing the final product. Some 360 cameras come with built-in stitching software, while others require you to use third-party software to stitch the video together.
When creating a 360 video, it is important to keep in mind that the video will be viewed in 360 degrees. This means that your viewers will be able to look around the scene, so it is important to ensure that there are no blind spots and that the video is well-lit.
In conclusion, understanding how 360 cameras work is essential if you want to create immersive 360-degree videos. Whether you choose a single-lens or multi-lens camera, the key is to capture video in all directions and then stitch it together to create a spherical video that your viewers can explore.
Planning Your Shoot
When it comes to making a 360 camera, planning your shoot is crucial. Here are some tips that will help you plan your shoot effectively.
Choosing a Location
« Best 360 Camera for Travel: Capture Your Adventures in 360 Degrees
How Do 360 Cameras Hide the Stick: Explained »
When choosing a location for your 360 video shoot, you need to consider a few things. First, you need to choose a location that is visually interesting and has a lot of depth. This will help you create a more immersive experience for your viewers. Second, you need to choose a location that is safe and accessible. You don’t want to put yourself or your crew in danger by shooting in a location that is difficult to access or has safety hazards.


Storyboarding for 360 Video
Storyboarding for 360 video is slightly different from traditional storyboarding. With 360 video, you need to think about the entire 360-degree environment and how your story will unfold in that space. You need to consider where the viewer will be looking at any given time and how you can guide their attention to the most important parts of the scene.
One way to storyboard for 360 video is to create a rough sketch of the environment and then mark out where the action will take place. You can then use this sketch to plan your shots and figure out where to position the camera. Another approach is to create a virtual environment using a tool like Unity or Unreal Engine and then use that to plan your shots.
By taking the time to plan your shoot and storyboard your 360 video, you can create a more immersive and engaging experience for your viewers.
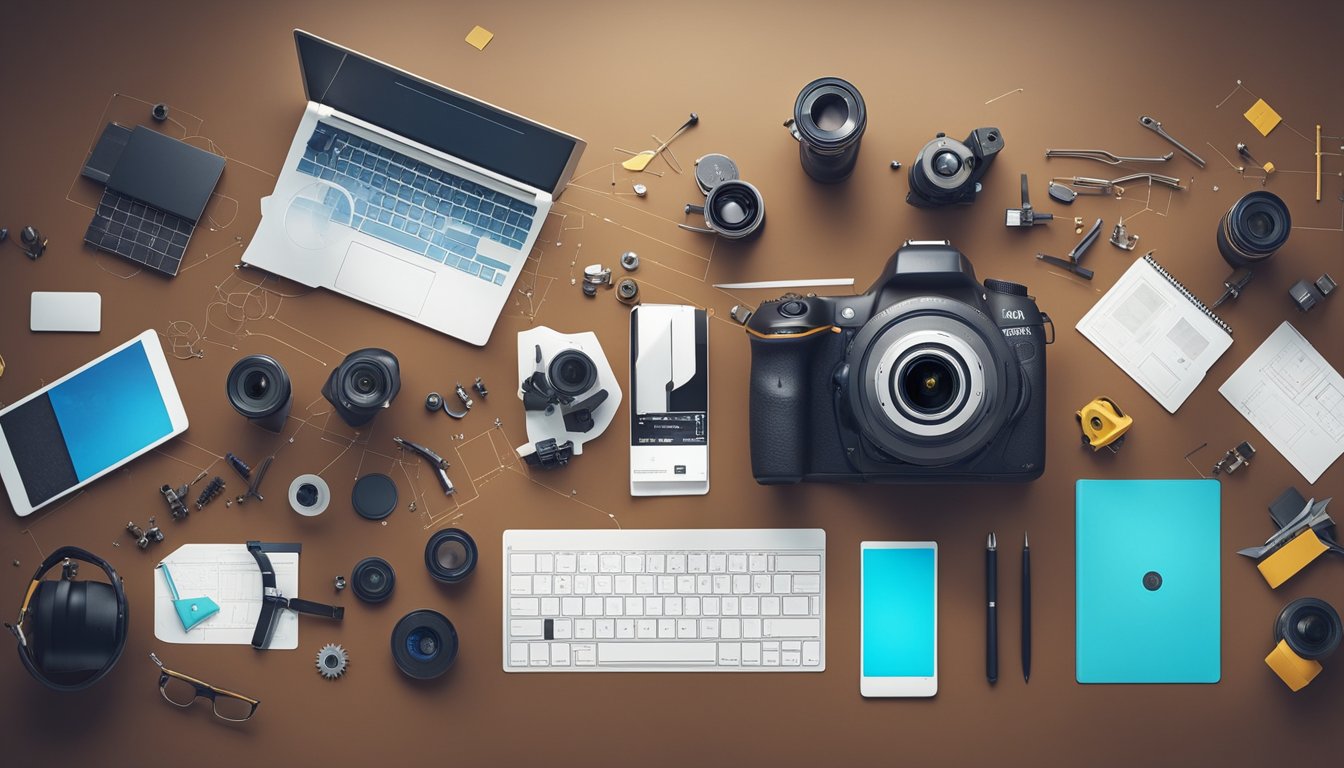
Essential Equipment
https://www.youtube.com/watch?v=skzlVAFXTik&embed=true
When it comes to making your own 360 camera, having the right equipment is essential. In this section, we’ll go over the key pieces of equipment you’ll need to get started.

Selecting the Right 360 Camera
The first thing you’ll need is a 360 camera. There are many options on the market, but some popular choices include the Insta360 X3 and the GoPro Max. Make sure to do your research and read reviews before making a purchase. Consider factors such as image quality, ease of use, and compatibility with your other equipment.
Supporting Accessories
In addition to a 360 camera, you’ll also need some supporting accessories to ensure stable shots and smooth footage. A tripod or monopod is highly recommended to minimize camera shake and keep your camera at the correct eye level. If you’re on the go, a selfie stick can also be a useful tool for capturing footage from different angles.
Other supporting accessories you may need include additional mics, especially if you need to capture spatial audio, and charging equipment for your camera. Make sure to plan ahead and bring all the necessary accessories with you on your shoot day.
Overall, having the right equipment is crucial for making high-quality 360 videos. By selecting the right camera and supporting accessories, you’ll be well on your way to creating stunning immersive content.
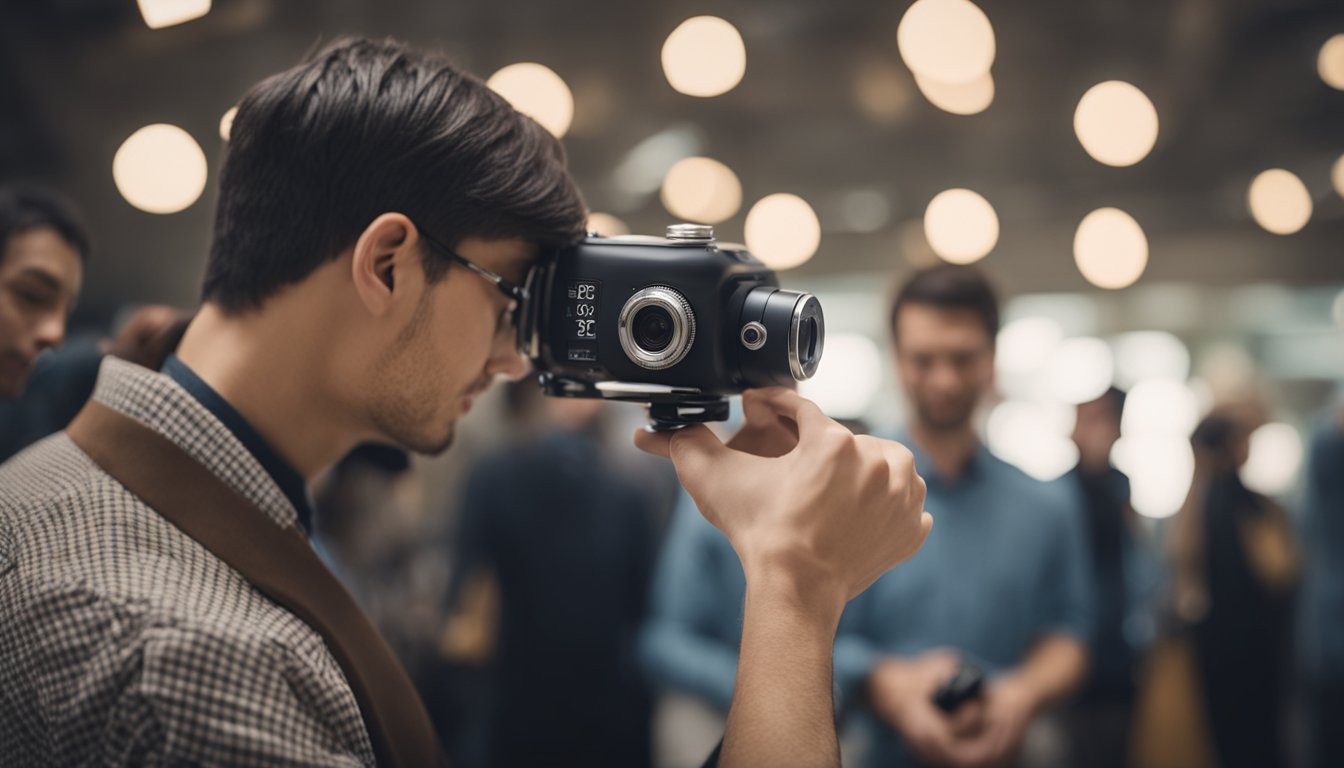
Setting Up Your Camera
https://www.youtube.com/watch?v=T_RKIitR2BI&embed=true
Congratulations on deciding to make your own 360 camera! Now that you have all the necessary components, it’s time to set up your camera. In this section, we’ll cover the mounting options and camera settings you need to consider before you start shooting.
Mounting Options
When it comes to mounting your 360 camera, you have a few options. The most common mounting options include a tripod, selfie stick, or a handheld grip. A tripod is a stable and reliable option, while a selfie stick allows for more flexibility and mobility. A handheld grip is a great option if you want to get creative with your shots.
When choosing a mounting option, consider the shooting environment and the level of stabilization you need. If you’re shooting in a windy area, a tripod may be the best option to keep your camera steady. If you’re on the move, a selfie stick or handheld grip may be more suitable.
Camera Settings
Before you start shooting, it’s important to set your camera settings properly. This will ensure that you get the best possible image quality and resolution. Here are some key camera settings to consider:
Resolution: The resolution of your camera will determine the quality of your footage. Higher resolutions will produce sharper and more detailed images, but will also require more storage space. Consider the shooting environment and the level of detail you need when choosing your camera’s resolution.
Image Quality: In addition to resolution, image quality is another important factor to consider. It affects the overall clarity and sharpness of your footage. Adjust your camera’s image quality settings based on the level of detail you need.
Stabilization: Stabilization is crucial for producing smooth and steady footage. Some 360 cameras come with built-in stabilization, while others require external stabilizers. Consider the level of stabilization you need based on the shooting environment and the type of shots you want to capture.
Dynamic Range: Dynamic range refers to the range of light and dark areas in your footage. A camera with a high dynamic range will capture more detail in bright and dark areas. This is important for producing high-quality footage in challenging lighting conditions.
By considering these camera settings and mounting options, you’ll be able to set up your 360 camera for the best possible footage.
Filming Techniques for 360 Video
https://www.youtube.com/watch?v=RHejHmUZR_U&embed=true
Creating 360-degree videos requires a different approach than traditional video production. You need to consider the immersive experience and how the viewer will interact with the content. In this section, we will cover some filming techniques that will help you capture immersive footage and manage movement and pace in your 360 videos.
Capturing Immersive Footage
To create an immersive experience, you need to capture footage that makes the viewer feel like they are part of the scene. Here are some tips to help you achieve this:
- Use a 360-degree camera: A 360-degree camera captures everything around it, allowing the viewer to look in any direction. This is essential for creating an immersive experience.
- Use a tripod: A stable camera is essential for creating a seamless experience. Use a tripod to keep the camera steady and level.
- Use natural lighting: Natural lighting can help create a realistic and immersive experience. Avoid using artificial lighting as it can create harsh shadows and reflections.
- Use a wide-angle lens: A wide-angle lens can help capture more of the scene and make the viewer feel like they are part of it.
Managing Movement and Pace
Managing movement and pace is essential for creating a comfortable and enjoyable viewing experience. Here are some tips to help you manage movement and pace in your 360 videos:
- Use slow and smooth movements: Jerky movements can be disorienting and uncomfortable for the viewer. Use slow and smooth movements to create a comfortable and enjoyable experience.
- Use natural movement: Use movement that mimics the way people naturally move. This can help create a more realistic and immersive experience.
- Use transitions: Transitions can help manage the pace of your video and create a seamless experience. Use fades or cuts to transition between scenes or shots.
By following these filming techniques, you can create immersive and enjoyable 360-degree videos that will captivate your audience. Remember to experiment and have fun with your footage to create a unique and engaging experience.
Audio for 360 Video
https://www.youtube.com/watch?v=FcSgRjU3dbU&embed=true
When creating a 360 video, it is important to have high-quality audio that matches the immersive visuals. To achieve this, you need to capture spatial audio, which delivers a full 360-degree soundscape that is responsive to the visual field. In other words, when you move your head in one direction or another, the audio changes to reflect the new perspective.
Capturing Spatial Audio
To capture spatial audio, you need to use a microphone or microphone array that can record sound from multiple directions. There are several types of microphones that are suitable for 360 video, including:
- Ambisonic Microphones: These are designed to capture sound in all directions and are the most common type of microphone used for spatial audio. They record sound on multiple channels that can be decoded into a full 360-degree soundscape during post-production.
- Binaural Microphones: These are designed to mimic the way that humans hear sound and are often used for ASMR videos. They capture sound on two channels that create a 3D audio effect when listened to through headphones.
- Shotgun Microphones: These are directional microphones that capture sound from a specific direction. They are useful for capturing dialogue or other sounds that need to be isolated from the surrounding environment.
Audio Equipment
In addition to a suitable microphone, you will need other equipment to capture high-quality audio for your 360 video. This includes:
- Audio Recorder: This is the device that records the audio from the microphone. You can use a standalone audio recorder or a camera that has a built-in audio recorder.
- Wind Protection: When recording audio outdoors, wind can cause unwanted noise and distortion. To prevent this, you can use a windscreen or a furry cover that fits over the microphone.
- Boom Pole: This is a long pole that holds the microphone and allows you to position it closer to the sound source. It is useful for capturing dialogue or other sounds that are far away from the camera.
By using the right audio equipment and capturing spatial audio, you can create a 360 video that is immersive and engaging for your audience.
Post-Production Workflow
https://www.youtube.com/watch?v=88uui1brOCI&embed=true
Once you’ve recorded your 360 video, it’s time to start the post-production process. In this section, we’ll go over the two main steps of post-production: video stitching and editing with software.
Video Stitching
Video stitching is the process of combining the footage from all of the cameras in your 360 camera rig into a single, seamless video. There are a number of software options available for video stitching, including Adobe Premiere Pro and Final Cut Pro.
When you’re stitching your video, it’s important to pay attention to the metadata that’s associated with each camera. This metadata includes information about the camera’s position, orientation, and lens distortion, and it’s used by the stitching software to align the footage from each camera.
Editing with Software
Once you’ve stitched your video, it’s time to start editing it with software. There are a number of software options available for editing 360 video, including Adobe Premiere Pro and Final Cut Pro.
When you’re editing your video, it’s important to keep in mind that your audience will be able to look in any direction, so you need to make sure that there’s something interesting to see in all directions. You can use text overlays, graphics, and other visual elements to draw your audience’s attention to different parts of the video.
Overall, the post-production process for 360 video can be time-consuming, but it’s worth it to create a high-quality, immersive video experience for your audience. With the right tools and techniques, you can create stunning 360 videos that will leave your viewers feeling like they’re right there with you.
Sharing Your 360 Video
https://www.youtube.com/watch?v=cViQTR7N_58&embed=true
Congratulations! You’ve created a stunning 360 video. Now it’s time to share it with the world. Here are some tips for exporting and optimizing your 360 video for different platforms.
Exporting for Platforms
When exporting your 360 video, you’ll want to make sure it’s in a format that’s compatible with the platform you’re sharing it on. Most platforms support MP4 files with H.264 encoding. However, some platforms have specific requirements for resolution and bit rate.
For YouTube, the recommended resolution for 360 videos is 2160p (4K) or 1440p (2K) with a bit rate of 16-50 Mbps. You can export your video directly from your editing software to YouTube, or you can use YouTube’s free 360 Video Metadata app to add the necessary metadata to your video.
For Facebook, the recommended resolution for 360 videos is 1080p with a bit rate of 4 Mbps. You can upload your video directly to Facebook or use the Facebook 360 Spatial Workstation to add the necessary metadata to your video.
Optimizing for Social Media
When sharing your 360 video on social media, it’s important to optimize it for the platform to ensure the best viewing experience for your audience.
On Facebook, you can use the “360 Director” feature to add text, images, and other elements to your video. You can also use Facebook’s “360 Guide” tool to add hotspots that allow viewers to interact with your video.
On YouTube, you can add annotations and end screens to your video to encourage viewers to subscribe to your channel or watch other videos. You can also use YouTube’s “360 Video Metadata” tool to add spatial audio to your video, which enhances the immersive experience for viewers.
In conclusion, sharing your 360 video is an exciting and rewarding experience. By following these tips, you can ensure that your video looks and sounds great on any platform.
Engaging with Your Audience
Once you have created your 360 camera and captured your immersive experience, it’s time to engage with your audience. Here are some tips to help you promote your content and analyze viewer engagement.
Promoting Your Content
Promoting your 360 video content is essential to getting it in front of your target audience. Here are some ways to promote your content:
- Share your video on social media platforms like Facebook, Instagram, and Twitter.
- Embed your video on your website or blog.
- Reach out to influencers in your industry and ask them to share your video.
- Run paid ads on social media platforms to reach a wider audience.
- Create a press release and distribute it to relevant media outlets.
Analyzing Viewer Engagement
Analyzing viewer engagement is crucial to understanding how your audience is interacting with your content. Here are some metrics to track:
- View count: Keep track of how many people are watching your video.
- Engagement rate: Track how long viewers are watching your video and how many interactions they are having with it.
- Click-through rate: If you have a call to action in your video, track how many people are clicking on it.
- Feedback: Encourage viewers to leave feedback on your video and use it to improve future content.
By promoting your content and analyzing viewer engagement, you can create a more successful and engaging immersive experience for your audience.
DIY 360 Camera
https://www.youtube.com/watch?v=vaogtrRmAuI&embed=true
If you’re looking to build your own 360-degree camera without breaking the bank, there are a few options available to you. In this section, we’ll cover two popular DIY projects that can help you create a 360 camera on a budget.
Building a 360 Camera on a Budget
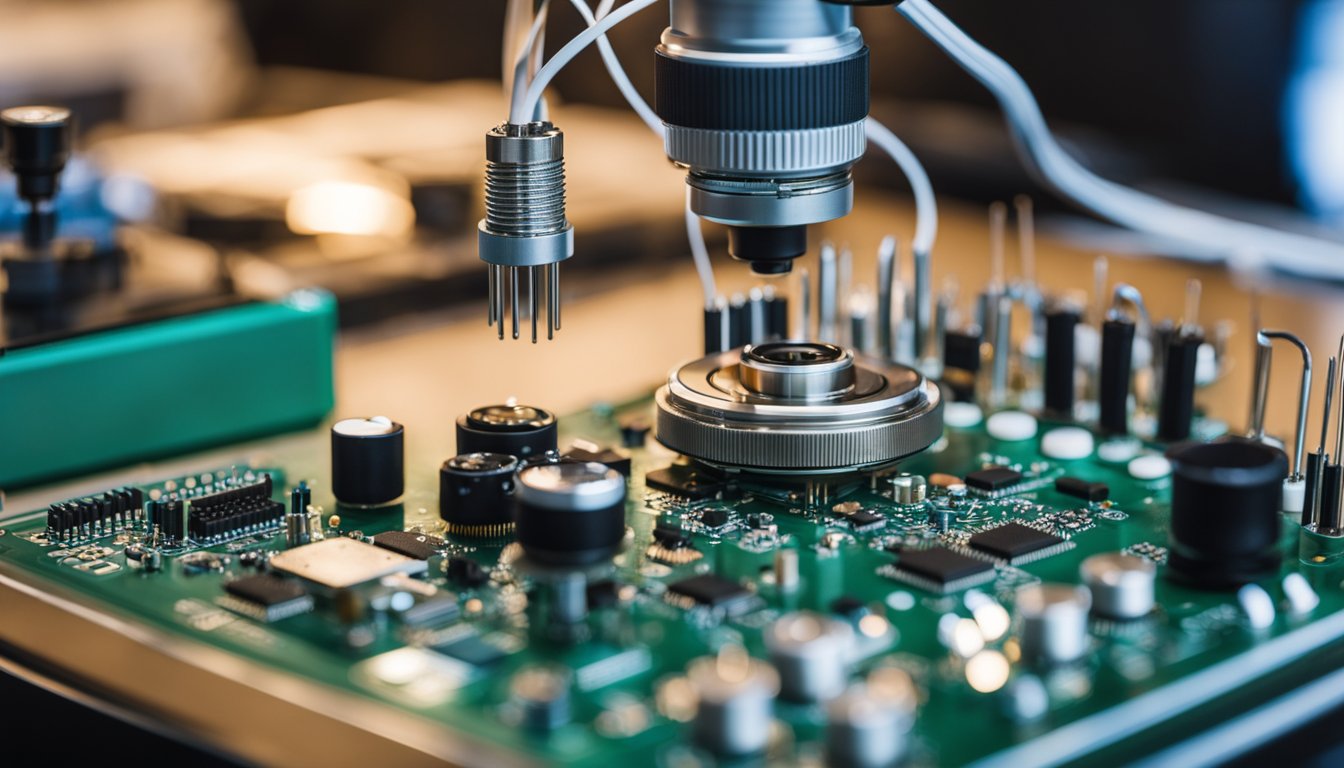
One popular option for building a 360 camera on a budget is using a Raspberry Pi. The Raspberry Pi is a small, affordable computer that can be used for a variety of DIY projects, including building a 360 camera. By using a Raspberry Pi and a few other components, you can create a 360 camera that’s capable of capturing high-quality images and videos.
To build your own 360 camera using a Raspberry Pi, you’ll need the following components:
- Raspberry Pi board
- Camera module
- Spherical reflective surface
- USB camera
- Micro SD card
- Power supply
Once you have all of the components, you can follow a step-by-step guide to assemble your camera. One such guide is available on Wonderful Engineering. The guide provides detailed instructions on how to assemble the camera and how to improve the device for a higher-quality image.
Tinkernut’s $50 Camera Project
Another popular DIY project for building a 360 camera on a budget is Tinkernut’s $50 camera project. Tinkernut is a YouTube channel that provides tutorials on various DIY projects, including building a 360 camera.
To build Tinkernut’s $50 camera project, you’ll need the following components:
- Raspberry Pi Zero
- Camera module
- Wide-angle lens
- USB hub
- USB Wi-Fi adapter
- Power supply
- Micro SD card
Once you have all of the components, you can follow Tinkernut’s step-by-step guide to assemble your camera. The guide is available on Digital Trends and provides detailed instructions on how to assemble the camera and how to program it to capture 360-degree images and videos.
Both of these DIY projects are great options for building a 360 camera on a budget. With a little bit of tinkering and some affordable components, you can create a camera that’s capable of capturing stunning 360-degree images and videos.
Frequently Asked Questions
https://www.youtube.com/watch?v=5xds4olIjw0&embed=true
What equipment do I need to create a 360-degree video booth?
To create a 360-degree video booth, you will need a 360-degree camera, a tripod, and a computer with editing software. You can find 360-degree cameras from various brands, including Ricoh, Insta360, and GoPro. For a tripod, make sure it can support the weight of your camera and has a leveling head to ensure your camera is level.
Can I build a DIY 360 photo booth, and if so, how?
Yes, you can build a DIY 360 photo booth. To do this, you will need a camera, a rotating platform, and a backdrop. You can use a DSLR camera or a 360-degree camera for this project. For the rotating platform, you can use a lazy susan or a motorized turntable. You can build a backdrop using PVC pipes and fabric.
What are the steps to making a 360 rotating camera rig?
To make a 360 rotating camera rig, you will need a motor, a controller, a battery, and a camera mount. You can find these items at your local electronics store or online. First, attach the camera mount to the motor. Then, attach the controller to the motor and connect it to the battery. Finally, connect your camera to the camera mount and turn on the motor to start rotating.
How can I take a 360-degree picture with a standard camera?
To take a 360-degree picture with a standard camera, you can use a technique called “panorama stitching.” Take several photos of your surroundings while rotating the camera slightly between each shot. Then, use photo editing software to stitch the photos together into a panoramic image.
What’s the average cost to build a 360 camera setup?
The cost to build a 360 camera setup varies depending on the components you choose. A basic 360-degree camera can cost around $200, while a more advanced camera can cost upwards of $1,000. Additionally, you will need a computer with editing software, a tripod, and other accessories, which can add to the cost.
Which motor is best for a 360 photo booth and where can I find it?
The best motor for a 360 photo booth is a stepper motor, which provides precise control over rotation. You can find stepper motors at your local electronics store or online. Make sure to choose a motor with enough torque to support the weight of your camera and rotating platform.