
If you’re an avid motorcycle rider, you know that there’s nothing quite like the feeling of cruising down an open road with the wind in your face. And if you’re looking to capture those amazing moments on camera, a 360 camera is the way to go. But with so many mounting options available, it can be tough to know where to start. In this article, we’ll explore the best places to mount a 360 camera on your motorcycle, so you can get the best possible footage of your rides.
Choosing the right 360 camera is the first step to getting great footage on your motorcycle. Action cameras are a popular choice, but they may not provide the level of detail you need for 360-degree footage. Instead, consider a dedicated 360 camera like the Insta360 One R or GoPro Max. These cameras are designed specifically for 360-degree recording, and offer features like automatic stitching and stabilization to help you get the best possible footage.
Once you’ve chosen your camera, it’s time to start thinking about mounting options. There are a variety of ways to mount a camera on your motorcycle, including helmet mounts, handlebar mounts, and even suction cup mounts. Each option has its own pros and cons, so it’s important to choose the one that’s right for you. In the following sections, we’ll explore the different mounting options in more detail, so you can make an informed decision.
Key Takeaways
- Choosing the right 360 camera is essential for getting high-quality footage on your motorcycle.
- There are several mounting options available, including helmet mounts, handlebar mounts, and suction cup mounts.
- The best mounting option for you will depend on your personal preferences and the type of footage you want to capture.
Choosing the Right 360 Camera
https://www.youtube.com/watch?v=5MvtlBYOFHg&embed=true
Capturing stunning 360-degree footage of your motorcycle rides requires a reliable camera that can withstand the rigors of the road. There are several factors to consider when choosing a 360 camera for your motorcycle.
Factors to Consider
- Durability: Your camera should be durable enough to withstand vibrations, dust, and weather conditions. Look for cameras that are specifically designed for action sports like motorcycle riding.
- Mounting Options: Consider the mounting options available for the camera. Some cameras come with specific mounts for motorcycles, while others may require additional accessories.
- Image Quality: Look for cameras that offer high-resolution video and photo capabilities. The better the image quality, the more immersive your footage will be.
- Ease of Use: Choose a camera that is easy to use and has a user-friendly interface. This will make it easier to capture footage while on the road.
Comparing Popular 360 Cameras
There are several popular 360 cameras on the market that are suitable for motorcycle riding. Here are a few of the most popular options:
| Camera | Features | Price |
|---|---|---|
| GoPro MAX | 360-degree video and photo, waterproof, HyperSmooth stabilization, touch screen | $499 |
| Insta360 One R | Interchangeable lens system, 360-degree video and photo, waterproof, FlowState stabilization, touch screen | $479 |
| Insta360 One X3 | 360-degree video and photo, waterproof, FlowState stabilization, touch screen | $429 |
| Ricoh Theta Z1 | 360-degree video and photo, high-resolution image quality, 4K video, dual lenses | $999 |
All of these cameras offer high-quality footage and are suitable for motorcycle riding. The GoPro MAX and Insta360 One R are particularly popular due to their rugged design and advanced stabilization features. However, the Insta360 One X3 is a more affordable option that still offers excellent image quality and stabilization. The Ricoh Theta Z1 is a premium camera that offers the highest image quality but comes with a higher price tag.
When choosing a 360 camera for your motorcycle, consider your budget, the features you need, and the mounting options available. With the right camera, you can capture stunning 360-degree footage of your motorcycle rides and relive the experience again and again.
Mounting Basics
https://www.youtube.com/watch?v=uDfQRMCti34&embed=true
Mounting your 360 camera on your motorcycle can be a great way to capture your adventures and share them with others. However, before you mount your camera, there are a few basics you should keep in mind to ensure safety and the best possible footage.
Safety First
When mounting your camera, your safety should be your top priority. Make sure the camera is securely mounted and won’t come loose while you’re riding. You don’t want the camera to fall off and cause an accident or injure someone else on the road.
Additionally, make sure the camera doesn’t obstruct your view or distract you while riding. You want to be able to focus on the road and your surroundings, not on your camera.
Understanding Motorcycle Dynamics
« Best 360 Dash Cam 2022: Top Picks for 360-Degree Video Coverage on the Road
How to Connect Mi 360 Camera Without Internet: A Simple Guide »
To get the best footage, it’s important to understand how your motorcycle moves and how it affects your camera. For example, if you mount your camera on your handlebars, the camera will move up and down as you hit bumps in the road. This can result in shaky footage that’s difficult to watch.


To minimize this, consider mounting your camera on your helmet or on a mount that attaches to your motorcycle’s frame. These options will result in smoother footage that’s easier to watch.
When choosing a mount, make sure it’s durable and weather-sealed. Your camera will be exposed to the elements, so you want to make sure it can withstand rain, wind, and other weather conditions.
By keeping these basics in mind, you can mount your 360 camera on your motorcycle safely and get the best possible footage.
Helmet Mounting Options

If you’re looking to mount a 360 camera on your motorcycle helmet, you have several options to choose from. In this section, we’ll explore the types of helmet mounts available and the pros and cons of each.

Types of Helmet Mounts
Adhesive Mounts
One of the easiest and most common ways to mount a 360 camera on your helmet is to use adhesive mounts. These mounts use strong adhesive pads to attach the camera to your helmet. Adhesive mounts are usually small and lightweight, making them a great option for 360 cameras.
Strap Mounts
Strap mounts are another popular option for mounting a 360 camera on your helmet. These mounts use straps to attach the camera to your helmet. Strap mounts are versatile and can be adjusted to fit different helmet sizes and shapes.
Screw Mounts
Screw mounts are a more permanent option for mounting a 360 camera on your helmet. These mounts require drilling a hole in your helmet to attach the camera. Screw mounts are the most secure option, but they are also the most difficult to install.
Pros and Cons of Helmet Mounting
Pros
Mounting a 360 camera on your helmet has several advantages. First, it allows you to capture a first-person perspective of your ride, which can be more immersive and engaging for viewers. Second, it frees up your hands to focus on riding, rather than holding a camera. Finally, helmet mounts are usually more stable than other types of mounts, which can result in smoother footage.
Cons
While helmet mounts have many advantages, they also have some drawbacks. First, they can be bulky and add extra weight to your helmet. This can make your helmet feel uncomfortable or unbalanced. Second, helmet mounts can be difficult to install, especially if you’re not handy with tools. Finally, helmet mounts can be expensive, especially if you opt for a high-quality mount.
In conclusion, there are several options available for mounting a 360 camera on your motorcycle helmet. Each option has its own pros and cons, so it’s important to choose the one that best fits your needs and preferences.
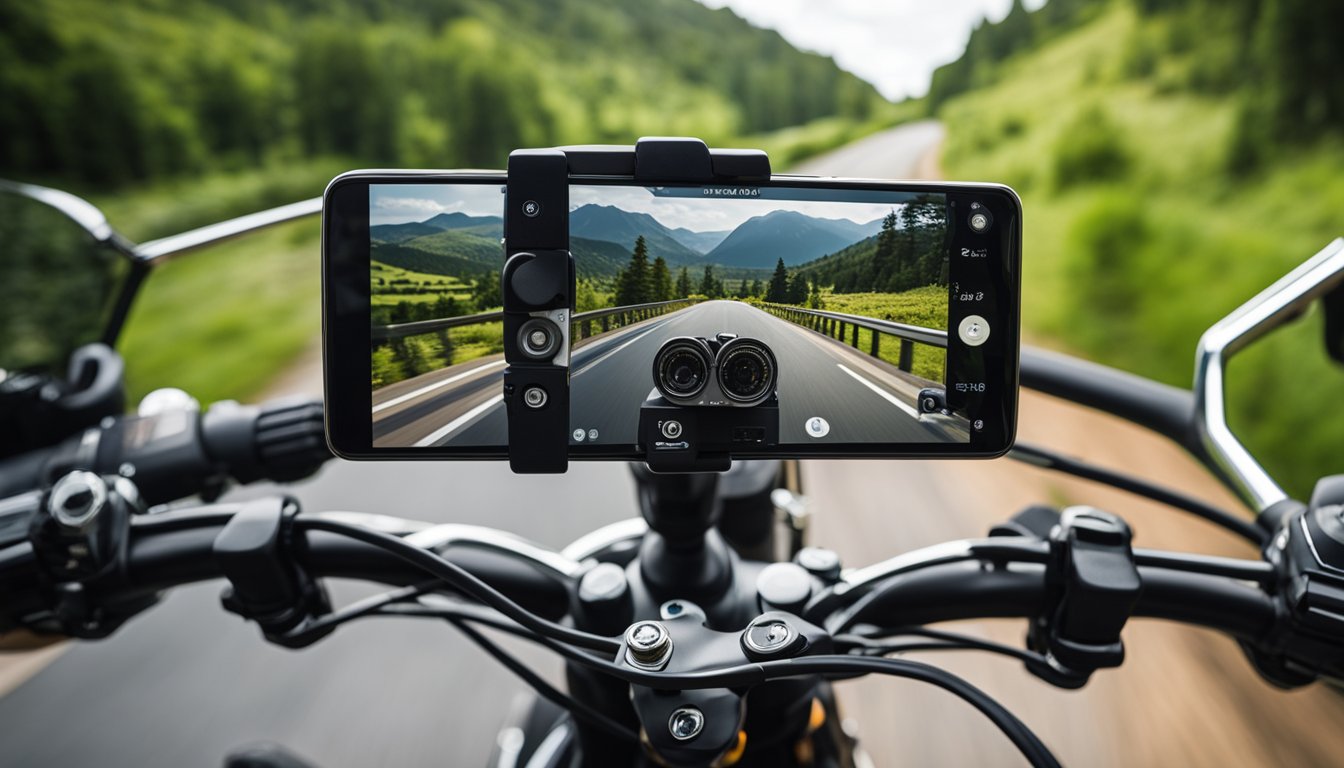
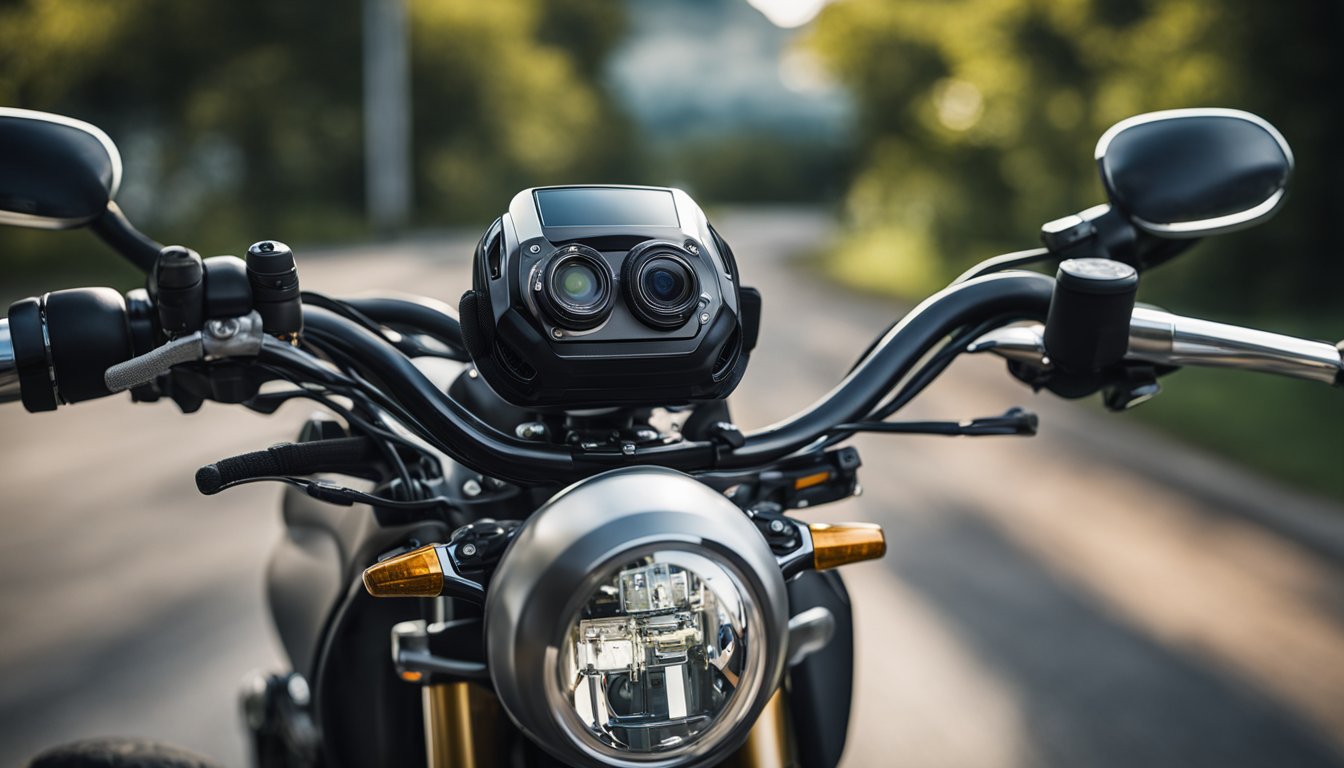
Handlebar Mounting Solutions
https://www.youtube.com/watch?v=8-gqUrxNFHk&embed=true
When it comes to mounting a 360 camera on your motorcycle, handlebar mounts are a popular option. They offer a stable and secure platform for your camera, and they are often easy to install and adjust. Here are some of the things you need to know about handlebar mounting solutions.
Handlebar Mount Types
There are several types of handlebar mounts available, and each has its advantages and disadvantages. Some of the most common types include:
Clamp Mounts: These mounts attach to the handlebars using a clamp, and they are often adjustable to fit different handlebar sizes. They are easy to install and remove, but they can sometimes be bulky and may interfere with other accessories.
Strap Mounts: These mounts use straps to attach to the handlebars, and they are often adjustable to fit different handlebar sizes. They are lightweight and easy to install, but they may not be as stable as clamp mounts.
Screw Mounts: These mounts attach to the handlebars using screws, and they are often the most stable option. They are also the most secure, but they can be difficult to install and may require drilling into your handlebars.
Vibration and Stability
One of the biggest challenges of mounting a camera on your motorcycle is dealing with vibration and instability. High speeds and bumpy roads can cause your camera to shake and produce shaky footage. Fortunately, there are several solutions to this problem.
Flowstate Stabilization: Some 360 cameras, such as the Insta360 ONE R, feature Flowstate Stabilization technology. This technology uses advanced algorithms to stabilize your footage and reduce the effects of vibration and movement.
Vibration Dampening Mounts: These mounts use special materials or designs to absorb vibrations and reduce camera shake. They are often more expensive than standard mounts, but they can produce smoother footage.
Stable Mounting Points: When mounting your camera, it is important to choose a stable mounting point on your motorcycle. Avoid mounting your camera on parts that are prone to vibration, such as the forks or engine. Instead, choose a mounting point that is as close to the center of the motorcycle as possible, such as the handlebars or the frame.
In summary, handlebar mounts are a popular and effective solution for mounting a 360 camera on your motorcycle. There are several types of handlebar mounts available, each with its advantages and disadvantages. To reduce the effects of vibration and instability, consider using Flowstate Stabilization technology, vibration dampening mounts, or stable mounting points.
Alternative Mounting Strategies
https://www.youtube.com/watch?v=wL6wTfW01Ho&embed=true
If you’re looking for a more creative angle to capture your motorcycle rides with a 360 camera, there are several alternative mounting strategies you can try. Here are a few options to consider:
Tank Mounts
Mounting your 360 camera on the tank of your motorcycle can provide a unique perspective of the road ahead. However, it’s important to make sure the mount is secure and won’t interfere with your ability to ride safely.
One option is to use a suction cup mount that attaches directly to the tank. Make sure to clean the surface of the tank thoroughly before attaching the mount to ensure a secure fit. Another option is to use a strap mount that wraps around the tank and holds the camera in place. This can be a more secure option, but may not provide as stable of a shot.
Rear and Side Mounts
Mounting your 360 camera on the rear or side of your motorcycle can provide a different perspective of your ride. One option is to use a swingarm mount, which attaches to the swingarm of your motorcycle and provides a low-angle view of the road behind you. Another option is to use a mirror mount, which attaches to the mirror mounting brackets and provides a sturdy location to show off extreme front and side views.
When considering alternative mounting strategies, it’s important to keep safety in mind. Make sure the mount is secure and won’t interfere with your ability to ride safely. Also, be aware of any laws or regulations in your area regarding the use of cameras while riding a motorcycle.
Overall, there are many different ways to mount a 360 camera on your motorcycle. Consider your personal preferences and the type of shots you want to capture when choosing a mounting strategy.
Camera Settings for Optimal Recording
https://www.youtube.com/watch?v=ookBkbYO55s&embed=true
When it comes to recording your motorcycle adventures with a 360 camera, getting the right camera settings is crucial to capture high-quality footage. In this section, we will discuss the optimal camera settings for your 360 camera to ensure that you capture the best footage possible.
Resolution and Frame Rate
The resolution and frame rate of your 360 camera are important factors to consider when recording. A higher resolution will give you a clearer and more detailed image, while a higher frame rate will capture more smooth and fluid motion.
For most 360 cameras, a resolution of 4K is recommended for optimal quality. Additionally, a frame rate of at least 30fps is recommended for smooth and fluid motion. However, keep in mind that higher resolutions and frame rates will require more storage space and processing power.
Sound and Microphone Setup
Sound is just as important as video when it comes to capturing your motorcycle adventures. Make sure your camera’s microphone is set up correctly to capture clear audio.
Most 360 cameras come with built-in microphones, but their quality can vary. If you want to capture high-quality audio, consider using an external microphone. This will give you more control over the audio quality and allow you to capture sound from specific directions.
When setting up your microphone, make sure it is positioned correctly to capture the sound you want. For example, if you want to capture the sound of your motorcycle engine, position the microphone near the exhaust pipe.
In conclusion, getting the right camera settings is crucial to capturing high-quality footage of your motorcycle adventures. Make sure you set the resolution and frame rate correctly, and consider using an external microphone for optimal audio quality. With the right camera settings, you can capture amazing 360 footage of your motorcycle adventures.
Maximizing Battery Life
https://www.youtube.com/watch?v=yXvmQqrxLzk&embed=true
When it comes to choosing a 360 camera for your motorcycle, battery life is an important consideration. You don’t want to have to stop filming in the middle of a beautiful ride because your camera’s battery died.
One option is to choose a camera with a longer battery life, such as the GoPro Max, which has a battery life of up to 78 minutes. Another option is to connect your camera to an external power source, such as a portable battery pack. This will allow you to keep your camera charged and filming for longer periods of time.
To maximize battery life, you can also adjust the camera’s settings. For example, you can turn off features like Wi-Fi, voice control, and GPS, which can drain the battery faster. You can also lower the camera’s resolution or frame rate, which will use less battery power.
In addition, it’s a good idea to bring extra batteries or a portable charger with you on longer rides. This will ensure that you always have a backup power source if your camera’s battery runs out.
Overall, maximizing battery life is an important consideration when choosing a 360 camera for your motorcycle. By choosing a camera with a longer battery life, connecting it to an external power source, adjusting the settings, and bringing backup power sources, you can ensure that you never miss a moment of your ride.
Enhancing Video Quality
https://www.youtube.com/watch?v=kd8FUK_fkvw&embed=true
When it comes to capturing footage from your motorcycle ride, you want to ensure that the video quality is top-notch. With a 360 camera, you can capture immersive footage that makes viewers feel like they’re right there with you on the ride. However, there are a few things to keep in mind to enhance the video quality.
Image Stabilization Features
One of the most important things to consider when mounting a 360 camera on your motorcycle is image stabilization. Without it, your footage can end up looking shaky and unstable. Some 360 cameras come with built-in image stabilization features that can help smooth out the footage.
For example, the Insta360 ONE R camera has FlowState Stabilization, which uses advanced algorithms to keep your footage stable and smooth, even when you’re riding over bumpy terrain. Similarly, the GoPro MAX camera has HyperSmooth 2.0 stabilization, which can help eliminate camera shake and produce smooth footage.
Low-Light Performance
Another important factor to consider when mounting a 360 camera on your motorcycle is low-light performance. If you’re riding at night or in low-light conditions, you want to make sure that your camera can still capture high-quality footage.
Some 360 cameras have better low-light performance than others. For example, the Garmin VIRB 360 camera has a high-sensitivity sensor that can capture clear footage even in low-light conditions. Similarly, the Ricoh Theta V camera has a wide aperture that lets in more light, resulting in better low-light performance.
By considering the image stabilization and low-light performance of your 360 camera, you can ensure that your footage is smooth and clear, no matter where you’re riding.
Advanced Techniques and Tips
https://www.youtube.com/watch?v=KpF7Ltt5Plo&embed=true
Capturing Dynamic Angles
When mounting your 360-degree camera on your motorcycle, it’s important to consider the angles you want to capture. Some of the best angles to capture include the road ahead, your motorcycle’s handlebars, and your own body position while riding. To capture these angles, you can mount your camera in various locations such as the front of your motorcycle, on the handlebars, or on your helmet.
Mounting your camera on the front of your motorcycle can give you a wide-angle view of the road ahead, while mounting it on the handlebars can give you a view of your handlebar inputs and your motorcycle’s speedometer. Mounting the camera on your helmet can give you a view of your body position while riding, as well as a unique perspective of the road ahead.
Utilizing Voice Control
One of the most useful features of modern 360-degree cameras is voice control. With voice control, you can start and stop recording, take photos, and change camera settings without having to take your hands off the handlebars. This can be especially useful when riding in challenging terrain or when you need to focus on the road ahead.
To use voice control, make sure your camera is set up for voice commands and that you have the appropriate voice commands memorized. Some common voice commands include “start recording,” “stop recording,” “take photo,” and “change mode.” With these commands, you can easily control your camera while riding your motorcycle.
Overall, by experimenting with different mounting locations and utilizing voice control, you can capture stunning 360-degree footage of your motorcycle adventures.
Editing and Sharing Your Videos
https://www.youtube.com/watch?v=Wfn-fzwQwAc&embed=true
Once you have captured your motorcycle adventures with your 360 camera, it’s time to edit and share your videos. Here are some tips to help you get started.
Software Recommendations
There are several software options available for editing 360 videos, but some of the most popular ones are Adobe Premiere Pro, Final Cut Pro, and GoPro Player. These software programs allow you to edit your videos, add music, and create transitions between scenes. They also have features that are specifically designed for 360 videos, such as the ability to adjust the horizon line and remove the camera rig from the footage.
If you’re new to video editing, you may want to start with GoPro Player, as it’s free and easy to use. It has a simple interface that allows you to trim your footage, add music, and export your video in a variety of formats.
Building an Audience
Once you’ve edited your videos, it’s time to share them with the world. There are several platforms where you can share your motorcycle videos, such as YouTube, Vimeo, and Facebook. YouTube is the most popular platform for sharing videos, and it’s a great way to build an audience. You can create a channel and upload your videos, and then promote your channel on social media and other websites.
When sharing your videos, it’s important to use descriptive titles and tags so that people can find them easily. You should also engage with your audience by responding to comments and asking for feedback. This will help you build a loyal following and improve your videos over time.
In conclusion, editing and sharing your 360 motorcycle videos can be a fun and rewarding experience. With the right software and a little bit of creativity, you can create amazing videos that showcase your adventures on the road. So grab your camera, hit the road, and start filming!
Maintaining Your Equipment
Your 360 camera is an essential tool for capturing your motorcycle adventures. To ensure that it continues to function properly, you need to maintain it properly. Here are some tips to help you keep your camera in top shape:
Keep It Clean
Dirt, dust, and debris can damage your camera’s lenses and reduce the quality of your footage. To prevent this from happening, make sure to clean your camera regularly. Use a soft, dry cloth to wipe away any dirt or debris from the camera body and lenses. If necessary, use a lens cleaning solution and a microfiber cloth to clean the lenses.
Protect It from the Elements
Weather-sealed cameras are designed to withstand harsh weather conditions. However, it’s still a good idea to protect your camera from rain, snow, and extreme temperatures. Use a weatherproof camera case or cover to protect your camera when you’re not using it. If you’re riding in wet conditions, consider using a waterproof camera housing to protect your camera from water damage.
Check for Damage
360 cameras for motorcycles are built to be durable, but they can still be damaged if they’re dropped or hit. After every ride, inspect your camera for any signs of damage. Check the lenses for scratches or cracks, and make sure that the camera body is intact. If you notice any damage, take your camera to a professional for repair.
By following these tips, you can keep your 360 camera in top shape and ensure that it continues to capture high-quality footage of your motorcycle adventures.
Frequently Asked Questions
https://www.youtube.com/watch?v=nVWikncEsjM&embed=true
What are the optimal mounting positions for a 360 camera on a motorcycle?
The optimal mounting positions for a 360 camera on a motorcycle are the helmet, handlebars, or tail section. The helmet mount provides a first-person perspective, handlebars offer a view of the rider’s hands, and the tail section mount captures the rear view of the bike.
How can I securely attach an Insta360 camera to my motorcycle helmet?
To securely attach an Insta360 camera to your motorcycle helmet, you can use a helmet mount that comes with the camera. The mount should be attached to the top of the helmet using the adhesive pad provided. Make sure the camera is securely attached to the mount before riding.
Are there any specific mounts recommended for attaching an Insta360 X3 to a bike?
Yes, there are specific mounts recommended for attaching an Insta360 X3 to a bike. The manufacturer provides a range of mounts, including a handlebar mount, a helmet mount, and a suction cup mount. These mounts are designed to securely hold the camera in place while riding.
What settings should I use for my Insta360 X3 when riding a motorcycle?
When riding a motorcycle, it is recommended to use the Insta360 X3 camera in 360-degree mode, with the stabilization feature turned on. This will ensure that the footage is stable and smooth, even when riding on bumpy roads.
Can you suggest a sturdy mounting option for a 360 camera using a U-bolt?
Yes, a sturdy mounting option for a 360 camera using a U-bolt is the RAM Mounts U-Bolt Base. This mount is designed to securely attach to the handlebars of a motorcycle and can accommodate a range of 360 cameras.
What should I consider when choosing a location for my GoPro or 360 camera on my bike?
When choosing a location for your GoPro or 360 camera on your bike, you should consider factors such as the angle of view, stability, and safety. The camera should be mounted in a location that provides a clear view of the road ahead and does not obstruct the rider’s vision. It should also be securely attached to the bike to prevent it from falling off during the ride.