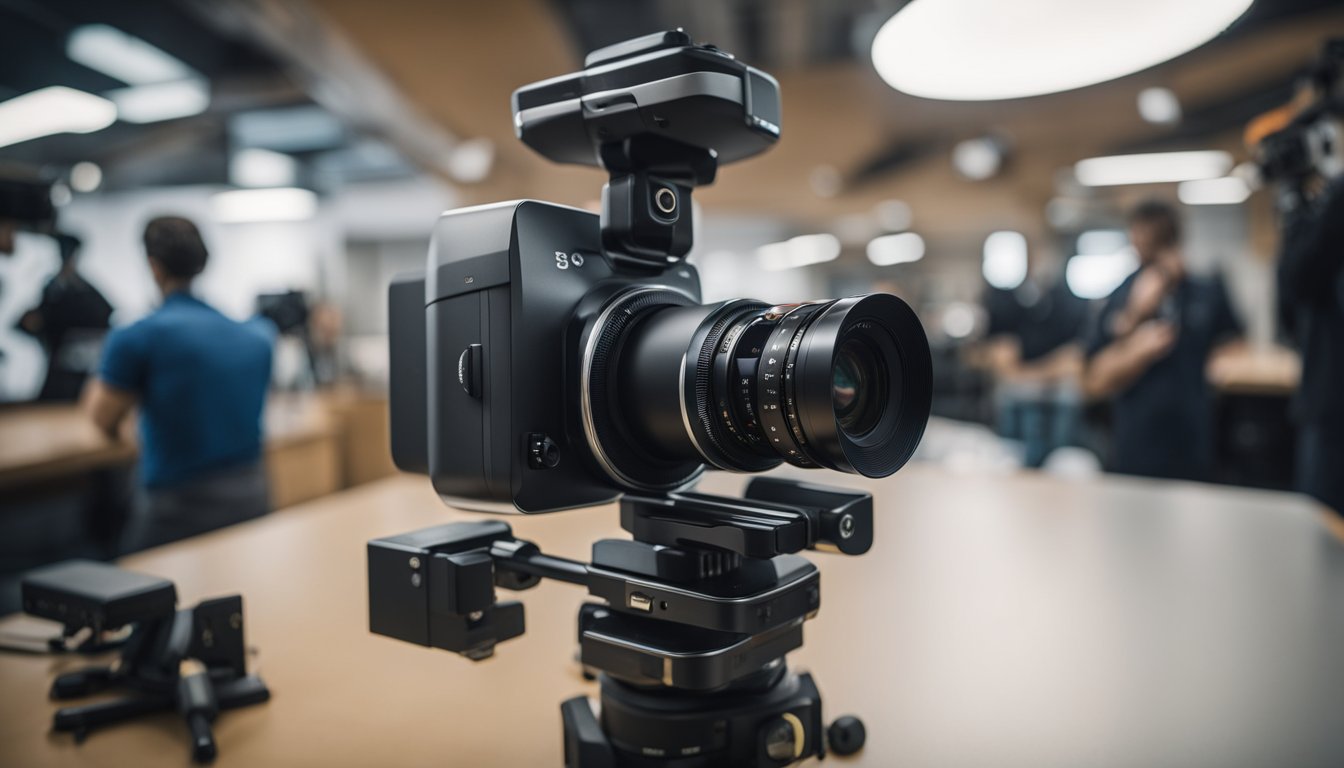
Calibrating your 360 camera is essential for capturing high-quality 360-degree footage. If you’re new to the world of 360 cameras, the calibration process might seem daunting. However, with the right knowledge and tools, you can easily calibrate your camera to ensure that your footage is stable, clear, and distortion-free.
To begin, it’s important to understand the basics of how a 360 camera works. These cameras use multiple lenses to capture a full 360-degree view of your surroundings. During the calibration process, you’ll need to ensure that each lens is properly aligned and calibrated to produce a seamless image. This involves adjusting various settings such as exposure, white balance, and focus.
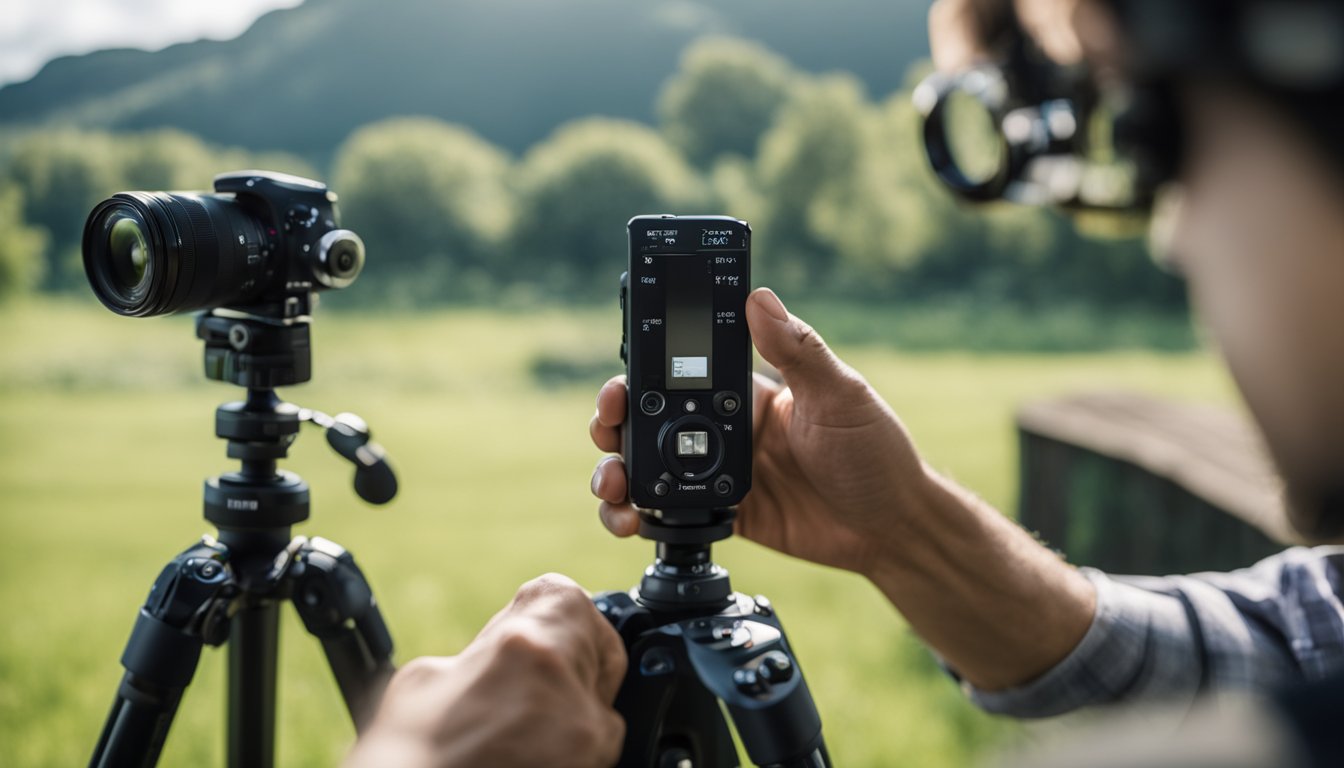
Once you understand the basics of a 360 camera and the calibration process, you can begin preparing for calibration. This involves finding the right location, using a tripod or stabilizer, and ensuring that your camera is fully charged. With the right preparation and knowledge, you’ll be able to calibrate your 360 camera like a pro.
Key Takeaways
- Understanding the basics of 360 cameras is crucial before calibrating your camera.
- Proper preparation is key to ensuring successful calibration.
- Adjusting exposure, white balance, and focus are important steps in the calibration process.
Understanding 360 Cameras
https://www.youtube.com/watch?v=W6kUJy_sIHA&embed=true
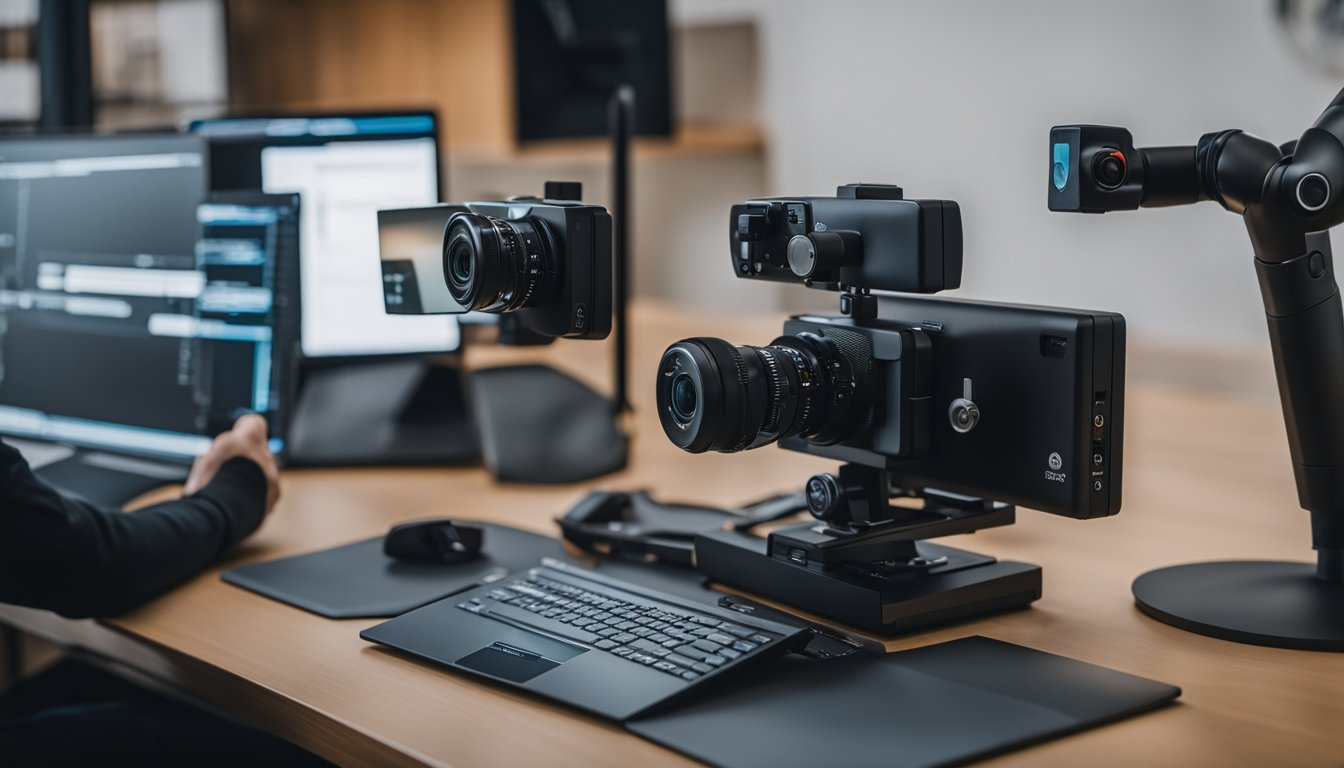
If you’re interested in capturing immersive, 360-degree photos and videos, then a 360 camera is an excellent choice. These cameras use multiple lenses to capture a full 360-degree view of the world around you. In this section, we’ll explore the different types of 360 cameras and their key features.
Types of 360 Cameras
There are two main types of 360 cameras: consumer-grade and professional-grade. Consumer-grade 360 cameras are designed for everyday use and are generally more affordable. They’re great for capturing fun moments with friends and family, and they’re usually easy to use. Professional-grade 360 cameras, on the other hand, are designed for more serious use. They’re often used by filmmakers and other professionals who need high-quality footage. They tend to be more expensive and require more technical know-how to use.
Another way to categorize 360 cameras is by their form factor. Some 360 cameras are designed to be handheld, while others are meant to be mounted on a tripod or other support. Some 360 cameras are even designed to be attached to a drone or other flying vehicle.
Key Features of 360 Cameras
360 cameras come with a variety of features, depending on the make and model. Here are some of the most important features to look for:
- Resolution: The resolution of a 360 camera determines how sharp and detailed your photos and videos will be. Higher resolutions are generally better, but they also require more storage space and processing power.
- 360 Lens: The 360 lens is the heart of a 360 camera. It captures a full 360-degree view of the world around you. Some 360 cameras have one lens, while others have two or more.
- Stabilization: Because 360 cameras capture a full 360-degree view, any movement can be jarring for the viewer. That’s why many 360 cameras come with built-in stabilization features to smooth out any bumps or shakes.
- Connectivity: Most 360 cameras come with built-in Wi-Fi or Bluetooth connectivity, which makes it easy to transfer your photos and videos to your phone or computer. Some cameras even come with built-in cellular connectivity, so you can upload your content directly to the web.
- Waterproofing: If you plan to use your 360 camera outdoors, look for one that’s waterproof or water-resistant. Some cameras can even be used underwater.
In summary, 360 cameras are a great tool for capturing immersive, 360-degree photos and videos. They come in a variety of shapes and sizes, and offer a range of features to suit different needs and budgets. Whether you’re a professional filmmaker or just looking to capture some fun moments with friends and family, there’s a 360 camera out there for you.
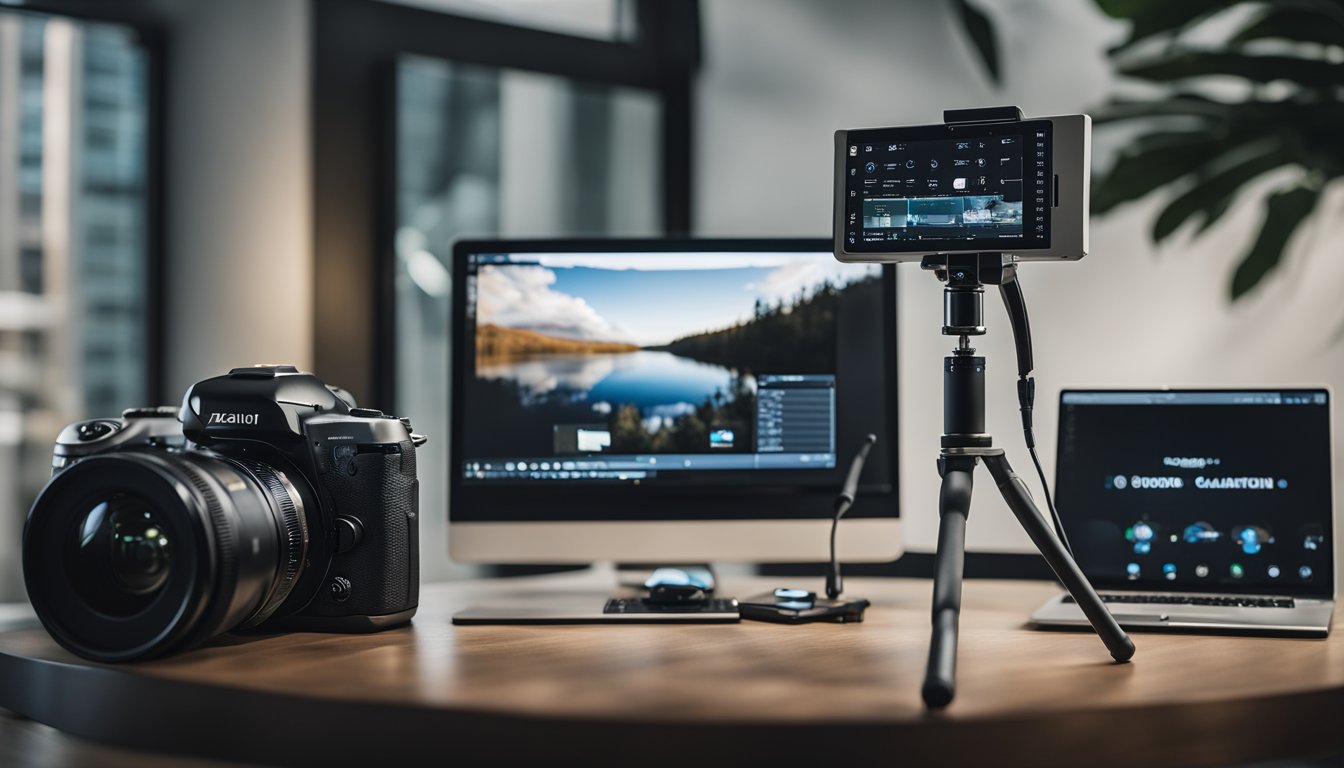
Preparing for Calibration
https://www.youtube.com/watch?v=2EPncuaf7u8&embed=true
Before calibrating your 360 camera, it is important to ensure that you have prepared properly. This section will cover the steps you should take to prepare for calibration, including checking camera firmware and selecting the right SD card.
Checking Camera Firmware
Before calibration, it is important to check that your camera firmware is up to date. Firmware updates often include bug fixes and improvements that can affect the calibration process. You can check for firmware updates on the manufacturer’s website or through the camera’s settings menu.
Selecting the Right SD Card
« Best 360 Camera for Photos: Top Picks for Capturing Stunning Shots
What is a 360 Camera on a Car? A Beginner’s Guide to the Latest Car Technology »
Another important factor to consider when preparing for calibration is selecting the right SD card. For best results, use a UHS-I micro SD card with a V30 or above speed class. This will ensure that the camera can write data to the card quickly and accurately.


It is also important to format the SD card in the exFAT format. This format is compatible with both Windows and Mac operating systems and allows for larger file sizes than other formats. Before formatting, make sure to back up any important data on the card.
By following these steps, you can ensure that your camera is properly prepared for calibration. This will help ensure accurate and reliable results.
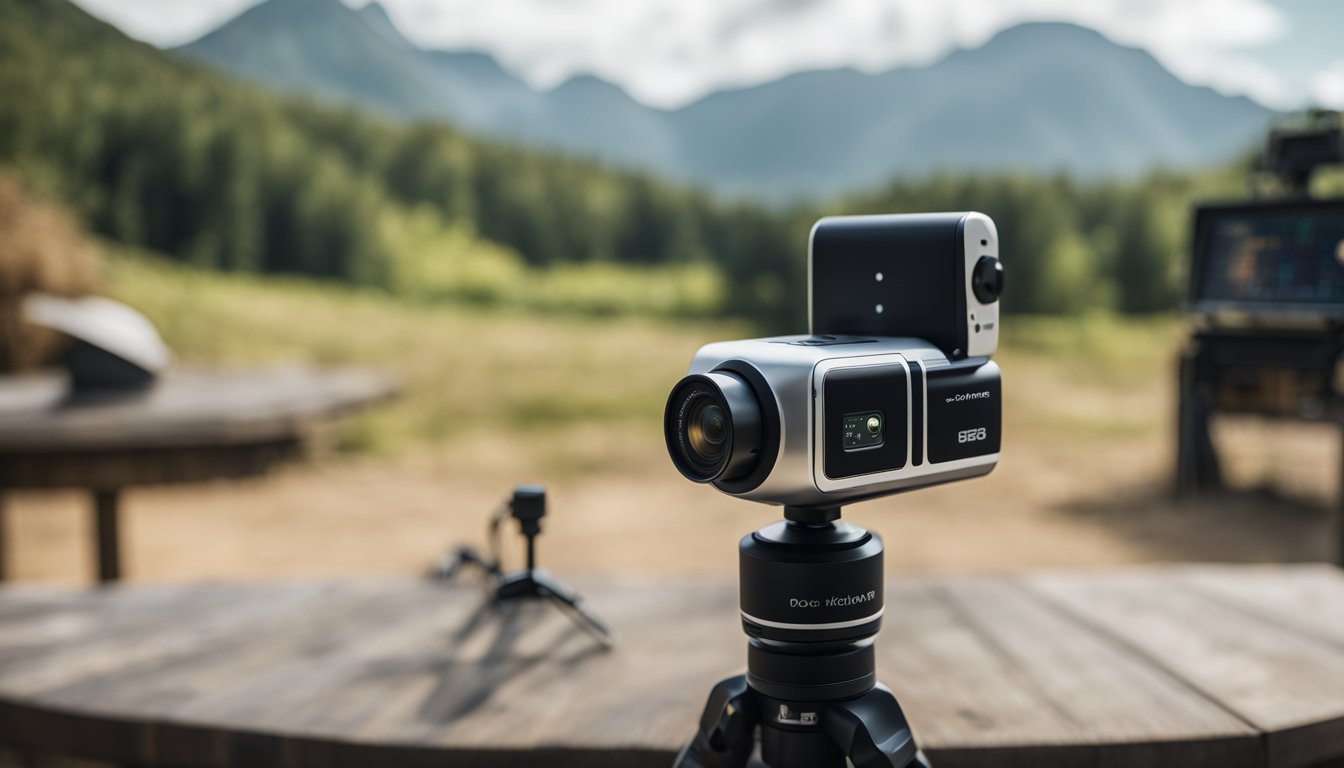
Calibration Basics
https://www.youtube.com/watch?v=g4H8msSQhr0&embed=true
Calibrating your 360 camera is an important step to ensure that your camera is functioning properly and capturing accurate footage. In this section, we will cover the basics of calibration, including accessing the settings menu and understanding calibration settings.
Accessing the Settings Menu
To access the settings menu on your 360 camera, you will need to first turn on your camera and connect it to your device. Once your camera is connected, open the camera app and navigate to the settings menu. The location of the settings menu may vary depending on your camera model, but it is typically located in the top right corner of the screen.


Understanding Calibration Settings
Once you have accessed the settings menu, you will need to navigate to the calibration settings. Calibration settings may be labeled differently depending on your camera model, but they typically include options for adjusting the camera’s alignment, focus, and exposure.
Before calibrating your camera, it is important to understand the purpose of each calibration setting. Alignment settings are used to adjust the camera’s position and angle to ensure that it is level and pointing in the correct direction. Focus settings are used to adjust the camera’s focus to ensure that objects in the distance are clear and in focus. Exposure settings are used to adjust the camera’s exposure to ensure that the footage is properly lit and not too bright or too dark.
In summary, accessing the settings menu and understanding calibration settings are essential steps to calibrating your 360 camera. By taking the time to properly calibrate your camera, you can ensure that your footage is accurate and of the highest quality.
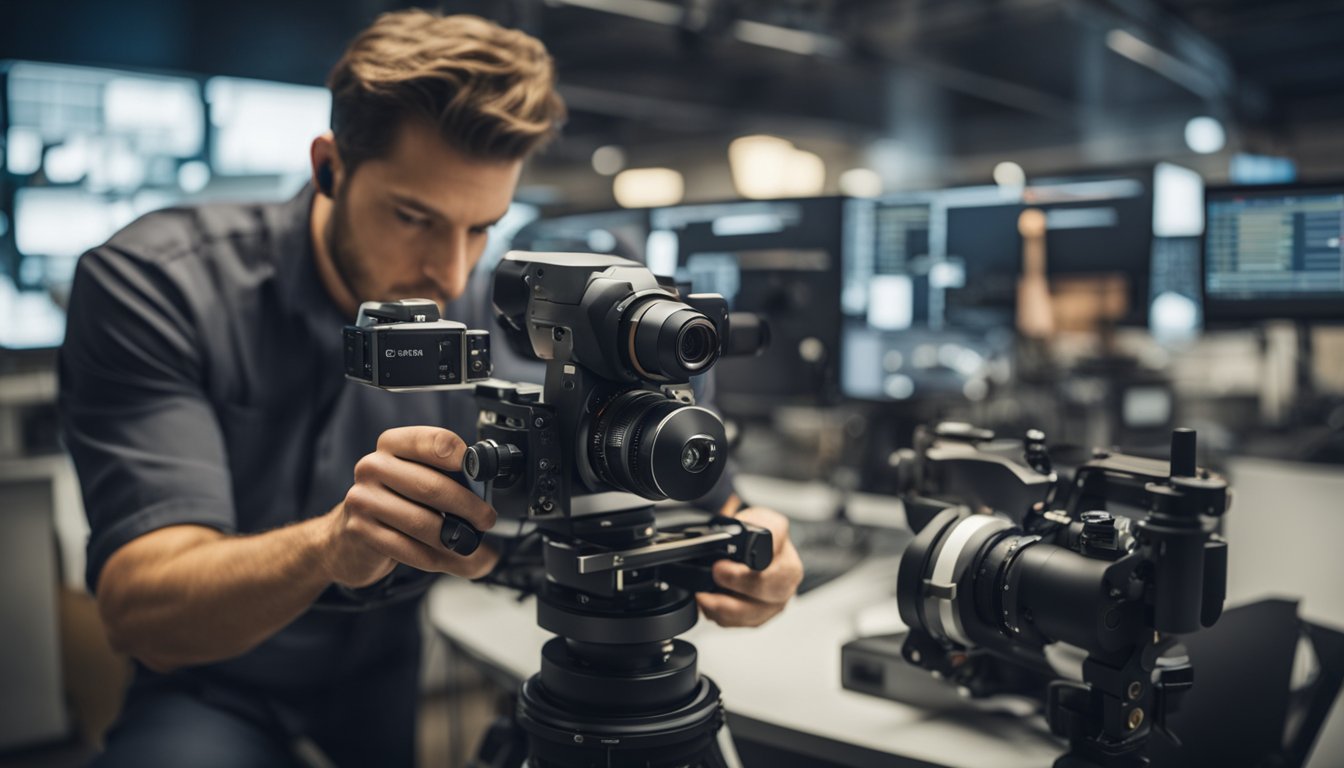
Advanced Calibration Settings
Adjusting manual settings is an important part of calibrating your 360 camera. The manual settings allow you to adjust the exposure, shutter speed, and ISO to get the best possible image quality.
To adjust the manual settings, you will need to access the camera’s settings menu. Once you are in the settings menu, look for the manual settings option. You can then adjust the exposure, shutter speed, and ISO to your liking.
Fine-tuning sharpness and color profiles is another important aspect of calibrating your 360 camera. The sharpness setting controls how sharp or soft the image appears, while the color profile setting controls the color saturation and contrast.
When it comes to sharpness, you can choose between standard and vivid settings. Standard is a good choice for most situations, while vivid can make the image appear more vibrant.
For color profiles, you can choose between standard and vivid options as well. Standard is a good choice for most situations, while vivid can make the colors appear more saturated.
In low light situations, it is important to adjust the camera’s settings accordingly. You may need to increase the ISO to get a brighter image, or decrease the shutter speed to allow more light into the camera.
Overall, adjusting the manual settings and fine-tuning sharpness and color profiles can greatly improve the image quality of your 360 camera. Experiment with different settings to find what works best for your situation.
Optimizing Stabilization
When it comes to 360 cameras, stabilization is crucial to ensure that the video footage is smooth and enjoyable to watch. In this section, we will discuss two ways to optimize stabilization for your 360 camera: using gyroscope for horizon lock and utilizing FlowState and Dynamic Range.
Using Gyroscope for Horizon Lock
The gyroscope is an essential component in most 360 cameras. It helps to detect the orientation of the camera and ensures that the horizon line stays level. This feature is known as horizon lock. By using this feature, you can prevent the horizon line from tilting or rotating, which can cause discomfort for the viewer.
To use the gyroscope for horizon lock, you need to ensure that your camera is level when you start recording. Once you have started recording, the camera will use the gyroscope to detect any changes in orientation and adjust the video accordingly. This feature is particularly useful when you are moving the camera around, as it will keep the horizon line level even if the camera is tilted or rotated.
FlowState and Dynamic Range
FlowState is a type of stabilization technology that is used in some 360 cameras. It is designed to keep the video footage stable even when the camera is moving around. This technology is particularly useful when you are walking or running with the camera, as it can compensate for any movements or vibrations.
Dynamic Range is another feature that can help to optimize stabilization. It is a type of HDR (High Dynamic Range) technology that is used to capture more detail in both bright and dark areas of the video. This can help to ensure that the video footage is clear and smooth, even in challenging lighting conditions.
In conclusion, optimizing stabilization is essential for ensuring that your 360 videos are smooth and enjoyable to watch. By using the gyroscope for horizon lock and utilizing FlowState and Dynamic Range, you can enhance the stability and quality of your 360 videos.
Troubleshooting Common Issues
Calibrating a 360 camera system can be challenging, especially when dealing with common issues like stitch lines, vibrations, and collision problems. Here are some troubleshooting tips to help you get the most out of your 360 camera system.
Dealing with Stitch Lines
Stitch lines are the seams between the individual camera views that make up the 360-degree image. They can be distracting and make the image look less seamless. To fix this issue, you can try adjusting the camera angles and positions to minimize the overlap between the individual views. You can also try using software tools to blend the images together and reduce the visibility of the stitch lines.
Fixing Vibration and Collision Problems
Vibration and collision problems can cause the camera system to become misaligned and produce blurry or distorted images. To fix this issue, you can try adjusting the camera mount to reduce the amount of vibration and shock that the camera experiences. You can also try using software tools to stabilize the image and reduce the visibility of the vibrations and collisions.
In some cases, you may need to recalibrate the camera system to fix these issues. This involves resetting the camera to its default settings and recalibrating the individual camera views to ensure that they are properly aligned.
By following these troubleshooting tips, you can get the most out of your 360 camera system and produce high-quality images and videos. Remember to always consult the manufacturer’s instructions and guidelines when troubleshooting your camera system to avoid causing any damage or voiding the warranty.
Enhancing the 360 Video Experience
If you want to create a 360 video that truly immerses your audience, you need to know how to calibrate your 360 camera correctly. However, calibration is only one part of the equation. In this section, we will explore how to enhance the 360 video experience for your viewers.
Choosing the Right Perspective
When creating 360 videos, perspective is everything. You want to make sure that your audience feels like they are part of the action. Here are a few tips to help you choose the right perspective:
Consider the Subject Matter: If you are shooting an action-packed scene, you may want to use a first-person perspective to make your audience feel like they are right in the middle of the action. On the other hand, if you are shooting a landscape, you may want to use a third-person perspective to give your audience a better view of the surroundings.
Think About the Story: The perspective you choose can also help tell the story. For example, if you are telling a story about a character’s journey, you may want to use a first-person perspective to help your audience feel like they are on the journey with the character.
Experiment with Different Perspectives: Don’t be afraid to experiment with different perspectives to see what works best for your video. You may find that a combination of perspectives works best.
Export Settings for Different Platforms
Once you have created your 360 video, you need to export it properly to ensure that it looks great on different platforms. Here are a few tips to help you export your 360 video for different platforms:
YouTube: If you are planning to post your 360 video on YouTube, you need to export it as an equirectangular video with a 2:1 aspect ratio. You should also add the 360 metadata to your video file.
Facebook: If you are planning to post your 360 video on Facebook, you need to export it as an equirectangular video with a 2:1 aspect ratio. You should also add the 360 metadata to your video file.
Reframed 360 Videos: If you want to reframe your 360 video, you need to export it as a 4K or higher resolution equirectangular video. This will ensure that the quality of your reframed video is high.
By following these tips, you can create a 360 video that is not only calibrated correctly but also enhances the viewer’s experience.
Additional Camera Setup
If you want to get the most out of your 360 camera, there are a few additional setup options you can consider. In this section, we’ll take a look at using multiple cameras for coverage and incorporating external devices.
Using Multiple Cameras for Coverage
If you want to capture a wider area, you can use multiple 360 cameras to cover more ground. This can be particularly useful for events or large gatherings where you want to capture everything that’s happening.
When using multiple cameras, it’s important to make sure they are all calibrated properly so that the footage can be stitched together seamlessly. You can use a tripod or other mounting equipment to keep the cameras in place, and make sure they are all set to the same settings.
Incorporating External Devices
If you want to take your 360 camera setup to the next level, you can incorporate external devices like an invisible selfie stick or an external mic. An invisible selfie stick can help you get a higher vantage point without the stick being visible in the footage. An external mic can help you capture better audio quality, which can be particularly important if you’re recording a concert or other music event.
When incorporating external devices, it’s important to make sure they are compatible with your 360 camera and that you have the necessary adapters or connectors. You’ll also need to make sure you have enough storage space to capture all of the footage, particularly if you’re recording in high resolution.
Overall, there are many ways to set up your 360 camera to get the best results. By using multiple cameras and incorporating external devices, you can capture even more amazing footage and take your videos to the next level.
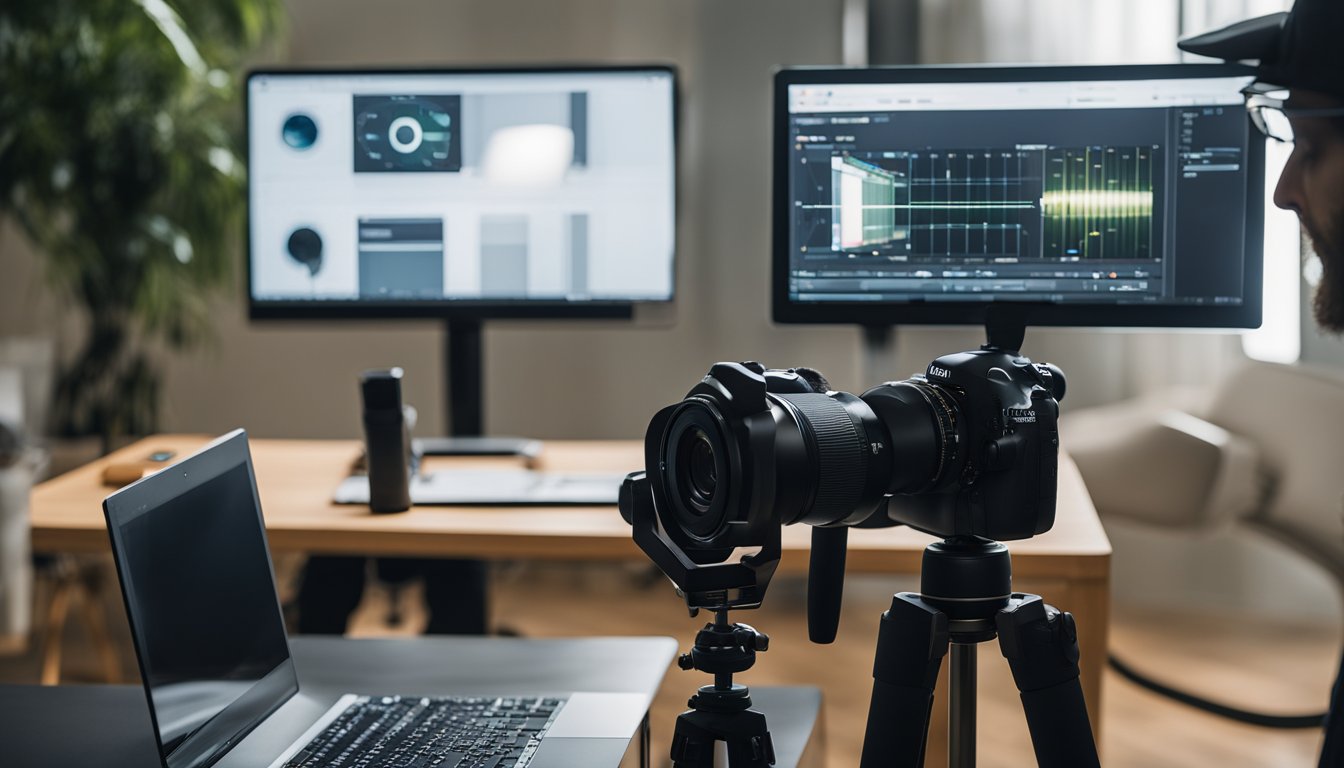
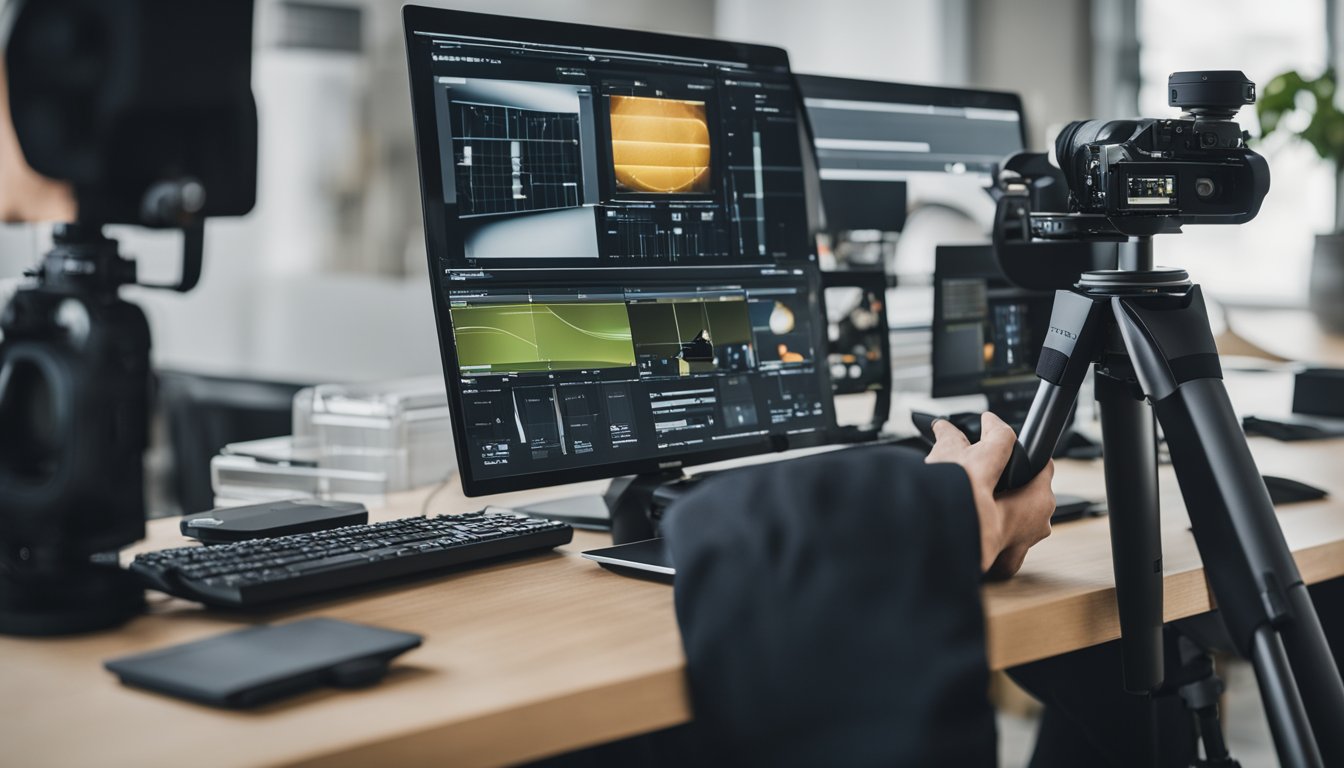
Post-Processing and Editing
https://www.youtube.com/watch?v=Mpv5arNbd1Q&embed=true
After capturing your 360 footage, the next step is to edit and post-process it. In this section, we’ll discuss how to edit your footage using the Insta360 software and advanced editing with professional software.
Editing with Insta360 Software
The Insta360 app and Insta360 Studio are both great options for editing your 360 footage. The app is designed for mobile devices and is a great tool for quick edits on the go. The Studio software is a desktop application that provides more advanced editing tools.
With the Insta360 app, you can easily trim your footage, add music, and apply filters. You can also adjust the color and exposure settings to enhance your footage. The app also allows you to export your footage in various resolutions and formats.
Insta360 Studio provides more advanced editing tools, including the ability to adjust the stitching of your footage and add keyframes for more precise control over your edits. You can also export your footage in ProRes format, which is a high-quality codec that is commonly used in professional video production.
Advanced Editing with Professional Software
If you’re looking for even more advanced editing tools, professional software like Adobe Premiere, Final Cut, and After Effects are great options. These programs offer a wide range of tools for color grading, visual effects, and more.
With Adobe Premiere, you can use the VR Rotate Sphere effect to adjust the orientation of your footage and apply effects like blur and sharpening. Final Cut also offers a range of tools for 360 video editing, including the ability to adjust the field of view and add 360-specific effects.
After Effects is another great option for 360 video editing, with tools like SkyBox Studio that allow you to add text and graphics to your footage. You can also use the VR Comp Editor to preview your edits in a 360-degree environment.
In conclusion, there are many options available for editing and post-processing your 360 footage. Whether you’re using the Insta360 app or advanced professional software, there are tools available to help you create high-quality 360 videos.
Maintaining Your 360 Camera
Keeping your 360 camera in good condition is essential to ensure that it continues to work as it should. Here are some tips to help you maintain your 360 camera:
Regular Firmware Updates
Make sure that you keep your camera firmware up to date. Regular firmware updates can help improve the performance of your camera and fix any bugs or issues that may arise. Check the manufacturer’s website frequently to see if there are any new firmware updates available for your camera.
Proper Storage and Handling
Proper storage and handling are also important to ensure that your camera stays in good condition. When not in use, store your camera in a cool, dry place away from direct sunlight. Avoid exposing your camera to extreme temperatures or humidity, as this can damage the camera lens and other components.
When handling your camera, be sure to handle it with care. Avoid dropping or bumping your camera, as this can damage the lenses and other components. Always use a protective case when transporting your camera to prevent any damage.
Conclusion
By following these simple tips, you can help ensure that your 360 camera stays in good condition and continues to work as it should. Remember to keep your firmware up to date and handle your camera with care to prevent any damage. With proper maintenance, your camera can provide you with high-quality 360-degree images and videos for years to come.
Frequently Asked Questions
What steps are involved in calibrating a new 360-degree camera system in my vehicle?
Calibrating a new 360-degree camera system in your vehicle involves several steps. First, you need to ensure that the camera system is installed correctly. Then, you need to calibrate the camera system by following the manufacturer’s instructions. This usually involves placing the vehicle on a level surface and using a calibration tool to align the cameras.
Can I calibrate my vehicle’s 360 camera system on my own, and if so, how?
Yes, you can calibrate your vehicle’s 360 camera system on your own. However, it is important to follow the manufacturer’s instructions carefully. You will need to have a calibration tool, which can be purchased from the manufacturer or a third-party supplier. The calibration tool is used to align the cameras and ensure that they are pointing in the right direction.
What common issues should I look out for during the DIY calibration of a surround view camera?
During the DIY calibration of a surround view camera, you should look out for several common issues. These include misaligned cameras, poor image quality, and incorrect camera angles. If you encounter any of these issues, you should refer to the manufacturer’s instructions or seek professional assistance.
Are there specific instructions for calibrating aftermarket 360 cameras like the Teyes CC3 or Weivision systems?
Yes, there are specific instructions for calibrating aftermarket 360 cameras like the Teyes CC3 or Weivision systems. These instructions may vary depending on the manufacturer, so it is important to consult the user manual or contact the manufacturer for guidance.
How do I know if my car’s 360-degree camera system has been properly calibrated?
You can tell if your car’s 360-degree camera system has been properly calibrated by checking the image quality and accuracy of the camera system. If the images are clear and the camera angles are correct, then the camera system has been properly calibrated.
What tools or equipment do I need to calibrate my car’s 360-degree camera system?
To calibrate your car’s 360-degree camera system, you will need a calibration tool, which can be purchased from the manufacturer or a third-party supplier. You may also need a level surface to park your vehicle on, as well as a computer or smartphone to access the camera system’s settings.