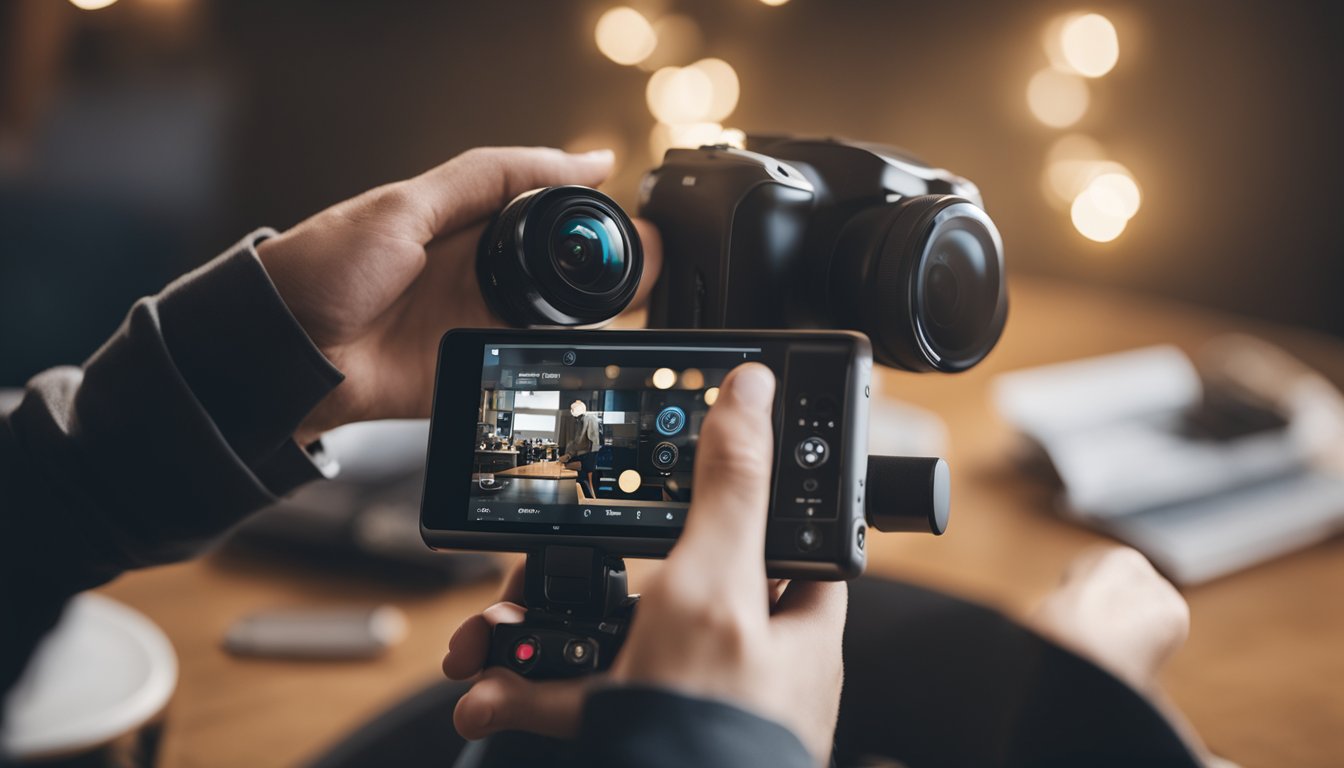
If you’re looking to improve your home security, investing in a Nooie 360 camera can be an excellent choice. This camera offers a full view of your surroundings, making it easy to monitor your home from any angle. But how do you use it? In this article, we’ll go over everything you need to know about using your Nooie 360 camera.
First, we’ll cover the basics of getting to know your camera. We’ll help you understand the different parts of the camera and how they work together to create a complete view of your home. Next, we’ll walk you through the process of setting up your camera, including connecting it to your Wi-Fi network and downloading the Nooie app. We’ll also cover mounting and positioning your camera to get the best view of your home.
Key Takeaways
- Understand the different parts of your Nooie 360 camera and how they work together.
- Follow the step-by-step instructions to set up your camera and connect it to your Wi-Fi network.
- Position your camera in the best location to get a complete view of your home.
Getting to Know Your Nooie 360 Camera
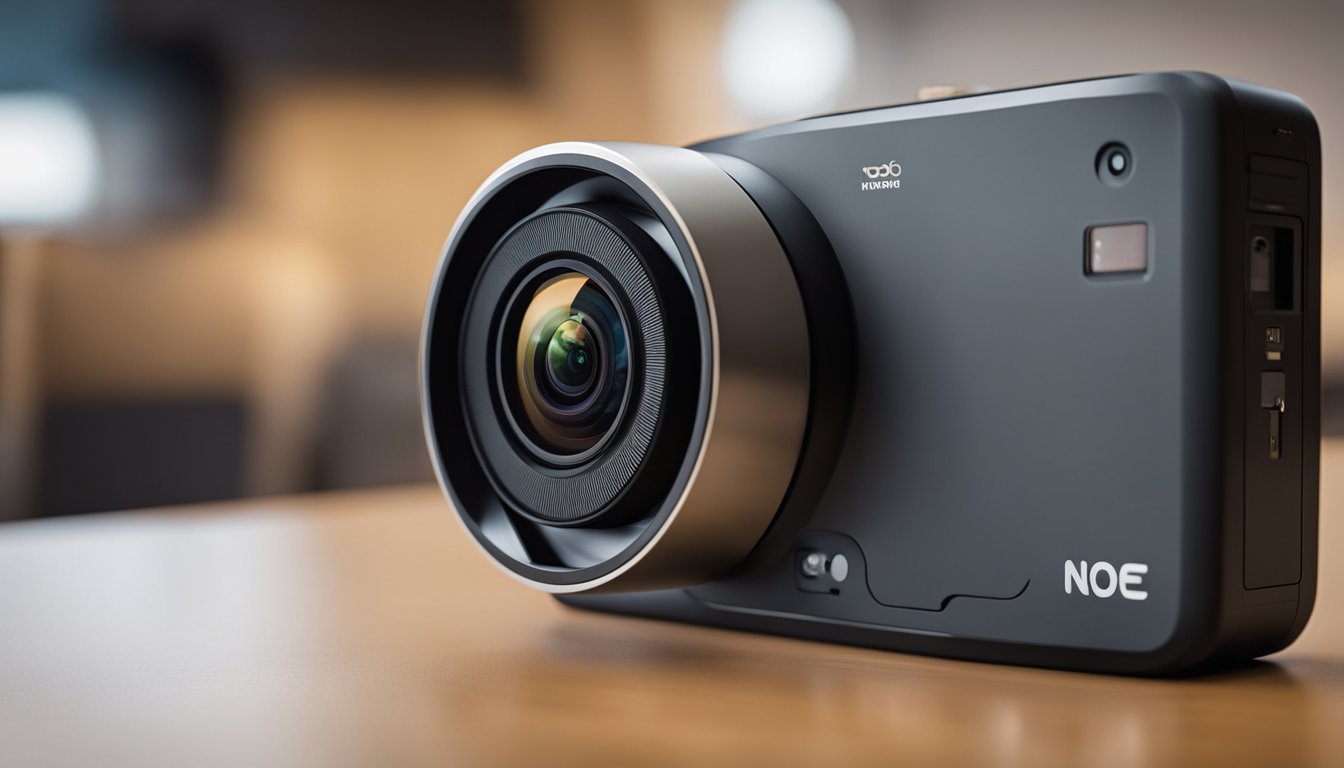
Congratulations on your purchase of the Nooie 360 Camera! This camera is a powerful tool that allows you to monitor your home or office from anywhere in the world. Before you start using your camera, it’s important to get familiar with its features and functions. In this section, we’ll take a closer look at the Nooie 360 Camera and what it can do.
Product Overview
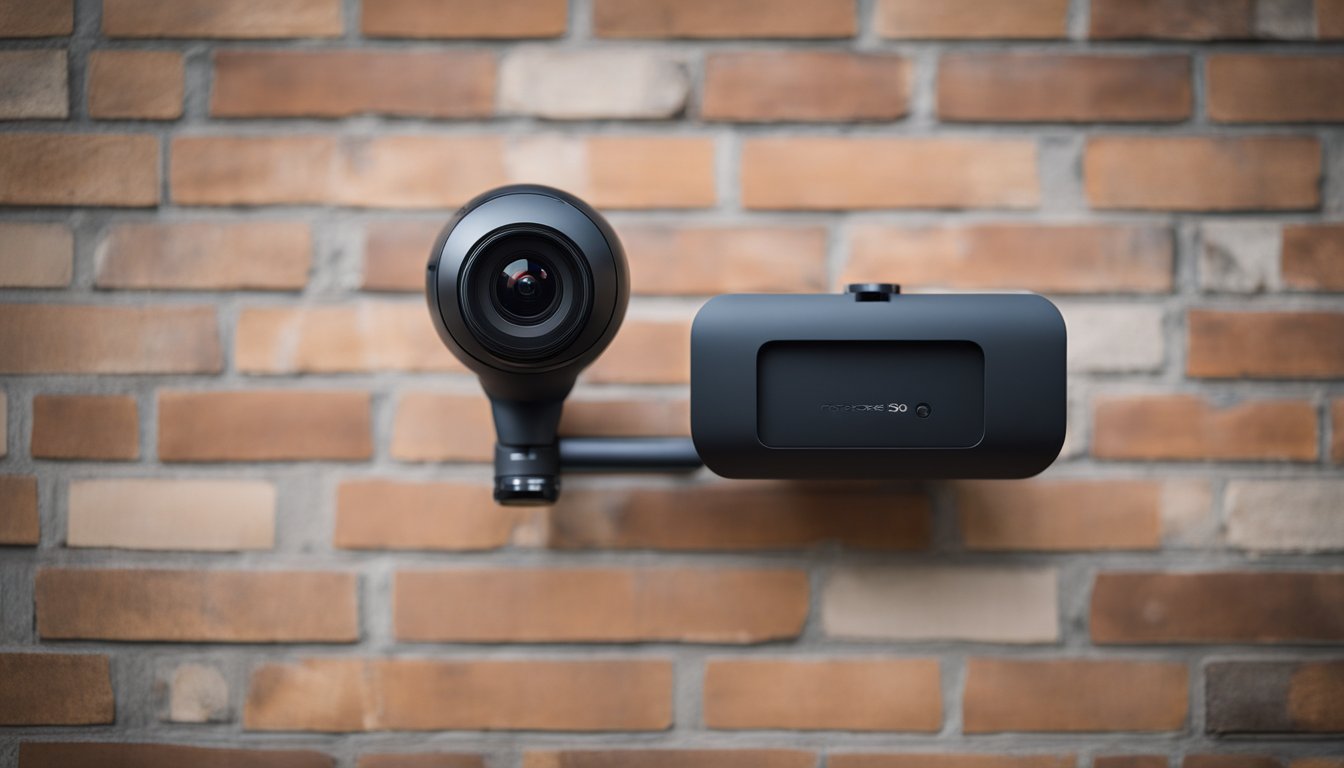
The Nooie 360 Camera is a sleek and modern-looking camera that can be placed on any flat surface or mounted on a wall. It has a 1080P HD camera lens that captures clear and detailed images and videos. The camera can rotate 355 degrees horizontally and 94 degrees vertically, giving you a complete view of your room.
The camera also has two-way audio, which means you can hear what’s happening in your room and speak through the camera to communicate with anyone in the room. The camera is compatible with Amazon Alexa and Google Assistant, so you can use voice commands to control the camera.
1080P HD Camera Lens
The Nooie 360 Camera has a 1080P HD camera lens that captures clear and detailed images and videos. The camera lens has a wide-angle view, which means you can see more of your room. You can also zoom in and out to get a closer look at something or to see the bigger picture.
940nm Infrared LEDs for Night Vision
The Nooie 360 Camera has 940nm infrared LEDs that provide clear night vision up to 32 feet away. The camera automatically switches to night vision mode when the light is low, so you can still see what’s happening in your room even in complete darkness. The night vision mode is black and white, but you can still see everything clearly.
In summary, the Nooie 360 Camera is a powerful and versatile camera that can help you keep an eye on your home or office. Its 1080P HD camera lens and 940nm infrared LEDs for night vision ensure that you get clear and detailed images and videos, even in low light conditions. With its two-way audio and compatibility with Amazon Alexa and Google Assistant, you can communicate with anyone in the room and control the camera with your voice.
Setting Up the Nooie Cam 360
https://www.youtube.com/watch?v=WlDp_FNKaDk&embed=true
If you’ve just purchased a Nooie Cam 360, you’re probably excited to get it up and running. In this section, we’ll guide you through the process of setting up your camera so you can start using it to monitor your home.
Unboxing and Initial Setup
« Good 360 Camera Songs: Capture Your Memories in 360-Degree Sound
Is There a 360 Camera in Tesla Model Y? Here’s What You Need to Know »
When you first open the box, you’ll find the Nooie Cam 360, a power adapter, a USB cable, a mounting bracket, and a user manual. Before you start setting up your camera, make sure you have all of these items.


To get started, plug the power adapter into an outlet and connect the USB cable to the camera. Then, use the mounting bracket to attach the camera to a wall or ceiling. Once the camera is securely mounted, you’re ready to move on to the next step.
Installing the Nooie App
To use the Nooie Cam 360, you’ll need to download the Nooie app. The app is available for both iOS and Android devices, and you can download it from the App Store or Google Play.
Once you’ve downloaded the app, open it and create an account. Then, follow the on-screen instructions to add your camera to the app. Make sure your phone or tablet is connected to the same Wi-Fi network as your camera.
WiFi Configuration
The final step in setting up your Nooie Cam 360 is configuring the Wi-Fi settings. In the Nooie app, go to the “Device Settings” menu and select your camera. Then, choose “Wi-Fi Configuration” and follow the prompts to connect your camera to your home Wi-Fi network.
Make sure you enter your Wi-Fi password correctly, and be patient while the camera connects to the network. Once the camera is connected, you should see a green light on the front of the camera.

Congratulations! You’ve successfully set up your Nooie Cam 360 and it’s ready to use. In the next section, we’ll cover how to use the camera to monitor your home and keep your family safe.
Mounting and Positioning
When it comes to mounting and positioning your Nooie 360 camera, there are a few things to keep in mind to ensure you get the best results. In this section, we’ll cover how to choose the right spot and how to wall mount your camera.
Choosing the Right Spot
Before you mount your Nooie 360 camera, it’s important to choose the right spot. Here are a few things to consider:
Viewing angle: The Nooie 360 camera has a wide viewing angle, so you’ll want to choose a spot where it can capture as much of the room as possible.
Power source: The camera needs to be plugged in, so make sure you choose a spot near a power outlet.
Home security: If you’re using the camera for home security, you’ll want to choose a spot that gives you a good view of any entry points to your home.
List: Make a list of potential spots and compare them based on the above considerations. This will help you choose the best spot for your camera.
Wall Mounting
Once you’ve chosen the right spot for your Nooie 360 camera, it’s time to mount it on the wall. Here’s how:
Find the right location: Use a stud finder to locate the studs in the wall. This will give you a secure place to mount the camera.
Mark the spot: Use a pencil to mark the spot where you want to mount the camera.
Drill pilot holes: Use a drill to create pilot holes where you marked the spot. This will make it easier to screw in the mounting bracket.
Attach the mounting bracket: Use the screws provided with the camera to attach the mounting bracket to the wall.
Attach the camera: Once the mounting bracket is secured to the wall, attach the camera to the bracket. Make sure it’s level and facing the right direction.
By following these steps, you can ensure that your Nooie 360 camera is securely mounted and positioned for the best results.
Using the Nooie App
https://www.youtube.com/watch?v=l6JV9dRKx7w&embed=true
The Nooie App is the primary way to access and control your Nooie 360 camera. In this section, we will cover the different features and functions of the Nooie App to help you get the most out of your camera.
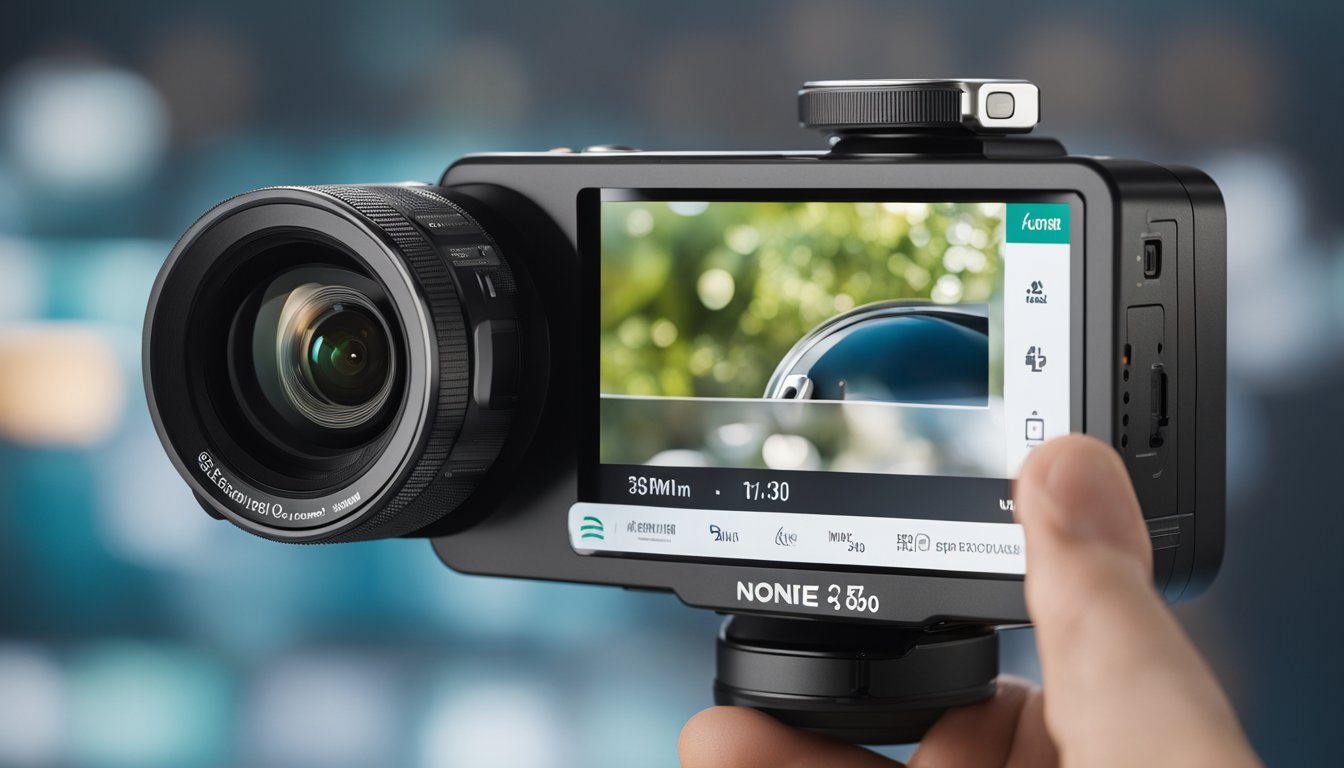
Live Stream Viewing
The Nooie App allows you to view a live stream of your camera’s feed from anywhere in the world. To access the live stream, simply open the Nooie App and select your camera from the list of devices. From there, you can view the live stream in real-time and even adjust the camera’s angle using the app’s controls.
Motion Tracking and Notifications
The Nooie 360 camera comes equipped with advanced motion tracking technology that allows it to detect movement and follow the action. To enable this feature, simply select “Motion Tracking” from the Nooie App’s settings menu. From there, you can adjust the sensitivity of the motion tracking and even set up notifications to alert you when motion is detected.
Accessing Cloud Storage
The Nooie App also allows you to access cloud storage for your camera’s footage. With cloud storage, you can store and access your camera’s footage from anywhere in the world. To access cloud storage, simply sign up for a Nooie Cloud account and link it to your camera through the Nooie App. From there, you can view and download your camera’s footage at any time.
Overall, the Nooie App is a powerful tool that allows you to access and control your Nooie 360 camera from anywhere in the world. With features like live stream viewing, motion tracking, and cloud storage, the Nooie App is an essential part of getting the most out of your camera.
Advanced Camera Features
https://www.youtube.com/watch?v=nHbNuF7IxlM&embed=true
The Nooie 360 camera comes packed with advanced features that make it a great choice for home security and monitoring. Here are some of the key features that you can take advantage of:
Pan, Tilt, and Zoom Controls
One of the standout features of the Nooie 360 camera is its ability to pan, tilt, and zoom. You can control the camera’s movements through the Nooie app, which allows you to adjust the camera’s position remotely. This means that you can keep an eye on different areas of your home without having to physically move the camera.
Two-Way Audio Communication
The Nooie 360 camera also comes with two-way audio communication, which means that you can communicate with anyone in the room where the camera is located. This is a great feature if you want to check in on your pets or children while you’re away from home. You can use the Nooie app to speak through the camera’s built-in microphone and listen through its speaker.
Sound Detection
Another useful feature of the Nooie 360 camera is its sound detection capabilities. The camera can detect the sound of a baby crying, a dog barking, or any other loud noise and send a notification to your phone. This feature can be especially helpful if you’re monitoring a baby’s room or want to keep an eye on your pets while you’re away from home.
Overall, the Nooie 360 camera is a powerful tool for home security and monitoring. With its advanced features like pan, tilt, and zoom controls, two-way audio communication, and sound detection, you can keep an eye on your home from anywhere in the world.
Customizing Your Camera Settings
https://www.youtube.com/watch?v=XDKS9lAPKe8&embed=true
Once your Nooie 360 camera is set up and connected to your Wi-Fi network, you can customize the camera settings according to your preferences. Here are some of the settings you can adjust:
Adjusting Video Quality
You can adjust the video quality of your Nooie 360 camera to optimize the video streaming based on your internet speed. To adjust the video quality, follow these steps:
- Open the Nooie app and select the camera you want to adjust.
- Tap on the settings icon on the top right corner of the screen.
- Select “Video Quality” from the list of settings.
- Choose from the available video quality options: SD, HD, or Auto.
Keep in mind that higher video quality settings may require faster internet speeds and may use more data.
Setting Sensitivity Levels
The Nooie 360 camera comes with motion detection capabilities that allow you to receive alerts when motion is detected in the camera’s field of view. You can adjust the sensitivity levels of the motion detection feature to avoid false alarms or to ensure that all movements are detected. Here’s how to adjust the sensitivity levels:
- Open the Nooie app and select the camera you want to adjust.
- Tap on the settings icon on the top right corner of the screen.
- Select “Motion Detection” from the list of settings.
- Choose from the available sensitivity levels: Low, Medium, or High.
Keep in mind that higher sensitivity levels may result in more frequent alerts and notifications. You can also adjust the detection area to avoid unwanted alerts.
By adjusting these settings, you can customize your Nooie 360 camera to suit your needs and preferences.
Storage Solutions
https://www.youtube.com/watch?v=UdKNOiEmSzo&embed=true
If you plan to use your Nooie 360 camera for a long time, you need to think about storage solutions. In this section, we’ll discuss two main storage options: using a MicroSD card and Cloud storage.
Using a MicroSD Card
One of the most convenient ways to store your footage is by using a MicroSD card. The Nooie 360 camera has a MicroSD card slot, which can support up to 128GB of storage. This means you can record hours of footage without having to worry about running out of space.
To use a MicroSD card, simply insert it into the slot on the back of the camera. Once the camera recognizes the card, you can start recording. To access the footage, you can remove the card from the camera and insert it into your computer or use the Nooie app to view the footage remotely.
Cloud Storage Options
If you don’t want to worry about managing a physical MicroSD card, you can opt for Cloud storage. Nooie offers free cloud storage for your footage, which can be accessed through the app. This means you don’t have to worry about running out of space on your MicroSD card or losing footage if the card is damaged or lost.
To use Nooie’s free cloud storage, simply create an account on the Nooie app and enable cloud storage in the settings. Once enabled, all your footage will be automatically uploaded to the cloud. You can then access your footage from anywhere, at any time, using the app.
If you need more storage space, Nooie also offers paid cloud storage plans. These plans offer more storage and longer retention times for your footage. However, the free storage provided by Nooie should be more than enough for most users.
In conclusion, whether you choose to use a MicroSD card or Cloud storage, Nooie has you covered. With these two storage options, you can be sure that your footage is safe and secure, and you’ll never have to worry about running out of space.
Integrating with Smart Home
https://www.youtube.com/watch?v=E2Xw5jVNxSk&embed=true
If you have a smart home setup, you’ll be happy to know that Nooie 360 Camera is compatible with many popular smart home platforms. Here’s what you need to know to integrate Nooie 360 Camera with your smart home:
Works with Alexa
Nooie 360 Camera works with Alexa, Amazon’s voice-controlled assistant. You can use Alexa to control your Nooie 360 Camera with voice commands. To get started, you’ll need to enable the Nooie 360 Camera skill in the Alexa app. Once you’ve done that, you can use voice commands to view live footage from your camera, turn the camera on or off, and more.
Compatibility with Google Assistant
Nooie 360 Camera is also compatible with Google Assistant, Google’s voice-controlled assistant. You can use Google Assistant to control your Nooie 360 Camera with voice commands. To get started, you’ll need to enable the Nooie 360 Camera action in the Google Assistant app. Once you’ve done that, you can use voice commands to view live footage from your camera, turn the camera on or off, and more.
Overall, Nooie 360 Camera is a great addition to any smart home setup. With its compatibility with Alexa and Google Assistant, you can easily control your camera with voice commands. Additionally, Nooie 360 Camera works with IFTTT and Smart Display.
Maintaining and Upgrading
Regular Maintenance
To ensure that your Nooie 360 camera remains reliable and performs optimally, it is important to conduct regular maintenance. Here are some tips to help you maintain your camera:
- Clean the lens regularly to avoid blurry footage. Use a soft cloth or lens cleaning solution to remove dirt, dust, and fingerprints.
- Check the camera’s power supply and cables for damage. If you notice any frayed wires or loose connections, replace the cables immediately to avoid electrical hazards.
- Keep the camera’s firmware up to date to ensure optimal performance and security. Firmware upgrades are discussed in the next subsection.
By following these simple maintenance tips, you can ensure that your Nooie 360 camera remains reliable and performs optimally.
Firmware Upgrades
Firmware upgrades are essential to keep your Nooie 360 camera secure and up to date with the latest features. Nooie releases firmware upgrades periodically to fix bugs, improve performance, and add new features. Here’s how to upgrade your camera’s firmware:
- Open the Nooie app on your smartphone.
- Tap on the camera you wish to upgrade.
- Go to the camera settings and tap on “Firmware Upgrade.”
- If a new firmware version is available, tap on “Upgrade Now.”
- Wait for the firmware upgrade to complete. Do not power off the camera during the upgrade process.
By keeping your Nooie 360 camera’s firmware up to date, you can ensure that it remains secure, reliable, and up to date with the latest features.
Remember to always maintain your Nooie 360 camera to ensure it remains reliable and performs optimally. And don’t forget to upgrade your camera’s firmware regularly to keep it secure and up to date with the latest features.
Troubleshooting Common Issues
https://www.youtube.com/watch?v=KW76sBF1KOI&embed=true
If you’re experiencing issues with your Nooie 360 camera, don’t worry! Here are some common problems and how to troubleshoot them.
Connectivity Problems
If you’re having trouble connecting your Nooie 360 camera to your Wi-Fi network, try the following steps:
- Make sure your Wi-Fi network is working properly and that your camera is within range.
- Check that your camera is properly plugged in and turned on.
- Reset your camera by holding down the reset button for 5 seconds. If you hear a beep, it means the camera has been reset.
- Reboot your router and wait a few minutes to see if the camera connects.
- If none of the above steps work, contact Nooie Customer Support for further assistance.
Camera Performance
If you’re experiencing issues with your Nooie 360 camera’s performance, try the following steps:
- Check that your camera is properly plugged in and turned on.
- Make sure your camera is not obstructed by any objects.
- Ensure that your camera’s motion detection feature is turned on and properly configured.
- Check your camera’s video quality settings to ensure they are set to your desired level.
- If none of the above steps work, contact Nooie Customer Support for further assistance.
Remember, if you’re still experiencing issues with your Nooie 360 camera, don’t hesitate to reach out to Nooie Customer Support for help. They’re always happy to assist you in getting your camera up and running smoothly.
Exploring Accessories and Add-Ons
If you’re looking to expand your Nooie 360 camera setup, there are a variety of accessories and add-ons available to enhance your experience. Here are some of the most popular options:
Additional Nooie Cameras
If you want to monitor multiple areas of your home, consider adding more Nooie 360 cameras to your setup. These cameras are affordable and easy to set up, so you can quickly expand your home surveillance system. Plus, with motion and sound detection, you’ll be alerted to any activity in your home, no matter where you are.
Smart Home Accessories
If you want to integrate your Nooie 360 camera into your smart home setup, there are a few accessories you can consider. For example, you can pair your camera with a smart doorbell, so you can see who’s at your door without leaving your couch. You can also pair it with other security cameras or indoor cameras, so you can monitor your entire home from one app.
If you have pets, you might want to consider a pet camera. Nooie offers a variety of pet cameras that allow you to keep an eye on your furry friends when you’re not home. These cameras feature two-way audio, so you can talk to your pets and hear their responses.
Finally, if you’re on a budget, you might want to consider the Nooie Cam Pro. This camera is a more affordable option than the Nooie 360, but still offers many of the same features, including motion and sound detection, two-way audio, and night vision.
Overall, there are many accessories and add-ons available to enhance your Nooie 360 camera setup. Whether you want to monitor multiple areas of your home, integrate your camera into your smart home setup, or keep an eye on your pets, there’s an option for you.
Frequently Asked Questions
How can I set up my Nooie 360 camera with the Nooie Cam app?
To set up your Nooie 360 camera with the Nooie Cam app, you will need to follow these steps:
- Download the Nooie Cam app from the App Store or Google Play Store.
- Create an account within the app.
- Follow the instructions in the app to connect your Nooie 360 camera to your WiFi network.
- Once connected, you can start using your Nooie 360 camera to monitor your home.
What steps are involved in connecting my Nooie 360 camera to a new WiFi network?
If you need to connect your Nooie 360 camera to a new WiFi network, you can do so by following these steps:
- Open the Nooie Cam app and select your camera from the list of devices.
- Tap on “Settings” and then “WiFi Settings.”
- Select “Change WiFi” and follow the prompts to connect your camera to the new WiFi network.
Where is the reset button on the Nooie Cam 360, and how do I use it?
The reset button on the Nooie Cam 360 is located on the bottom of the camera. To use it, simply insert a pin or paper clip into the reset button and hold it down for 10 seconds. This will reset the camera to its default settings.
How do I scan the QR code for my Nooie Cam 360 during setup?
To scan the QR code for your Nooie Cam 360 during setup, follow these steps:
- Open the Nooie Cam app and select “Add Device.”
- Choose “Nooie Cam 360” and follow the prompts to connect your camera to your WiFi network.
- When prompted, hold your phone’s camera up to the QR code on the bottom of the camera to scan it.
What should I do if the sound is not working on my Nooie Cam 360?
If the sound is not working on your Nooie Cam 360, try the following:
- Make sure the volume on your phone is turned up.
- Check that the camera’s microphone is not muted in the Nooie Cam app.
- Restart the camera by unplugging it and plugging it back in.
How can I insert an SD card into the Nooie Cam 360 to store video footage?
To insert an SD card into your Nooie Cam 360, follow these steps:
- Turn off the camera and unplug it from the power source.
- Locate the SD card slot on the bottom of the camera.
- Insert the SD card into the slot with the metal contacts facing down.
- Turn the camera back on and follow the prompts in the Nooie Cam app to format the SD card for use with your camera.