If you’re looking to install a 360-degree camera in your car, you have two options: buy a pre-made system or build one yourself. While pre-made systems can be expensive, building one yourself can be a fun and rewarding DIY project. In this article, we’ll take a look at the steps involved in building your own 360-degree camera system for your car.
Understanding 360 Camera Systems
Before you start building your own 360-degree camera system, it’s important to understand how these systems work. A 360-degree camera system consists of multiple cameras that are mounted around the vehicle and capture video footage from all angles. The footage is then stitched together to create a 360-degree view of the vehicle’s surroundings. This view is displayed on a monitor in the car, giving the driver a complete view of their surroundings.
Key Takeaways
- Building a 360-degree camera system for your car can be a fun and rewarding DIY project.
- A 360-degree camera system consists of multiple cameras that capture video footage from all angles and are stitched together to create a 360-degree view of the vehicle’s surroundings.
- Building your own 360-degree camera system requires choosing the right camera, preparing your car for installation, installing the cameras, calibrating the software, and integrating the system with your in-car display.
Understanding 360 Camera Systems
https://www.youtube.com/watch?v=fdDZaH8hg1A&embed=true
If you’re looking for a way to increase your safety while driving, a 360-degree camera system might be just what you need. In this section, we’ll go over the basics of 360-degree camera systems and the benefits they offer for drivers.
360-Degree Camera Basics
A 360-degree camera is a type of camera that can capture a full 360-degree view of its surroundings. This is achieved by using multiple cameras placed strategically around the car. The images from these cameras are then stitched together to create a seamless, panoramic view of the car’s surroundings.
One of the main benefits of a 360-degree camera is that it can eliminate blind spots. Blind spots are areas around the car that are difficult to see from the driver’s seat. With a 360-degree camera, you can see everything around your car, making it easier to navigate and park in tight spaces.
Benefits for Drivers
360-degree camera systems offer a number of benefits for drivers. Here are just a few:


Increased safety: With a 360-degree camera, you can see everything around your car, which can help you avoid accidents and stay safe on the road.
Improved parking: Parking can be a challenge, especially in tight spaces. With a 360-degree camera, you can see exactly where your car is in relation to other objects, making it easier to park.
Peace of mind: Knowing that you have a complete view of your surroundings can give you peace of mind while driving.
« How to Connect Mi 360 Camera Without Internet: A Simple Guide
How to View Mi 360 Camera on PC: A Quick Guide »
Overall, a 360-degree camera system is a great investment for any driver who wants to increase their safety and improve their driving experience. With its ability to eliminate blind spots and provide a complete view of your surroundings, a 360-degree camera is a must-have for any car.
Choosing the Right Camera
https://www.youtube.com/watch?v=5MvtlBYOFHg&embed=true
When it comes to choosing a 360 camera for your car, there are a few things you need to consider. In this section, we’ll take a look at the camera quality and features you should be looking for, as well as some popular 360 camera brands.
Camera Quality and Features
The quality of your 360 camera is important, especially when it comes to image quality. Look for a camera that can capture high-resolution images and video. This will ensure that you get a clear and detailed view of your surroundings.
In addition to image quality, there are some other features you should look for in a 360 camera. For example, some cameras come with built-in stabilization, which can help reduce shaky footage. Other cameras come with features like GPS tracking, which can be useful if you want to keep track of your route.


Popular 360 Camera Brands
There are a number of 360 camera brands on the market, each with its own strengths and weaknesses. Here are a few popular options to consider:
Insta360: Insta360 is a well-known brand that offers a range of 360 cameras for different needs and budgets. Their cameras are known for their high-quality image and video capture, as well as their user-friendly interfaces.
GoPro: GoPro is another popular brand that offers a range of 360 cameras. Their cameras are known for their ruggedness and durability, making them a good choice if you plan to use your camera in rough conditions.
Ricoh: Ricoh is a Japanese company that offers a range of cameras, including 360 cameras. Their cameras are known for their high-quality image and video capture, as well as their ease of use.
When choosing a 360 camera for your car, it’s important to consider your specific needs and budget. Take the time to research different brands and models to find the one that’s right for you.
Essential Tools and Materials
If you’re planning to install a DIY 360 camera in your car, there are a few essential tools and materials you will need to get started. Here are some of the most important items you should have on hand:
Tools
- Power drill: You will need a power drill to create holes in your car’s body for mounting the camera. Make sure you have the appropriate drill bits for the size of the holes you need to create.
- Screwdriver set: A screwdriver set will come in handy for attaching the camera mount to your car’s body.
- Wire stripper: You will need a wire stripper to remove the insulation from the wires that connect the camera to your car’s power source.
- Multimeter: A multimeter is a tool that can help you test the electrical connections and ensure that everything is wired correctly.
Materials
- 360 camera: Of course, you will need a 360 camera to install in your car. Make sure you choose a camera that is compatible with your vehicle and has the features you need.
- Camera mount: You will need a camera mount to attach the camera to your car’s body. Make sure you choose a mount that is sturdy and can support the weight of the camera.
- Wiring: You will need wiring to connect the camera to your car’s power source. Make sure you choose wiring that is the appropriate gauge for your camera and that is long enough to reach from the camera to the power source.
- Zip ties: Zip ties can be used to secure the wiring and prevent it from getting tangled or coming loose.
- Electrical tape: Electrical tape can be used to secure the wiring and protect it from damage.
With these tools and materials on hand, you should be well-equipped to install a DIY 360 camera in your car. However, if you’re not comfortable working with electrical wiring or drilling holes in your car’s body, it may be best to hire a professional to do the installation for you.
Preparing Your Car for Installation
https://www.youtube.com/watch?v=gkdTFsMK8FA&embed=true
Before installing a 360 camera in your car, you need to prepare your car for the installation process. This section will guide you through the steps to take to ensure a successful installation.
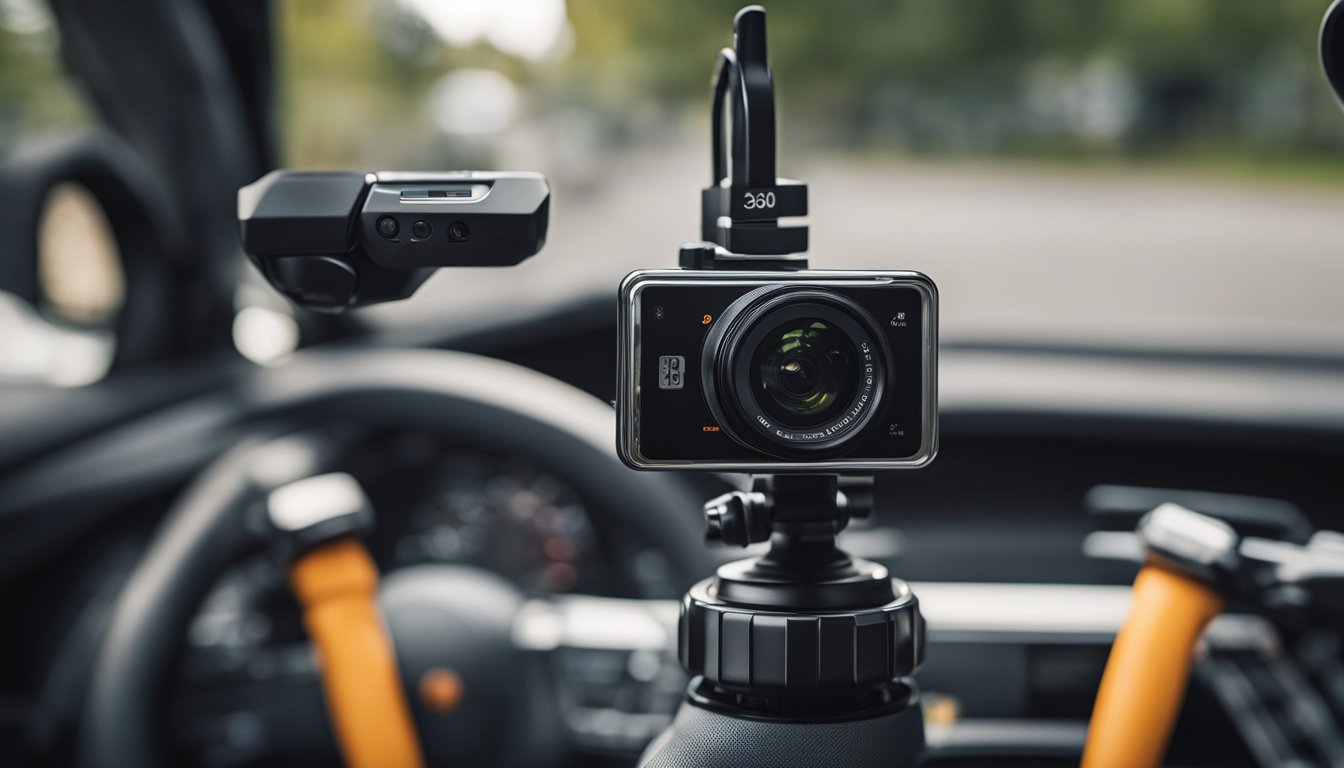
Selecting Camera Positions
The first step is to decide where to mount your 360 camera. You can mount the camera on the front grille, side mirrors, or rear of your car. The position you choose will depend on your preference and the type of camera you have.
When choosing a position, ensure that the camera has an unobstructed view of the surroundings. You should also consider the camera’s angle and height. A good rule of thumb is to mount the camera at a height of about 8-10 feet and angle it slightly downward. This will allow for a broader range of view and make it harder for intruders to tamper with. Avoid mounting the camera too close to walls or other obstacles that could block the view.
Wiring and Power Considerations
The next step is to consider the wiring and power supply for your camera. You need to ensure that the camera is connected to a reliable power source and that the wiring is properly installed.
You can use the wiring of your car’s reverse light to power the camera. This way, the camera will only be powered on when you engage the reverse gear. Alternatively, you can connect the camera to a constant power source, so it is always on.
Ensure that the wiring is properly concealed and secured to avoid any damage or interference. You can use cable ties or adhesive tape to secure the wiring.
In conclusion, preparing your car for the installation process involves selecting the camera position and considering the wiring and power supply. Ensure that you follow the steps outlined in this section to ensure a successful installation.
The Installation Process
https://www.youtube.com/watch?v=QsI4puDWVzw&embed=true
Installing a DIY 360 camera system in your car may seem daunting, but with the right tools and instructions, it can be a fun and rewarding project. This section will guide you through the installation process, including mounting the cameras and connecting the system.
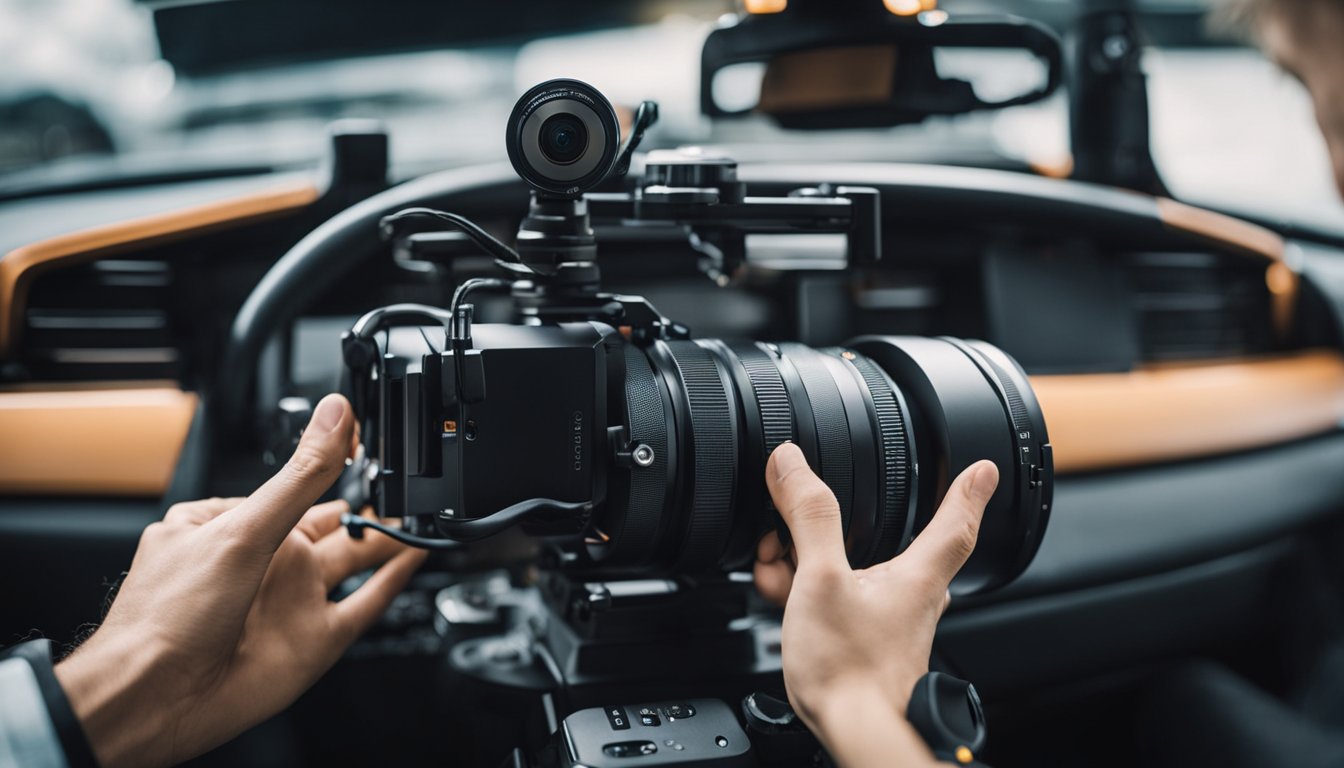
Mounting the Cameras
The first step in the installation process is to mount the cameras in the appropriate locations. The cameras should be mounted on the front, back, and sides of the car to provide a full 360-degree view. Make sure to mount the cameras on a stable stand to prevent shaking and ensure a clear view.
Before mounting the cameras, make sure to clean the mounting surface thoroughly to ensure a secure fit. You can use a cleaning solution or simply wipe the surface with a clean cloth. Once the surface is clean, attach the stand to the camera using the screws provided.
Next, attach the stand to the mounting surface using the screws provided. Make sure to tighten the screws firmly to prevent the camera from shaking or moving while driving.
Connecting the System
Once the cameras are mounted, it’s time to connect the system. Begin by running the cables from the cameras to the central control unit. Make sure to route the cables in a way that prevents tangling and keeps them hidden from view.
Next, connect the cables to the appropriate connectors on the control unit. Each camera should have its own connector, labeled with the corresponding camera location (front, back, left, right). Make sure to connect the cables to the correct connectors to ensure proper functioning.
Finally, connect the control unit to the power source. You can use either a battery pack or plug it into an electrical outlet. Once the power is connected, turn on the system to test it out.
Congratulations! You have successfully installed a DIY 360 camera system in your car. With this system, you can enjoy a full 360-degree view of your surroundings while driving, making it easier and safer to navigate the roads.
Software and Calibration
https://www.youtube.com/watch?v=g4H8msSQhr0&embed=true
Choosing the Right Software
After installing your 360 camera in your car, the next step is to choose the right software for your camera. Some cameras come with their own software, while others require you to download an app or software from their website. Make sure to choose the software that is compatible with your camera and your mobile device.
When choosing software, consider the features you need. For example, some software may allow you to view live footage, while others may offer additional features like automatic recording when the car is in motion. Read reviews and compare different options to find the software that meets your needs.
Calibration for Accuracy
Calibration is an essential step in ensuring the accuracy of your 360 camera. Calibration involves adjusting the camera’s settings to ensure that it captures footage accurately.
To calibrate your camera, follow the manufacturer’s instructions carefully. Some cameras may require you to adjust the lens manually, while others may have automatic calibration features. Make sure to calibrate your camera in a well-lit area to ensure that the footage is clear and accurate.
Calibration should be done regularly to ensure that the camera is functioning properly. If you notice any issues with the footage, such as distortion or blurriness, recalibrate the camera.
Overall, choosing the right software and calibrating your camera are essential steps in ensuring that your 360 camera captures accurate footage. With the right software and calibration, you can enhance your car’s safety and capture stunning footage of your adventures on the road.
Integrating with In-Car Display
https://www.youtube.com/watch?v=ZbWt41_iL-4&embed=true
Once you have installed your DIY 360 camera in your car, you will need to integrate it with your in-car display system. This will allow you to view the camera feed in real-time while driving, providing you with a comprehensive view of your surroundings.
The process of integrating the camera with your in-car display system will depend on the type of display system you have. Some cars come with an HMI (Human Machine Interface) system that allows you to easily connect the camera to the display. In this case, you will simply need to follow the manufacturer’s instructions to connect the camera to the system.
If your car does not have an HMI system, you may need to purchase an aftermarket display unit that is compatible with your camera system. There are many different types of display units available, ranging from basic LCD screens to high-end touchscreen displays with advanced features.
Once you have connected your camera to the display system, you will need to configure the settings to ensure that the camera feed is displayed correctly. This may involve adjusting the resolution, aspect ratio, and other settings to ensure that the feed is clear and easy to view.
Overall, integrating your DIY 360 camera with your in-car display system is a relatively simple process that can greatly enhance your driving experience. By providing you with a comprehensive view of your surroundings, your camera system can help to improve your safety on the road and make driving more enjoyable.
Enhancing Parking and Reversing Safety
https://www.youtube.com/watch?v=SjOk3yRohXI&embed=true
When it comes to driving, parking and reversing can be some of the most challenging maneuvers. However, with the installation of a DIY 360 camera in your car, you can enhance your parking and reversing safety.
One of the biggest advantages of a 360 camera is that it provides you with a panoramic view of your car’s surroundings, making maneuvers like parking, reversing, and navigating through tight spaces much safer and easier. As accidents in parking lots and while backing up are quite common, this technology can be a real game-changer in terms of safety.
In addition to a 360 camera, you can also improve your parking and reversing safety by utilizing your car’s side mirrors and rearview mirror effectively. Adjust them properly to get the best possible view of your surroundings. You can also consider installing a reversing cam if your car doesn’t already have one.
Another way to enhance your safety when parking and reversing is by being aware of your surroundings. Always check your blind spots and be aware of other cars, pedestrians, and obstacles around you. When backing up, do so slowly and carefully, and use your mirrors and camera to help guide you.
In summary, a DIY 360 camera can be an excellent addition to your car, providing you with a panoramic view of your surroundings and enhancing your parking and reversing safety. Along with utilizing your car’s mirrors and being aware of your surroundings, you can significantly reduce the risk of accidents while driving.
Security and Surveillance Uses
https://www.youtube.com/watch?v=gSFxqHrF2Ro&embed=true
A DIY 360 camera for your car can be a great tool for security and surveillance purposes. With its ability to capture footage from all angles, it can help you keep an eye on your car and its surroundings. Here are some examples of how you can use your DIY 360 camera for security and surveillance:
Monitor your car while parked: If you’re worried about your car being vandalized or stolen while parked, a DIY 360 camera can give you peace of mind. You can set it up to record footage whenever it detects motion, and review the footage later to see if anything suspicious happened.
Record accidents and incidents: If you’re ever involved in an accident or witness an incident while driving, your DIY 360 camera can provide valuable footage that can be used as evidence. You can also use it to document any damage to your car or the other vehicle involved.
Keep an eye on your surroundings: A DIY 360 camera can help you keep an eye on your surroundings while driving, especially in busy or high-risk areas. You can use it to monitor blind spots, capture footage of reckless drivers, or even record your entire journey for safety purposes.
360 video footage: With a DIY 360 camera, you can capture immersive 360 video footage of your car and its surroundings. This can be useful for creating travel vlogs, documenting road trips, or just capturing memories of your journeys.
Recording footage: A DIY 360 camera can be used to record footage for a variety of purposes, such as creating YouTube videos, capturing family moments, or even filming your own short films. With its ability to capture footage from all angles, you can get creative and experiment with different shots and angles.
Overall, a DIY 360 camera for your car can be a valuable tool for security and surveillance purposes, as well as for capturing immersive 360 video footage. With its versatility and ease of use, it’s definitely worth considering if you’re looking for a way to enhance your driving experience and keep your car safe and secure.
DIY Project: Building a 360 Camera with Raspberry Pi
https://www.youtube.com/watch?v=KSRaU9MHVVg&embed=true
Are you looking for a low-cost way to create a 360 camera for your car? Look no further than the Raspberry Pi! With just a few components and some basic knowledge of DIY projects, you can create a 360 camera that will capture every angle of your car.
To get started, you’ll need a Raspberry Pi, a camera module, and some software. The Raspberry Pi is a small, low-cost computer that can be programmed to do just about anything. The camera module is a small camera that can be attached to the Raspberry Pi. There are several different camera modules available, but for this project, we recommend the Raspberry Pi Camera Module V2.
Once you have your Raspberry Pi and camera module, you’ll need to install some software. We recommend using the Raspbian operating system, which is designed specifically for the Raspberry Pi. You’ll also need to install some software to control the camera module, such as the Pi Camera software.
With your hardware and software in place, it’s time to start building your 360 camera. First, you’ll need to mount the camera module to your car. You can do this using a simple bracket or mount. Once the camera is mounted, you’ll need to connect it to your Raspberry Pi.
Next, you’ll need to configure your Raspberry Pi to capture 360-degree images. This can be done using software such as the OpenCV library. With OpenCV, you can capture images from your camera module and stitch them together to create a 360-degree image.
Finally, you’ll need to save your 360-degree images to a storage device, such as an SD card. You can then view your images on your computer or mobile device using software such as the VLC media player.
Creating a DIY 360 camera with Raspberry Pi is a fun and low-cost project that can be completed by anyone with some basic DIY skills. With just a few components and some software, you can capture every angle of your car and create stunning 360-degree images.
Troubleshooting Common Issues
https://www.youtube.com/watch?v=3QmJq3lRI7c&embed=true
Installing a DIY 360 camera in your car can be a game-changer, but like any technology, it can have its quirks. Here are some common issues you may encounter and how to troubleshoot them:
Issue: Poor Image Quality
If you’re experiencing poor image quality, there are a few things you can try:
- Check the camera lens for dirt or smudges. Clean it with a microfiber cloth.
- Adjust the camera angle. Make sure it’s not pointing too high or too low.
- Ensure the camera is getting enough power. If it’s not, the image quality may suffer.
Issue: Camera Not Turning On
If your camera isn’t turning on, try these solutions:
- Check the power source. Is the camera plugged in or charged?
- Try resetting the camera. There may be a reset button or a combination of buttons you can press to reset it.
- Check the wiring. Make sure the wires are connected properly and not damaged.
Issue: No Image Displayed
If you’re not seeing anything on your display screen, try these steps:
- Check the connection between the camera and the display screen. Make sure it’s secure and not damaged.
- Ensure the camera is powered on.
- Check the display settings. Make sure you have the correct input selected.
Issue: Camera Overheating
If your camera is overheating, it may shut down or produce poor image quality. Here’s what you can do:
- Make sure the camera is not exposed to direct sunlight or high temperatures.
- Check the camera’s operating temperature. Some cameras have a maximum temperature limit.
- Consider adding a cooling system, such as a fan or heat sink.
By following these troubleshooting tips, you can get the most out of your DIY 360 camera and enjoy a safer and more convenient driving experience.
Frequently Asked Questions
https://www.youtube.com/watch?v=mfIjgKyI3AA&embed=true
What are the best options for creating a DIY 360 camera setup for my vehicle?
There are several options available for creating a DIY 360 camera setup for your vehicle. One option is to use multiple cameras, such as four fisheye cameras, and stitch the footage together using a software program. Another option is to use a single 360-degree camera, such as the Insta360 ONE R or the GoPro MAX, and mount it to your vehicle.
How can I install a 360-degree bird’s-eye view camera in my car?
The installation process for a 360-degree bird’s-eye view camera in your car can vary depending on the camera system you choose. However, generally, the cameras are mounted on the front, rear, and sides of the car, and the footage is stitched together to create a 360-degree view. It is recommended that you consult the installation instructions for your specific camera system or seek professional installation.
What is the typical cost range for a DIY 360-degree car camera system?
The cost range for a DIY 360-degree car camera system can vary depending on the camera system and components you choose. Generally, a four-camera system can cost between $200 and $500, while a single 360-degree camera can cost between $300 and $800.
Can I upgrade my vehicle with an aftermarket 360 camera?
Yes, you can upgrade your vehicle with an aftermarket 360 camera. Many car manufacturers offer 360-degree camera systems as optional upgrades, and there are aftermarket options available as well. However, it is recommended that you consult with a professional installer to ensure proper installation and compatibility with your vehicle.
Is investing in a 360 camera system for my car a worthwhile decision?
Investing in a 360 camera system for your car can provide added safety and convenience while driving. The system can provide a bird’s-eye view of your vehicle, making it easier to navigate tight spaces and avoid potential hazards. Additionally, the system can provide valuable footage in the event of an accident or incident.
What steps are involved in setting up a 360 camera booth for vehicles?
Setting up a 360 camera booth for vehicles involves several steps, including selecting the appropriate camera system, mounting the cameras on the vehicle, and stitching the footage together to create a 360-degree view. It is recommended that you consult with a professional installer or follow the installation instructions carefully to ensure proper setup and functionality.