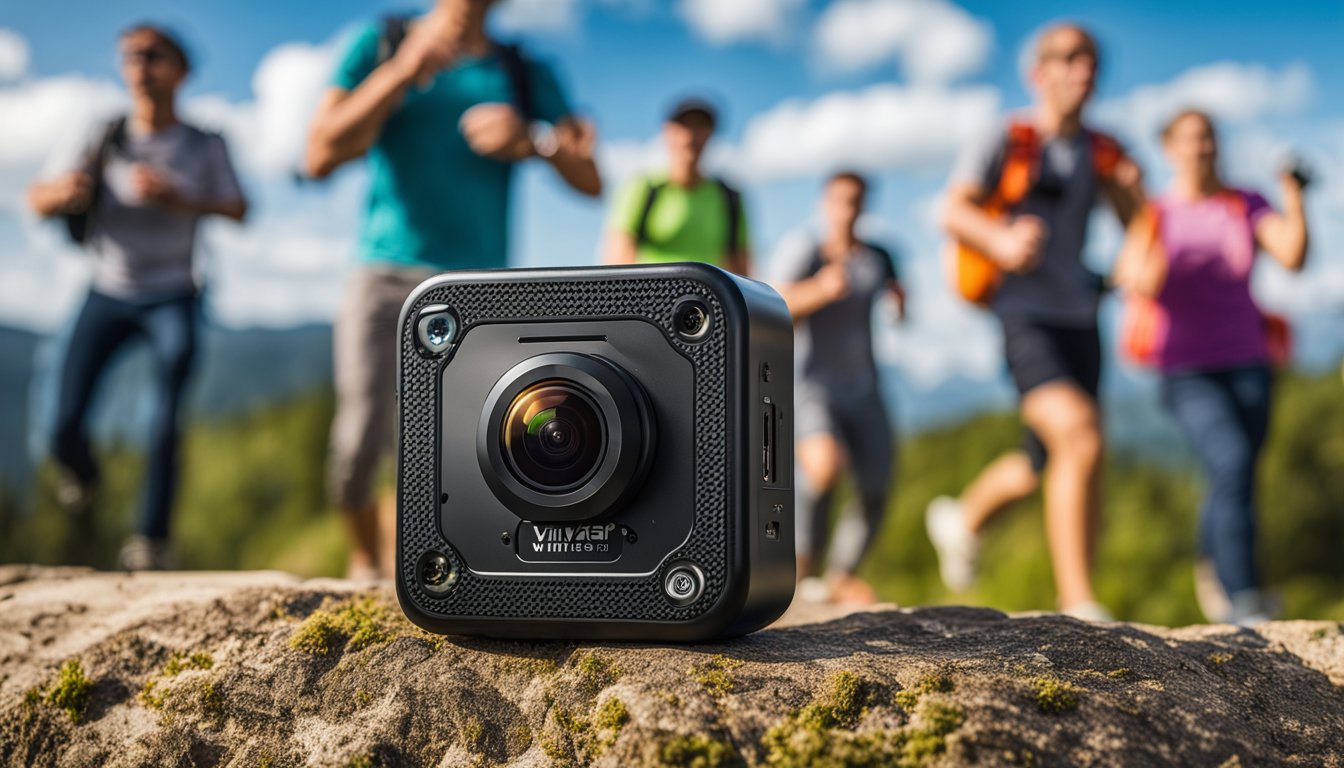
Exploring the world of action cameras often leads to the discovery of devices that can capture dynamic 360-degree content, allowing for a more immersive storytelling experience. The Vivitar 360 action camera is one such device that aims to bring panoramic video capture into the hands of everyday adventurers. Whether you’re mountain biking through rugged trails, snorkeling among coral reefs, or simply looking to document a scenic hike, this camera offers a spherical view of your surroundings that standard action cams may miss.
Understanding the details of the Vivitar 360 action camera means digging into what makes it stand out from the crowd. Not only does it challenge the norms of traditional videography, but it also promises to add depth to still photography. Ease of use is typically a crucial aspect for those looking to seamlessly integrate their life’s moments into a shareable format. Durability, compatibility with various accessories, and connectivity options for social sharing are equally important factors that influence a user’s experience.
Key Takeaways
- The Vivitar 360 action camera provides an immersive video and photography experience with its 360-degree capture capability.
- User-friendly features alongside robust build quality and versatile accessories define its practical value.
- Options for easy sharing and compatibility with devices enhance its appeal for social media enthusiasts.
Overview of the Vivitar 360 Action Camera
Embark on an adventure and capture every angle with the Vivitar 360 Action Camera. Known for its ability to record life’s moments in full 360 degrees, this camera ensures you don’t miss a detail.
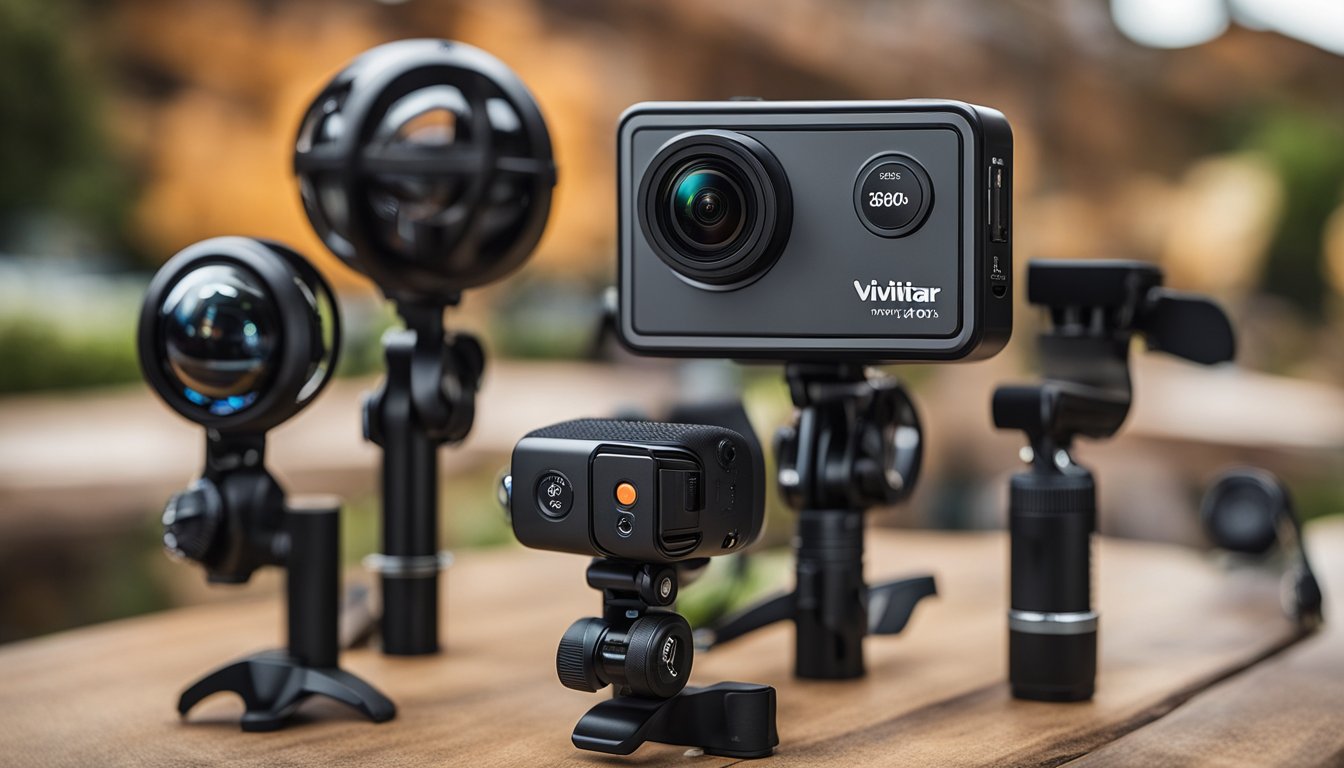
Key Features and Design
The Vivitar 360 Action Camera is equipped with dual 12.1 MP lenses that allow you to record breathtaking 360-degree videos in 4K resolution. Boasting a considerably wider field of view than traditional action cameras, this device captures your experiences in comprehensive detail. Its design is slightly thicker compared to some competitors, making it sturdy and reliable for your adventures. For those who prefer high-definition (HD) content, you have the option to shoot in 1080p as well, ensuring versatility in video quality.
Key Design Features:
- Dual 12.1 MP lenses for full 360-degree capture
- 4K and 1080p recording for versatile video quality
- Robust design for reliable use in various conditions
- Wide-angle lens to maximize field of view
Pricing and Availability
The Vivitar 360 camera is accessible for adventurers who want quality without breaking the bank. On the market, it generally retails for an attractive price point, with occasional discounts further sweetening the deal. Its presence in popular electronics outlets means you can easily find it both online and in physical stores. Check for the latest price and deals at locations such as Best Buy and Amazon, ensuring you get the best value before you venture out.
Where to Find Your Vivitar 360:
- Online marketplaces like Amazon
- Electronics retailers such as Best Buy
- Specialized camera and photography stores
Capturing Experiences With 360 Videos
Before diving into the technical aspects, it’s essential to understand that 360 videos offer you a unique way to capture everything around you, providing an immersive experience that standard videos simply cannot match. With advances in image quality and stitching technology, your adventures can now be relived in a more engaging way.
Video Quality and Resolution
When you’re considering a 360 action camera, video quality and resolution are critical. The Vivitar 360 Action Camera for instance, offers 4K video recording which creates sharp and detailed footage. This is a significant step up from 1080p, providing four times the resolution. Remember, the higher the resolution, the crisper your video will be, especially when viewed on larger screens or VR headsets.
- 4K resolution: Offers outstanding detail and clarity
- 1080p: A more standard resolution that still delivers good quality but with less detail than 4K
Stitching and 360 Degree Video
Stitching refers to the process of combining multiple images from different lenses to create a cohesive 360 degree video. Cameras like the Vivitar often use dual 12.1 MP fisheye lenses to capture every angle. Proper stitching is what makes or breaks the immersion of 360 videos.
- Stitching Quality: Look for smooth and seamless stitching to avoid distortions
- Fisheye Lenses: Capture wide angles necessary for stitching together the full 360-degree panorama
A well-stitched video should make you feel as though you’re standing inside the scene, able to look around in all directions without noticing any seams or mismatches in the footage.
Still Photography Capabilities
When exploring the world of 360-degree photography, you’ll find that the Vivitar 360 Action Camera brings some unique features to your still image captures. Let’s delve into the specifics of its image resolution and lens capabilities.


Image Resolution and Quality
« VSN 360 Camera Review: A Comprehensive Look at Performance and Features
Ricoh 360 Camera Review: Unveiling the Immersive Photography Experience »
The Vivitar 360 Action Camera comes equipped with a dual 12.1 MP lens setup, allowing you to capture high-resolution images with a unique 360-degree perspective. The camera’s sensor ensures that your stills are not just wide, but also have a clarity that’s essential for good picture quality. This is particularly beneficial if you’re keen on capturing every detail in a single shot without the need to stitch multiple images together.
Fisheye Lens and Wide Angle Shots
With a fisheye lens, the Vivitar 360 gives you the opportunity to snap wide-angle photos that pack a visual punch. Your images will have a distinctive spherical effect that fisheye lenses are known for, adding a creative twist to your standard point-and-shoot experience. The wide angle nature of the lens means that you can include more of your surroundings in every photo, perfect for landscapes and action scenes where every detail counts.
Usability and Interface
When exploring the features of the Vivitar 360 Action Camera, you’ll find that its usability centers around the dedicated Vivitar 360 View App and the camera’s user interface, both designed to make your experience smooth. Let’s dive into how you can utilize these tools to get the most out of your action camera.
Vivitar 360 View App
Pairing your Vivitar camera with the Vivitar 360 View App is straightforward. Available on both Android and iOS platforms, the app allows you to control your camera directly from your smartphone via WiFi. With the app, you can start and stop recordings, take pictures, and adjust settings, making remote control operation a breeze. The user-friendly app also lets you view and download the content you’ve shot directly to your phone.
Ease of Use and Learning Curve
Your Vivitar 360 Action Camera is equipped with an intuitive user interface that simplifies navigation. Key functions are accessible with a press of the power button, and you’ll find that the learning curve is quite gentle. As you get familiar with the various modes and settings, you’ll appreciate the simplicity built into the design, whether you’re toggling between modes or using the various functions offered by the camera.


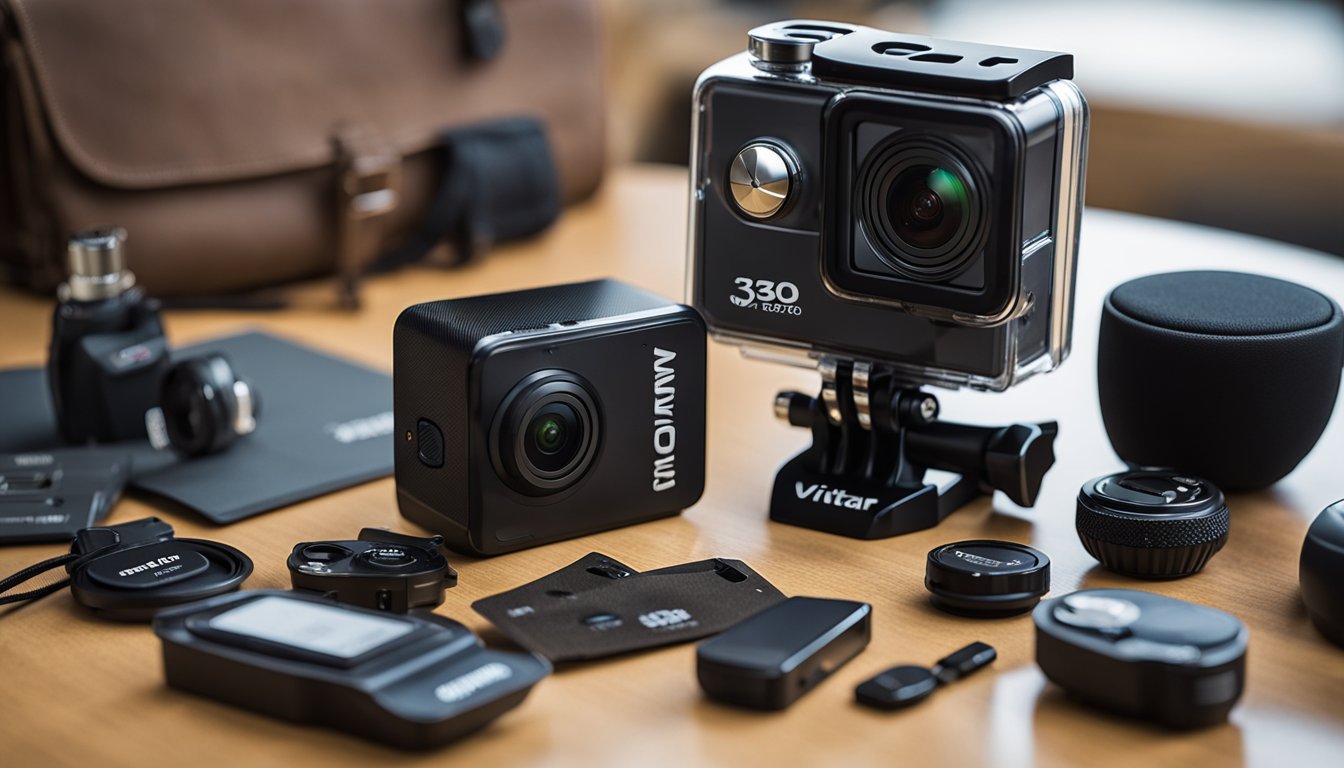
Durability and Accessories
When considering the Vivitar 360 Action Camera, you’ll find its durability and available accessories specifically designed to enhance your recording experience. Let’s dive into two essential aspects: how it fares against the elements and what extra items you can expect.
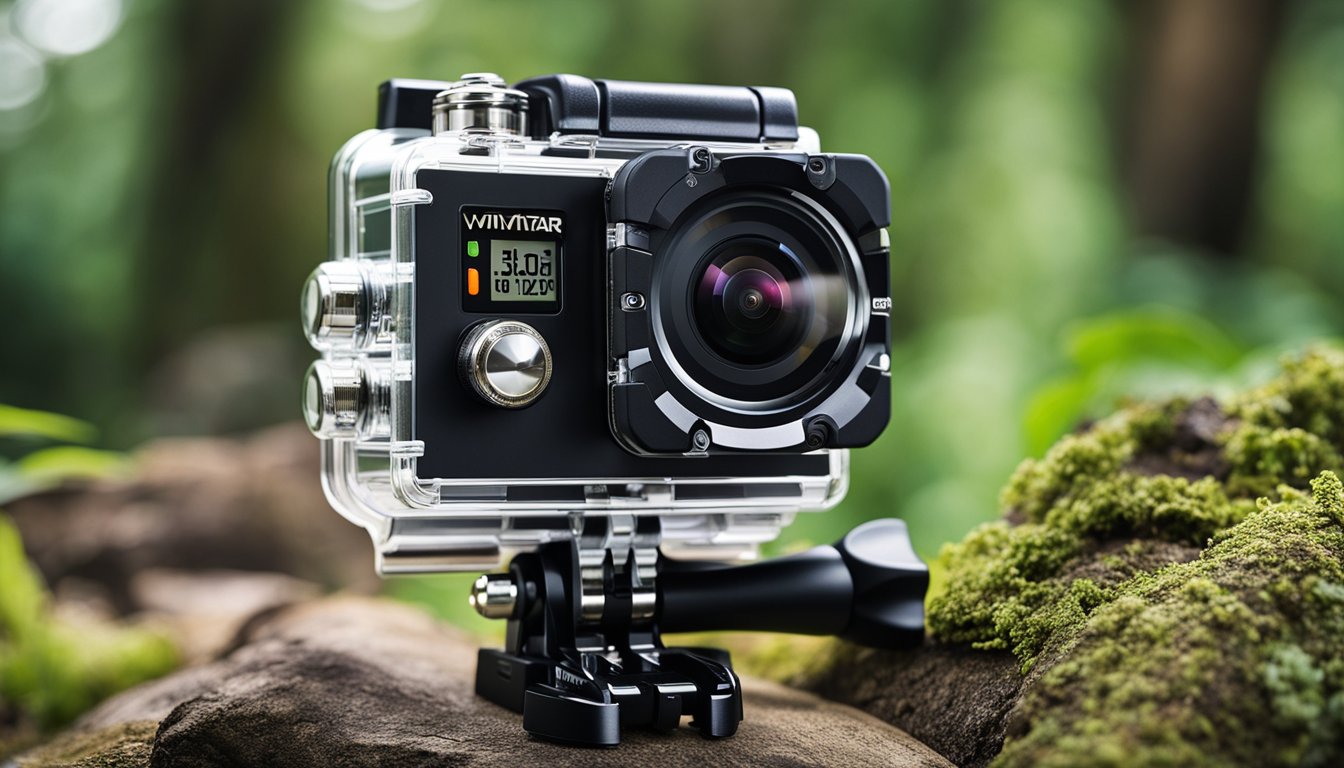
Waterproof Case and Mounts
Your Vivitar 360 Action Camera comes with a durable waterproof case which allows for underwater shooting, ensuring you don’t miss any aquatic adventures. With this case, your camera is shielded from water damage, enhancing its overall durability. Moreover, your camera package includes a variety of mounts for different applications, such as a helmet mount and a tripod adapter, facilitating versatile shooting angles and securing your device on various surfaces.
Battery Life and Power Options
The camera’s battery life is crucial, especially when you’re out capturing the thrills of your outdoor pursuits. The Vivitar 360 features a decent battery span that should last through your action-packed sessions. Managing your camera’s power is straightforward with a simple power button. Remember to carry spare batteries or a portable charger to ensure you have adequate power to capture your entire adventure.
Connectivity and Compatibility
When it comes to connecting your Vivitar 360 action camera, you’ve got a suite of options that cater to your active lifestyle and tech preferences. You can effortlessly integrate this camera with your smartphone for on-the-go control and share your adventures in real-time.
Wi-Fi and Smartphone Integration
Your Vivitar 360 action camera offers Wi-Fi connectivity which allows you to pair it directly with your smartphone, whether you’re using an iOS or Android device. This feature enables you to stream your video directly to your mobile device. This integration not only makes it easier to control the camera remotely but also simplifies the process of sharing your content online.
- To connect via Wi-Fi:
- Power on your camera and navigate to the Wi-Fi settings.
- Select the Wi-Fi feature to enable it.
- Connect through the camera’s app on your smartphone.
MicroSD and Storage Options
Storing your 360-degree videos requires reliable memory, and that’s where MicroSD cards come into play. Your camera supports MicroSD cards, which means you have the flexibility to choose your storage capacity. These are the focused steps to manage your storage:
- Inserting a MicroSD card:
- Locate the MicroSD card slot on your camera.
- Insert a MicroSD card with the desired storage capacity.
Be aware that the use of a compatible SD card is crucial for optimal performance and to ensure your content is safely stored and accessible when you connect the camera to a computer or other devices. Remember to check the maximum supported size of the MicroSD card in your camera’s specifications to enjoy the best experience, especially if you’re looking to capture content for virtual reality experiences.
Social Media and Sharing
When you capture those thrilling moments during sports events or while hiking, the Vivitar 360 Action Camera makes it straightforward to share your experiences. Let’s explore how you can showcase your adventures on social platforms like Facebook and YouTube.
Sharing on Platforms like Facebook and YouTube
With the Vivitar 360 Action Camera, your recorded 360-degree videos are primed for sharing. Thanks to built-in video stitching software, you can easily prepare your videos on the camera itself before uploading. To share on Facebook, simply select the spherical video format option post-stitching to allow viewers to interact with your panoramic videos. For YouTube, ensure your videos adhere to the platform’s over-under format specification to make full use of the 360-degree playback feature.
Social Features and the Vivitar Experience
The camera’s integration with your social media isn’t just about posting videos. Vivitar offers the Vivitar Experience, an app that enhances your ability to share content across various platforms. Use this to tag your friends, create engaging posts tailored for social media, and keep your online community connected to your most memorable outdoor activities.
Comparison With Other Action Cams
When evaluating action cameras, you’ll find that the choice often comes down to individual needs and budget constraints. Let’s see how the Vivitar 360 Action Camera stacks up against some of its competitors, such as the GoPro, in terms of features and value for money.
Vivitar vs GoPro
Vivitar 360 Action Camera offers an all-around capture ability, recording life in 360 degrees, which differentiates it from most GoPro models, which are more focused on traditional action cam angles. While GoPro has established a sterling reputation in the action camera market, especially for its durability and high-quality footage, the Vivitar caters to a different niche with its dual-lens design allowing for immersive 360-degree photography and videography.
- Durability: GoPro cameras are known for their rugged builds, typically withstanding harsher environments, which might be more suitable if you’re into extreme sports. Conversely, the Vivitar 360 camera is a bit more delicate because of its protruding lens design.
- Image Quality: GoPro often leads with superior image resolution and frame rates. If you’re looking for crisp, high frame rate footage, GoPro might be your go-to. However, Vivitar offers a unique 360-degree shooting experience that’s great for capturing panoramas.
- Price: GoPro cameras can be pricey, but they are justified by the quality and the features they offer. Conversely, Vivitar 360 Cameras are generally available at a great price, making them a budget-friendly option while still providing the immersive 360-degree experience.
Price-to-Feature Assessment
Assessing the price relative to features is crucial in choosing the right camera for your needs.
Consumer Insights and Reviews
When considering the Vivitar 360 action camera, your decision-making process can benefit greatly from examining firsthand accounts from individuals who have already purchased the camera. Insights from verified purchasers provide a window into the camera’s performance in real-world settings.
Verified Purchases and Online Feedback
From a collection of verified reviews, it’s clear users appreciate the Vivitar 360 degree action camera for its portability and dual-lens feature, which enhances capturing immersive content. However, opinions on the camera’s application and value differ among users. Prices may vary across platforms, but it’s common to find the camera listed around $129.99 on discount, with the original pricing at approximately $199.99.
- Current Price: $129.99 (cleared price)
- Rating: 3.9 from customers at Best Buy
- Promotions: Sometimes includes free items with purchase
Pros and Cons Summary
Summarizing the pros and cons based on customer feedback can help you weigh the camera’s suitability for your needs:
- Pros:
- Underwater Usage well for underwater action.
- Easy to Shop: Availability of fast shipping and good customer support.
- Cons:
- Mixed Reviews: Some users report issues with software stabilization.
- Customer Support: A few reviewers have had less-than-ideal interactions.
Keep in mind these points whenever you stumble upon a promo, as it might alter the value proposition of the camera. If a sweepstakes entry is part of the offering, ensure it doesn’t sway your perception of the camera’s technical merits.
Post-Purchase Support
When you purchase the Vivitar 360 Action Camera, your experience is backed by additional resources for any assistance you might need. From guidance on utilizing the video stitching software to warranty inquiries, rest assured that support is available.
Warranty and Customer Service
Your Vivitar 360 Action Camera comes with a warranty provided by Sakar International, ensuring that any manufacturing defects encountered will be addressed. If you encounter any issues, contacting customer service can be done easily through various channels, including Facebook and traditional methods like phone or email. To claim warranty services, you’ll typically need proof of purchase, and there might be shipping costs involved if you need to send your camera for repairs.
- Contact Channels:
- Facebook: Reach out for a direct and social approach.
- Email: Use for detailed inquiries or if you have specific service requests.
- Phone: Ideal for immediate assistance and real-time guidance.
Software Updates and Tutorials
Stay updated with the latest software updates for your camera’s video stitching software by checking online. These updates are crucial for optimal camera performance and introducing new features or bug fixes. For clarity on operating your camera or making the most out of its features, you can find tutorials on YouTube. These tutorials range from basic operations to advanced settings, helping you understand the complete functionality of your camera.
- Resources:
- Software Updates: Regularly check online for software improvements.
- Tutorials: Explore video guides on YouTube for practical usage tips.
Frequently Asked Questions
This section aims to provide you with quick and useful information regarding the Vivitar 360 action camera, with a focus on operation, features, underwater use, comparison with other cameras, distinction from traditional cameras, and compatible accessories.
How do I operate a Vivitar 360 action camera?
To operate your Vivitar 360 action camera, you need to charge the battery, insert a microSD card, and power it on. Use the buttons on the camera to navigate through the menus and settings. For a comprehensive control, download the free app, which is available for both Android and iOS, and connect it to your camera via Wi-Fi.
Can the Vivitar 360 action camera be used underwater?
Yes, the Vivitar 360 action camera can be used underwater, but you will need to ensure it is housed in an appropriate waterproof case rated for the depth you plan to dive. Some models may require the purchase of a separate waterproof housing.
What are the main features of the Vivitar 360 action camera?
The Vivitar 360 action camera boasts features such as dual 16 MP lenses for capturing 4K video, 360-degree wide-angle shooting, built-in Wi-Fi for video streaming and control, and a mobile app for remote operations. For an in-depth look at its capabilities, check out a detailed Vivitar 360 review.
How does the Vivitar 360 compare to other 360 cameras on the market?
Compared to other 360 cameras, the Vivitar 360 is known for being budget-friendly and easy to use, although it may offer average image quality and lack certain advanced features found in more expensive models.
How does an action camera differ from a traditional 360 camera?
An action camera, like the Vivitar 360, is designed to be durable and portable for capturing high-intensity activities. It typically has a wide field of view enabling 360-degree recording, making it distinct from traditional cameras that capture a more limited perspective.
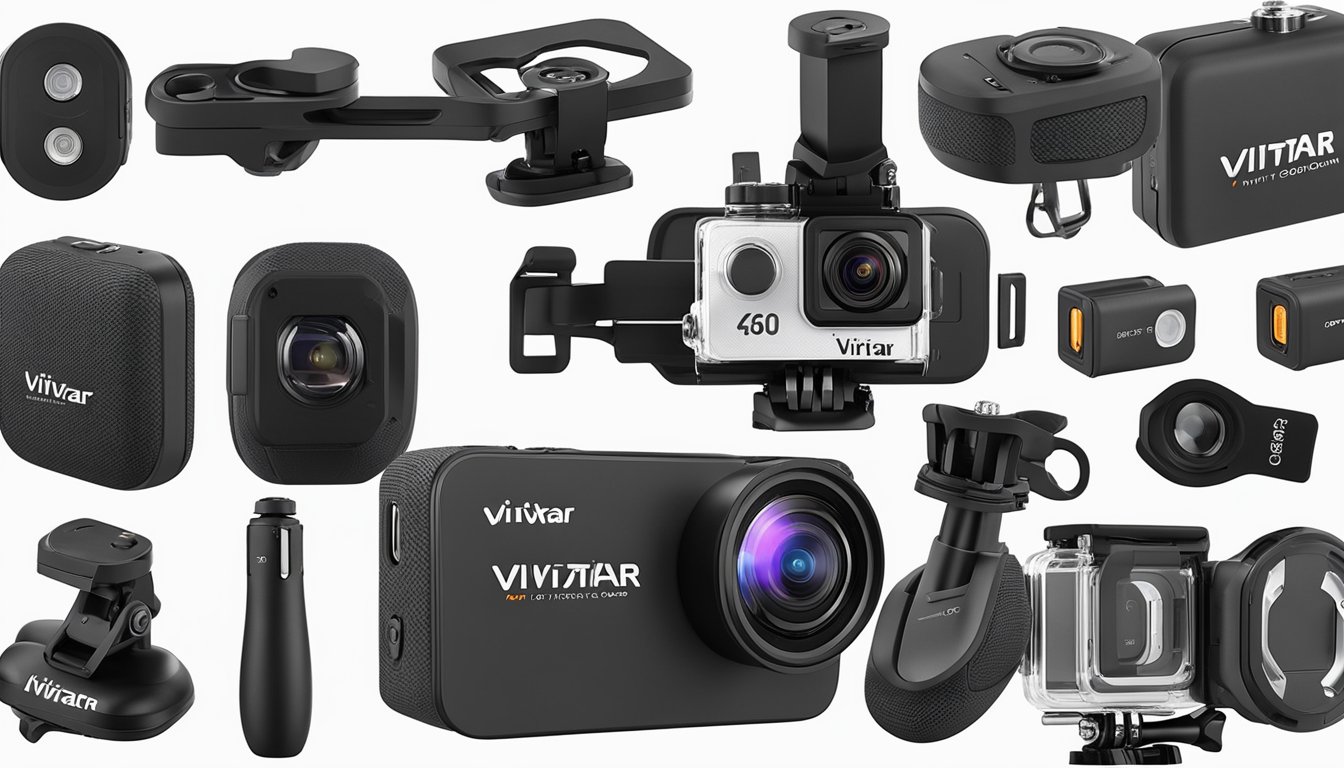
What accessories are compatible with the Vivitar 360 action camera?
Compatible accessories with the Vivitar 360 action camera include various mounts, waterproof cases, and remote controls. It’s important to check the manufacturer’s specifications for the correct accessory compatibility.