
Ever wondered if you can give your car the high-tech edge with a 360-degree view? Well, you’re in luck because installing an aftermarket 360 camera in your car is definitely on the table. With the right kit, you can upgrade your ride to have a bird’s-eye view, making parking and navigating tight spots a breeze.
While factory-installed 360 cameras are tailored for specific models, aftermarket options offer flexibility. But let’s be honest, it’s not exactly plug-and-play. You’ll need to tackle camera calibration and a few technical steps to get that seamless surround view. Stick around as we dive into the nitty-gritty of getting that all-around vision for your vehicle.
Benefits of installing an aftermarket 360 camera
Increased Visibility
When you’re behind the wheel, having a clear view of your surroundings isn’t just convenient, it’s crucial. An aftermarket 360-degree camera system significantly expands your field of vision beyond what traditional mirrors offer. Say goodbye to craning your neck – you now have a bird’s-eye view of your vehicle. This augmented visibility envelops your car, allowing you to spot those ever-lurking hazards that a mere rearview glance might miss. Whether it’s a low wall or a wandering pet, you’ll appreciate the added eyes that keep watch in every direction.
Enhanced Safety
Think of an aftermarket 360 camera as your digital lookout. It virtually eliminates blind spots, which are the bane of even the most seasoned driver’s existence. With a panoramic view, you’re armed with the critical information needed to make safer driving decisions. By reducing blind spots, you’re less likely to miss other vehicles, cyclists, or pedestrians, thus, reducing your chances of accidental mishaps. Navigation through crowded streets becomes less daunting, and you can change lanes or merge into traffic with more assurance, aware that you’ve got all angles covered.
Improved Parking Assistance
The saying “like a glove” takes on a whole new meaning with a 360 camera system fitted in your vehicle. Parking in tight spots turns into a less stressful and more precise operation. With the visual aid of a top-down view integrated into your dashboard screen, you can gauge distances with remarkable accuracy. Parking sensors complement the system, alerting you to obstacles that could lead to dents and scratches. What once may have been a challenging maneuver in a cramped lot is now a smooth, guided affair, showcasing the ultimate in parking finesse.
Choosing the right aftermarket 360 camera
When you’re ready to enhance your driving experience with an aftermarket 360 camera, it’s essential to choose the right one for your vehicle. With a multitude of options available, making an informed decision will ensure you get a system that meets your needs and integrates seamlessly with your car.
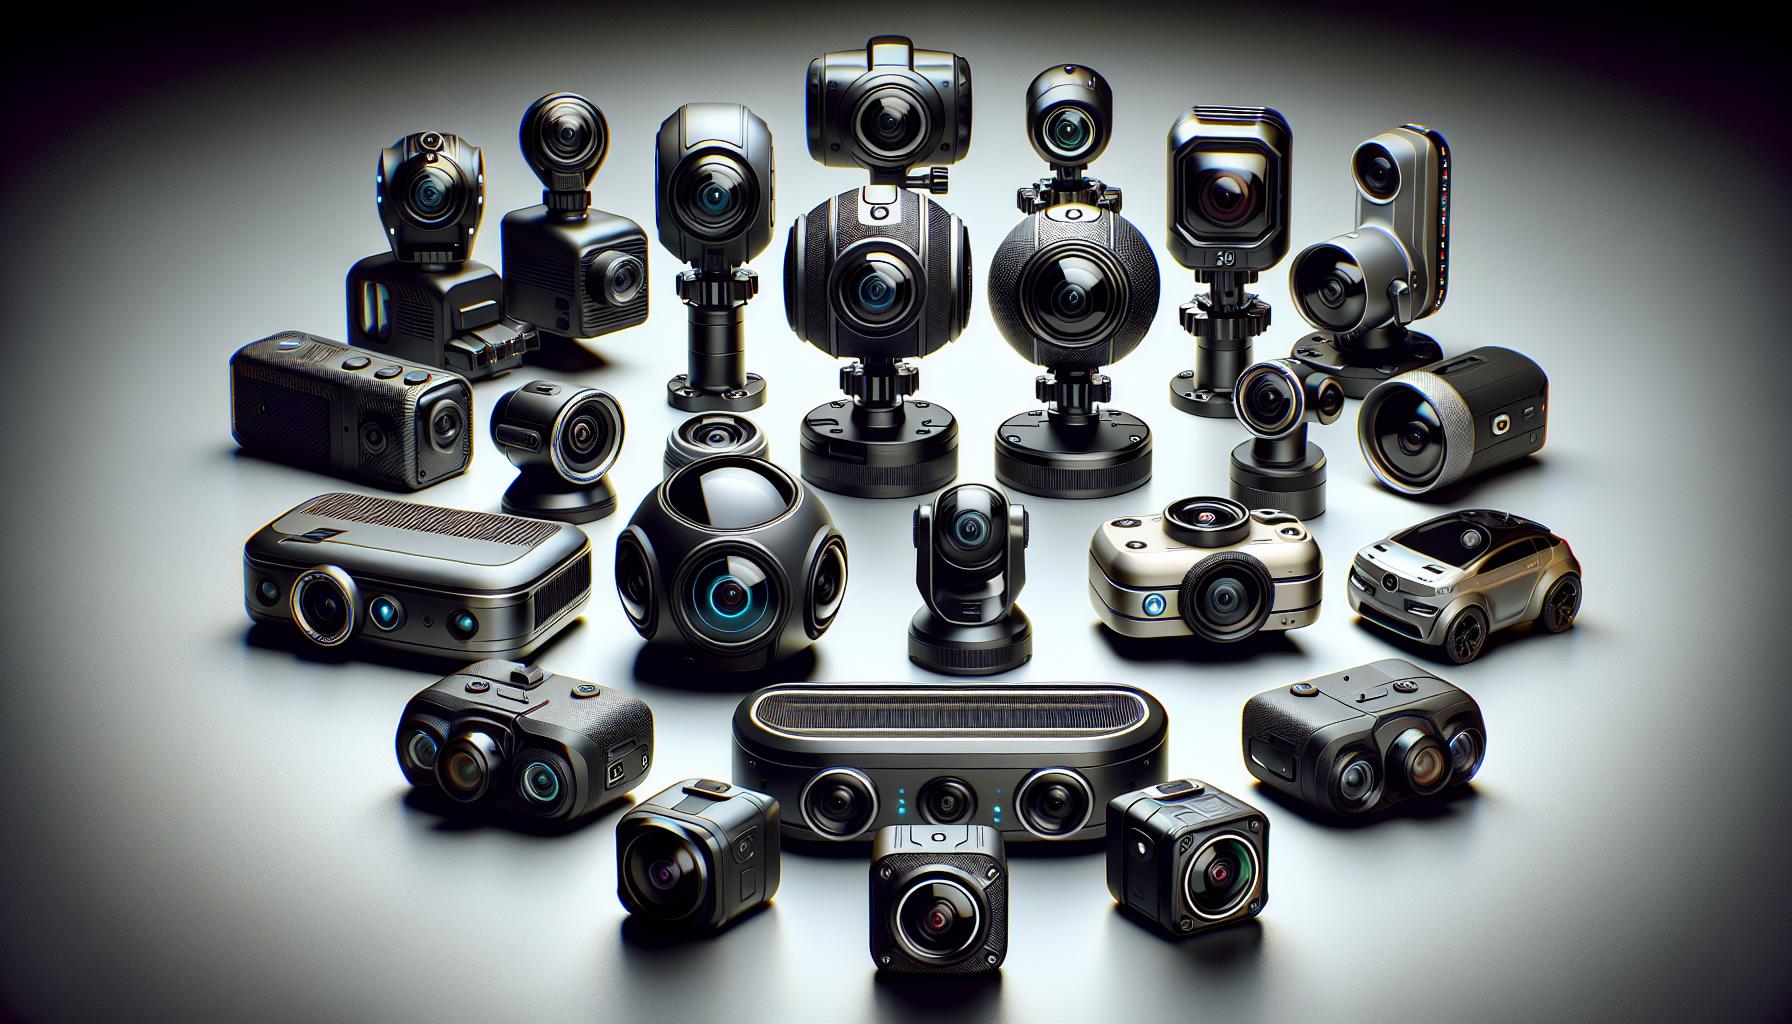
Research Different Brands and Models
Begin by delving into the various brands and models on the market. Understand that brands like Hypersonic may offer cost-efficient setups, while others such as Blaupunkt and CrossLink Wheels cater to those seeking higher-end features. Consider the image resolution foremost—cameras boasting 1080p resolution or higher are ideal for capturing crystal-clear imagery.
You’ll also want to contemplate the camera’s design and how it will fit your car’s aesthetic. Sleek models may complement a modern vehicle, while more robust designs could suit an off-road adventurer. Ensuring that the system is compatible with your vehicle’s make and model is critical. Check if specific mounts or additional equipment are necessary, and verify that the chosen camera can dovetail with your car’s existing systems smoothly.


Consider Your Budget
« Do Jeep Wranglers Have 360 Cameras? Upgrade Your Ride Now
360 Camera with Measurements: The Ultimate Tool for Precise Capturing »
Your budget plays a key role in the selection process. While it might be tempting to opt for a less expensive model, be aware that price often correlates with quality and durability. A higher-priced camera may provide better resolution and a longer lifespan.
Balance the initial cost with the long-term benefits:
| Feature | Lower-Priced Model | Higher-Priced Model |
|---|---|---|
| Image Quality | Standard resolution | High resolution (1080p or more) |
| Durability | May vary | Typically longer lasting |
| Compatibility | Limited | Broad range of vehicle models |
| Additional Equipment | Often required | Sometimes included |
While economic options can be attractive, they might lack in longevity or clarity. Consider investing a bit more to secure a system that provides both top-notch visuals and reliable performance over time.
Look for Additional Features
Take note of extra features that could enhance your driving experience. Some cameras offer night vision capabilities, which is a boon for safety during evening drives. Furthermore, certain models come equipped with motion sensors which instigate recording if movement around your vehicle is detected, adding a layer of security.
Minimalist designs are available for those who favor an unobtrusive look, while others feature robust weather-proofing, suitable for drivers in harsher climates. If an app-controlled system excites you, look for cameras that include smartphone integration, allowing you to view live footage or adjust settings from your mobile device.


As you push forward in your journey to elevate your car with a 360-degree perspective, remember that your final choice should harmonize with both your personal preferences and practical needs. Whether you prioritize high-resolution footage, budget-friendliness, or additional security features, your aftermarket 360 camera should be a reflection of what you value most in your driving experience.
Preparing to install an aftermarket 360 camera
Gather Necessary Tools and Equipment
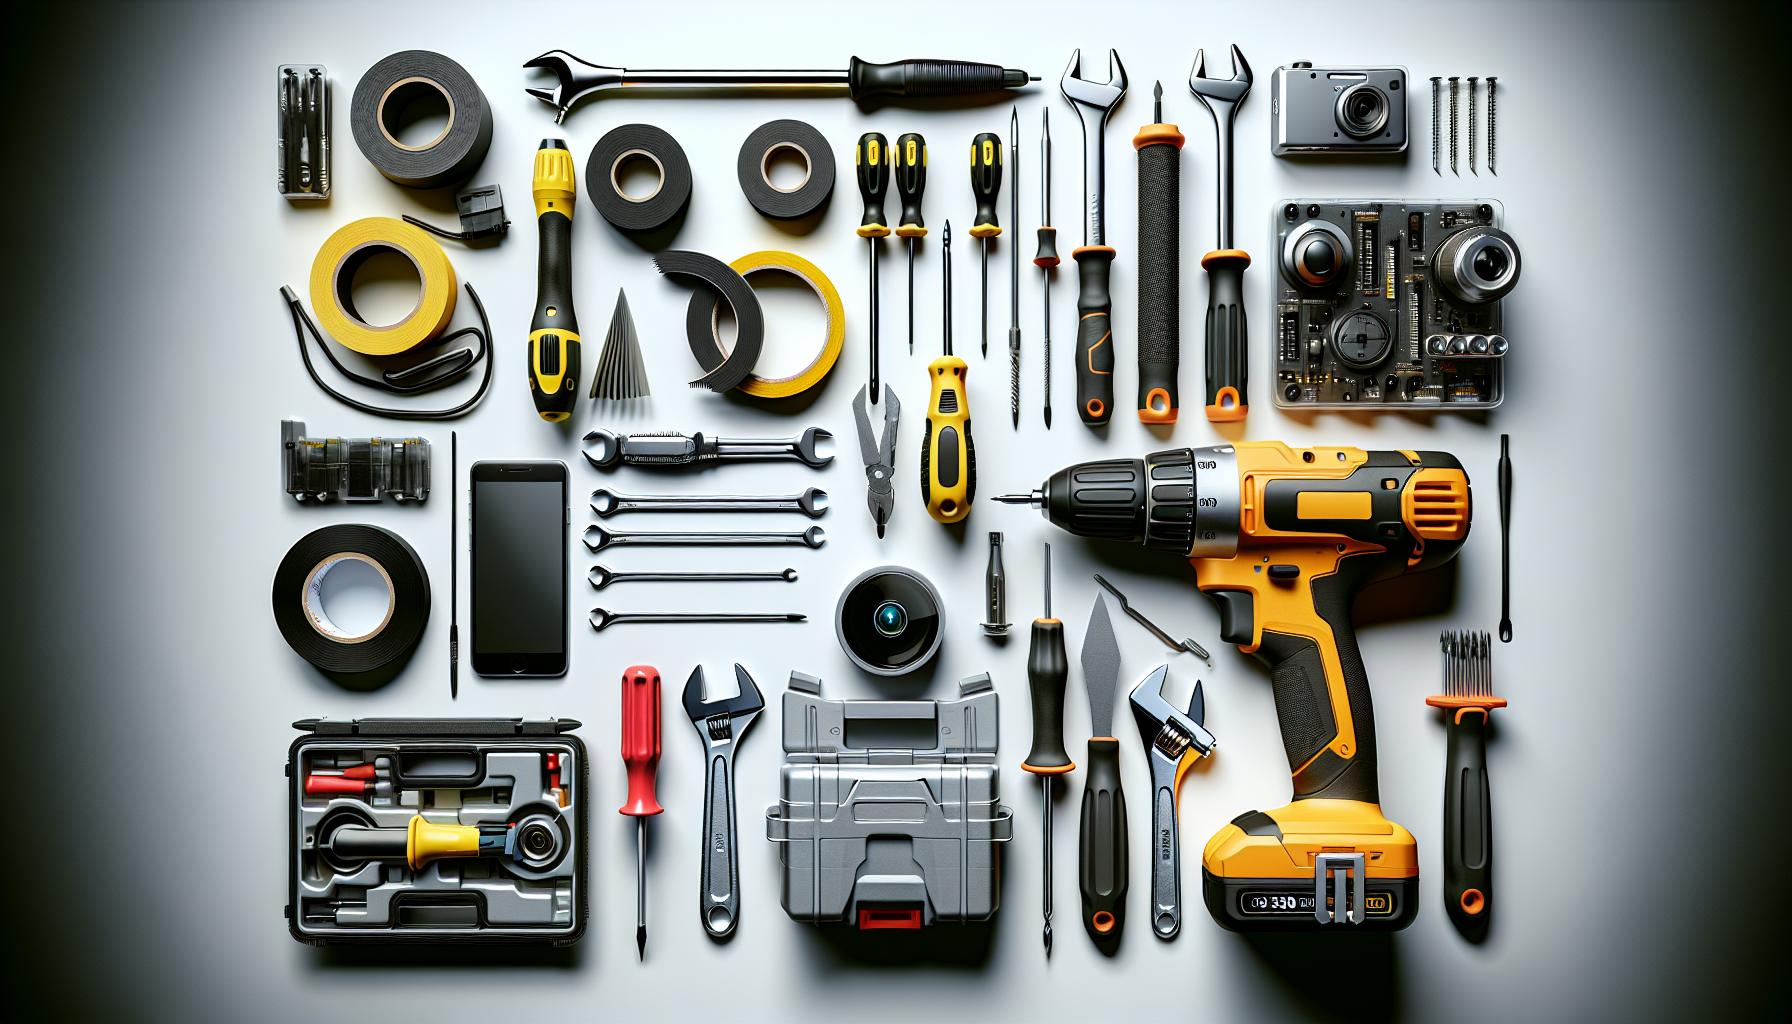
Before diving into the installation process, ensure you’ve prepped with the right gear. You’re going to need some specific tools and equipment to get the job done right. Arm yourself with:
- A drill and a variety of screwdrivers
- Electrical tape for safe wire management
- A wiring kit complete with all necessary connectors
- A fish tape tool to guide wires through tight spots
- A trim removal tool to access hidden areas without damage
Every car’s design has its quirks, so these tools will help you navigate the nooks and crannies of your vehicle like a pro. And remember, having everything you need within arm’s reach will make the process a whole lot smoother.
Verify Compatibility With Your Vehicle
Your car is as unique as you are; that means not just any 360 camera will do. Before you make any moves, check that the camera system you’ve chosen plays nice with your ride. Here’s what to look for:
- Make and Model: Ensure the camera system is tailored to fit your car’s specifics.
- Mounting Requirements: Go through the kit you have. Does it include the rubber rings for angled installation under a non-horizontal mirror?
- Integration: Confirm that the camera can link up with your car’s power system and tech without hitches.
Take a moment to check with the maker of your camera for any vehicle-specific considerations that could affect installation. It’s the difference between a setup that looks factory-installed and one that screams aftermarket.
Read The Installation Instructions
You know that pile of paper that comes with your camera system? The one you might be tempted to toss aside? Dive into that. The manufacturer’s instructions are your blueprint to a successful installation. Not only do they lay out the step-by-step process, but they’ll guide you on how to correctly calibrate your cameras, ensuring that seamless surround view you’re after. Familiarize yourself with the particulars of your model’s wiring and connectivity to avoid any surprises mid-install.
Sure, you’ve got the basics down, but each car and camera kit is a little different. A thorough read-through of the instructions can highlight nuances you might otherwise miss. Remember, a solid understanding of the game plan can save you time and frustration, leaving you free earning those bragging rights for a job well done.
So there you have it – the nuts and bolts of rocking a DIY 360 camera installation. With the right preparation, your car’s going to have all the angles covered, and you’ll be the maestro orchestrating it all.
Step-by-step installation process
Locate the Ideal Camera Position
Your success with installing a 360 camera starts with pinpointing the perfect spot for placement. You’re aiming for a broad, unobstructed view of your surroundings. Typically, this will involve securing one camera on the front bumper, one on the rear, and one on each side mirror. Balance is key—you want to ensure equal coverage from all angles without any part of your car getting in the way.
When selecting these locations, remember that optimal height and angle are crucial. The front camera should be positioned to catch the immediate area in front of your vehicle as well as a portion of the hood, while the rear camera must give a clear view of the space behind your car. Both side cameras should eliminate blind spots by providing comprehensive visibility on either side of your vehicle.
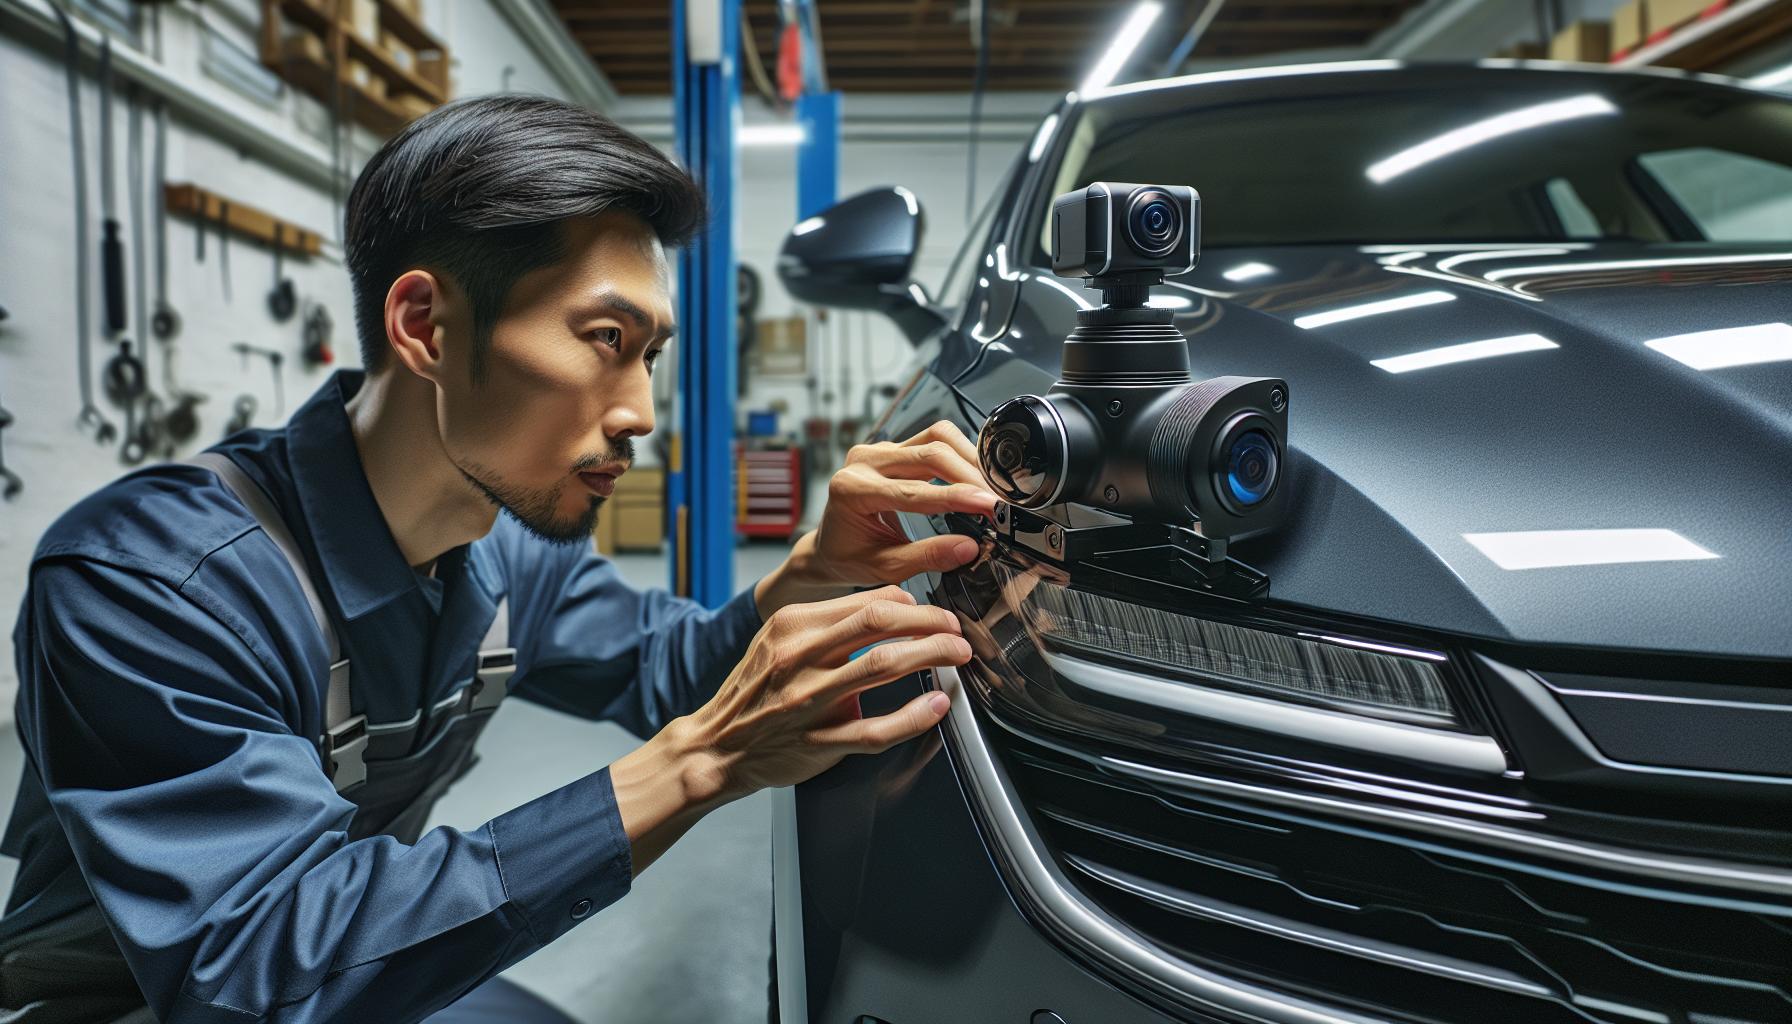
Mount the Camera Securely
With the locations set, it’s time to get those cameras fixed in place. The type of mount varies; some prefer a suction cup design, which affixes easily to your windshield or dashboard, whereas others use a more permanent fixture. If your mount requires it, a strong adhesive is essential to keep it from shifting over time. Sometimes, using a level might be beneficial to guarantee that your camera sits evenly, which is paramount for flawless recording.
Ensure each camera is firmly secured—any movement could disrupt the calibration process and the accuracy of the footage. The camera angle might require fine-tuning, a step you can’t skimp on if you’re striving for the perfect 360-degree coverage.
Connect the Camera to Power and Video Inputs
Now it’s time to get technical. The cameras need power to come to life, which means connecting them appropriately to your car’s power system. Be savvy about tapping into existing fuse boxes or wiring to avoid any electrical mishaps. For this part, your best friends are electrical tape and a wiring kit that often comes with your camera system.
Besides power, video inputs are vital—this is where your head unit comes into play. Routing cables from each camera to the head unit needs careful planning. Use a fish tape tool to pull wires through those snug spots without compromising functionality. It’s essential to keep wires away from any moving parts or heat sources. And for the sake of neatness and safety, conceal the wiring using your car’s trim and crevices.
Throughout this step, take extra precautions to ensure stable connections. Electrical connectivity is the lifeline of your 360 camera system; loose or vulnerable wiring can lead to erratic power supply and shaky camera outputs. Remember to double-check each connection—this diligence pays off with a steady, reliable system that’ll serve you well on the road.
Testing and calibrating the 360 camera
Check the Camera’s Functionality
Before you dive into the nuances of perfecting your setup, you’ve got to ensure that each piece of your 360 camera system is doing what it should. Power up the system and scrutinize every camera in isolation. You’re looking for unobstructed, crystal-clear views. Here’s a quick guide:
- Front Camera: It should provide a view straight ahead, catching just the right amount of your hood.
- Rear Camera: Make it display everything behind, including the rear bumper to safeguard your backing maneuvers.
- Side Cameras: These guys are your trusty lookouts for those pesky blind spots.
Check the live feed for a comprehensive view. All cameras should be in sync, giving you a full 360-degree field of vision.
Adjust Camera Settings if Necessary
Let’s say something’s not quite right — maybe the side camera’s a tad skewed, or the rear view’s too low. It’s time to put on your tech hat and start tweaking.
Adjust each camera so that it’s angled just so. A nudge here or there can make a world of difference. Also, play around with the camera settings if available. Change the brightness, contrast, or other available parameters to match your preferences or to account for the lighting conditions you frequently encounter.
Calibrate the Camera for Optimal Performance
Calibrating your 360 camera could well be the heart of this operation. Choose the rubber ring that suits your camera angle — flat or a 15-degree tilt for full coverage. For the rear, stick to the camera that came with the kit due to its unique specs for calibration.
Attach the calibration cloth at the front and back ends, lined up with your car’s edges, and double-check distance measurements from the cloth to your wheels — precision is key.
If any hiccups arise, remember these steps:
- Reset the system to factory settings for a fresh start.
- Cycle through camera modes like top-down, wide-angle, and split-screen to verify functionality.
Leave no stone unturned during these tests, ensuring each sector meshes seamlessly for that ideal surround-view experience. By doing so, you’ll be reinforcing the safety, security, and overall enjoyment of your drives.
Maintain the system with regular lens cleaning, dusting off, and port clearing. Keep an eye out for those firmware updates that your camera’s performance depends on.
With this section, you now possess the know-how to set up a system that not only captures every detail of your surroundings but also does so with impeccable clarity and reliability.
Troubleshooting common installation issues
Camera Not Powering On
When you’ve put in the effort to install your 360 camera system and it won’t power on, it’s easy to feel frustrated. Before you panic, let’s troubleshoot. Check all connections thoroughly: ensure they’re secure and free from any corrosion. Batteries can be sneaky culprits – a fully charged one is essential for the initial power-up. Also, inspect your fuse box for any blown fuses, and confirm you’ve connected to a circuit that’s only live when the ignition is on to avoid draining your car’s battery. It’s also smart to eyeball the wiring for signs of damage. If you come across any cuts or nicks, electrical tape can be a temporary savior.
Poor Image Quality
You were probably expecting crystal-clear images from your new system, but what if the reality is more grainy than grand? First, inspect the camera lenses for any smudges or debris – cleanliness is next to godliness in the camera world. It’s worth a shot to reset to factory settings, as sometimes the smallest software glitch can affect image quality. If there are still issues, it might be a resolution problem. Remember, a resolution of at least 1080p is recommended for the clarity you need. Dive into the camera settings and play around with the contrast and brightness levels until you find the sweet spot.
Inaccurate Distance Guidelines
Those handy guidelines on your screen, meant to help you judge distance while maneuvering, can sometimes be off the mark. Calibrating your system is key here. Make sure you’re using the appropriate rubber ring and have attached the calibration cloth correctly, as mentioned earlier in the article. If those lines are still telling fibs about how close that parking barrier really is, it’s time to consult the manual. Most 360 camera systems allow for manual adjustment of the guideline settings, so you can tweak them until they’re as accurate as possible. If after these efforts the guidelines aren’t lining up with reality, it could indicate a more complex issue with the camera angles or the software itself.
Conclusion
Frequently Asked Questions
What is a 360 camera system in cars?
A 360 camera system in cars, also known as a surround view or bird’s eye view system, uses multiple cameras positioned around the vehicle to create a composite image. This image gives drivers a top-down view of their surroundings, aiding in navigation and parking.
What are the common issues during the installation of a 360 camera system?
Common installation issues include the camera not powering on, poor image quality, and inaccurate distance guidelines. These can often be resolved by ensuring proper connections, a fully charged battery, and checking for damage.
How can I troubleshoot a 360 camera system that won’t turn on?
To troubleshoot a 360 camera system that won’t power on, check all connections and ensure that the vehicle’s battery is fully charged. If these steps don’t fix the issue, consult the manual or manufacturer’s support.
What should I do if my 360 camera system has poor image quality?
If your 360 camera system has poor image quality, clean the camera lenses, check for obstructions, and adjust the camera settings if possible. If the problem persists, a factory reset or professional help may be necessary.
How can I fix inaccurate distance guidelines in my 360 camera system?
Inaccurate distance guidelines can often be corrected by recalibrating the system according to the manufacturer’s instructions. Make sure all cameras are correctly aligned and without any physical damage.
Is it possible to install a 360 camera system by myself?
Yes, it is possible to install a 360 camera system yourself if you have some technical skill and follow the manufacturer’s installation guide closely. However, for hard-wired systems, it may be advisable to seek professional installation.
Where can I find further guidance for troubleshooting my 360 camera system?
For more detailed guidance on troubleshooting your 360 camera system, check the vehicle’s manual or contact the manufacturer’s customer support. They can provide assistance tailored to your specific model and issue.


