If you’re looking to turn off your Nooie Cam 360, you’ve come to the right place. Whether you’re going out of town or just need a break from monitoring, turning off your camera is a simple process. In this article, we’ll guide you through the steps to turn off your Nooie Cam 360.

Before we begin, it’s important to note that turning off your Nooie Cam 360 will disable all monitoring and recording features. If you want to continue monitoring your home or office, you may want to consider using the “Privacy Mode” feature instead. This feature will temporarily disable the camera’s video and audio recording functions, but still allows you to receive motion alerts and view a live feed.
Key Takeaways
- Turning off your Nooie Cam 360 is a simple process that can be done through the Nooie app.
- If you want to continue monitoring your home or office, consider using the “Privacy Mode” feature instead of turning off the camera completely.
- If you need further assistance with your Nooie Cam 360, reach out to their customer support team for help.
Getting Started with Your Nooie Cam 360

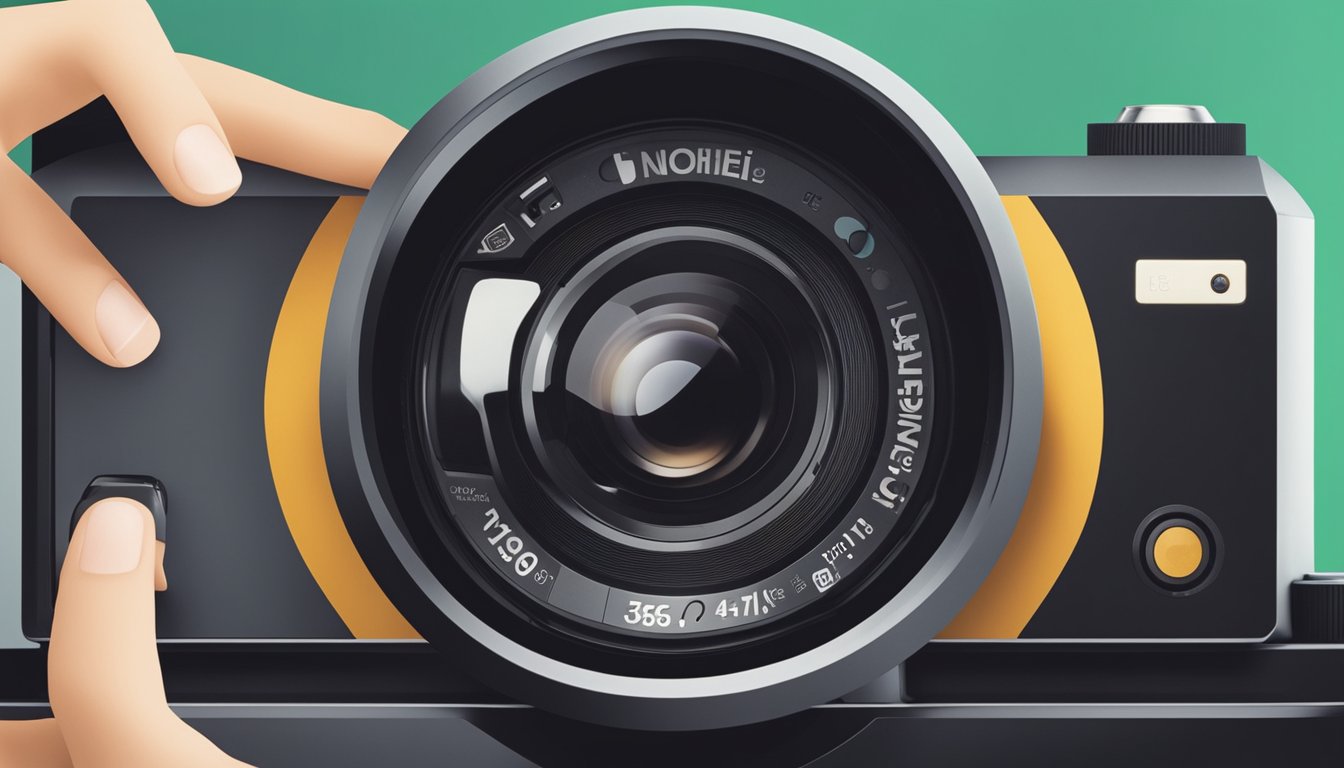
Unboxing and Understanding What’s in the Box
Congratulations on your new Nooie Cam 360! Before you start using it, let’s unbox it and see what’s inside. Here’s what you should find in the box:
- Nooie Cam 360
- Power adapter
- Quick start guide
- Mounting bracket and screws
Make sure you have all of these items before you begin setting up your camera.
Setting Up the Nooie App on Your Device
To use your Nooie Cam 360, you’ll need to download the Nooie app on your device. Here’s how to do it:
- Go to the App Store or Google Play Store on your device.
- Search for “Nooie” in the search bar.
- Download and install the app.
Once you’ve downloaded the app, open it and create an account.
Creating Your Nooie Account
To create your Nooie account, follow these steps:
- Open the Nooie app on your device.
- Click “Sign Up” at the bottom of the screen.
- Enter your email address and choose a password.
- Click “Sign Up” again.
Congratulations! You’ve now created your Nooie account and can start using your Nooie Cam 360.
Now that you have your Nooie Cam 360 and your Nooie app set up, you’re ready to start using your camera. If you ever need help, you can refer to the quick start guide that came with your camera or visit the Nooie website for user manuals and FAQs.
Connecting Your Camera to Wi-Fi
https://www.youtube.com/watch?v=l6JV9dRKx7w&embed=true
« Best Way to Hold 360 Camera: Tips and Tricks for Steady Shots
How to Turn Off Mi 360 Camera: Quick and Easy Steps »
Connecting your Nooie 360 camera to Wi-Fi is a crucial step in setting up your camera. Without a network connection, you won’t be able to access and control your camera remotely. Here are the steps to connect your camera to Wi-Fi:


Ensuring Network Compatibility
Before connecting your camera to Wi-Fi, it’s important to ensure that your network is compatible with the camera. The Nooie 360 camera supports 2.4 GHz Wi-Fi networks only. If your network is a 5 GHz network, you won’t be able to connect your camera to it.
Troubleshooting Wi-Fi Connection Issues
If you’re having trouble connecting your camera to Wi-Fi, here are a few things you can try:
- Make sure your camera is close to your Wi-Fi router. The farther away your camera is from the router, the weaker the signal will be.
- Check that your Wi-Fi password is correct. If you’ve entered the wrong password, your camera won’t be able to connect to the network.
- Restart your router. Sometimes, routers can experience connectivity issues that can prevent devices from connecting to the network.
- Reset your camera. If all else fails, you can try resetting your camera to its default settings. This will erase all of your camera’s settings and restore it to its original state.
By following these steps, you should be able to connect your Nooie 360 camera to your Wi-Fi network, and start using it to monitor your home or office.
Mounting and Positioning Your Nooie 360 Cam

When it comes to mounting and positioning your Nooie 360 Cam, there are a few things to keep in mind to ensure the best possible performance. Here are some tips to help you choose the perfect spot for installation and to guide you through the wall mount installation process.


Choosing the Perfect Spot for Installation
Before you start installing your Nooie 360 Cam, it’s important to choose the perfect spot for installation. Here are some things to consider:
- Vertical and Horizontal Rotation: Keep in mind that the Nooie 360 Cam can rotate both vertically and horizontally, so make sure you choose a spot that provides a clear view of the area you want to monitor.
- Wall Mounting: The Nooie 360 Cam is designed to be wall-mounted, so choose a spot that allows for easy installation and access to power.
- Avoid Obstructions: Make sure there are no obstructions in the way that could block the camera’s view, such as furniture, plants, or other objects.
Wall Mount Installation Guide
Once you’ve chosen the perfect spot for your Nooie 360 Cam, it’s time to install it. Follow these steps to install your Nooie 360 Cam:
- Choose the Right Wall: Choose a wall that is sturdy enough to support the weight of the camera and that provides a clear view of the area you want to monitor.
- Mark the Spot: Use a pencil to mark the spot where you want to install the camera.
- Drill Holes: Use a drill to create two holes in the wall where you marked the spot.
- Attach the Mounting Plate: Attach the mounting plate to the wall using the screws provided.
- Attach the Camera: Attach the Nooie 360 Cam to the mounting plate by sliding it into place and tightening the screws.
- Connect to Power: Finally, connect the camera to power using the power cable provided.
By following these simple steps, you can mount and position your Nooie 360 Cam for the best possible performance and monitoring experience.
Configuring Camera Settings

To ensure that your Nooie 360 camera is functioning optimally, it’s important to configure its settings. Here are some tips to help you adjust your camera settings:
Adjusting Motion and Sound Detection Sensitivity
Your Nooie 360 camera comes with motion and sound detection features that can be adjusted to suit your needs. To adjust the sensitivity of these features, follow these steps:
- Open the Nooie app and select your camera.
- Tap on “Settings” and then “Alarm Settings”.
- Adjust the sensitivity of the motion and sound detection features using the slider bars.
Keep in mind that setting the sensitivity too high may result in false alarms, while setting it too low may cause the camera to miss important events.
Setting Up Night Vision and 1080p HD Recording
Your Nooie 360 camera is equipped with night vision and 1080p HD recording capabilities, which can be enabled and adjusted as needed. To set up these features, follow these steps:
- Open the Nooie app and select your camera.
- Tap on “Settings” and then “Video Settings”.
- Enable night vision by toggling the switch next to “Night Vision” to the on position.
- Adjust the resolution of the camera by selecting “1080p HD” from the “Resolution” options.
Keep in mind that enabling these features may impact the camera’s battery life and data usage. You may want to adjust these settings based on your specific needs.
By following these tips, you can ensure that your Nooie 360 camera is set up to meet your specific needs.
Managing Your Nooie Cam 360

If you’re looking to turn off your Nooie Cam 360, you can do so easily through the Nooie App. Here’s how:
Adding and Removing Cameras from Your Nooie App
To add your Nooie Cam 360 to the Nooie App, follow these steps:
- Download the Nooie App and create an account.
- Tap on “Add Device” and choose Nooie 360 Cam.
- Follow the instructions in the App and connect the device to the internet.
Once your Nooie Cam 360 is connected to the Nooie App, you can easily turn it off by selecting the camera from your device list and tapping on the power button.
If you want to remove a camera from the Nooie App, follow these steps:
- Tap on the camera you want to remove.
- Tap on the settings icon in the top right corner.
- Tap on “Delete Device” at the bottom of the screen.
Updating Camera Firmware
It’s important to keep your Nooie Cam 360’s firmware up to date to ensure that it’s functioning properly. To update your camera’s firmware, follow these steps:
- Open the Nooie App and tap on the camera you want to update.
- Tap on the settings icon in the top right corner.
- Tap on “Device Information” and then “Firmware Upgrade”.
- Follow the instructions in the App to update your camera’s firmware.
By following these simple steps, you can easily manage your Nooie Cam 360 through the Nooie App, adding and removing cameras as needed, and keeping your camera’s firmware up to date.
Utilizing Storage Options

If you want to turn off your Nooie 360 camera, you will need to access the settings in the Nooie app. However, before you do that, you may want to consider your storage options. Nooie cameras come with two storage options: microSD card storage and Nooie cloud storage. Here’s what you need to know about each option:
Setting Up MicroSD Card Storage
If you want to use a microSD card to store your camera’s recordings, you will need to purchase a microSD card separately. Once you have the card, you can insert it into the camera’s microSD card slot. You can then access the camera’s settings in the Nooie app and select “Storage” to choose the microSD card as your storage option.
Keep in mind that the camera will only record to the microSD card if it is inserted and working properly. If the card is full, the camera will stop recording until you delete some of the recordings or replace the card with a new one.
Exploring Nooie Cloud Storage Solutions
If you prefer cloud storage, Nooie offers two cloud storage plans: Basic and Premium. The Basic plan is free and includes 7-day rolling cloud storage for up to 3 cameras. The Premium plan includes 14-day rolling cloud storage for up to 10 cameras and costs $4.99 per month or $49.99 per year.
To set up cloud storage, you will need to sign up for a Nooie account and select your storage plan in the Nooie app. Once you have cloud storage set up, you can access your camera’s recordings from anywhere, as long as you have an internet connection.
Keep in mind that cloud storage requires a stable internet connection and may incur additional fees for data usage. Additionally, if you cancel your cloud storage plan, you will lose access to your recordings unless you have them saved to a microSD card.
Overall, both microSD card storage and Nooie cloud storage are viable options for storing your Nooie 360 camera’s recordings. Consider your needs and preferences when choosing the best storage option for you.
Understanding and Managing Notifications
When you first set up your Nooie 360 camera, you’ll receive notifications by default. These notifications are designed to alert you when the camera detects motion or sound. However, if you find these notifications to be too frequent or distracting, you can customize your notification preferences.

Customizing Notification Preferences
To customize your notification preferences, you’ll need to access the settings in the Nooie App. Here’s how:
- Open the Nooie App and select your 360 camera from the device list.
- Tap the settings icon in the upper right-hand corner.
- Scroll down to the “Notifications” section and tap it.
From here, you can customize your notification preferences in a few different ways:
- Motion Detection: You can turn on or off motion detection notifications. If you turn this off, you won’t receive notifications when the camera detects motion.
- Sound Detection: You can turn on or off sound detection notifications. If you turn this off, you won’t receive notifications when the camera detects sound.
- App Notifications: You can turn on or off app notifications. If you turn this off, you won’t receive notifications from the Nooie App at all.
- Email Notifications: You can turn on or off email notifications. If you turn this off, you won’t receive email notifications from the Nooie App.
By customizing your notification preferences, you can ensure that you only receive the notifications that are most important to you. This can help reduce distractions and make it easier to manage your camera.
Exploring Advanced Features

If you’re comfortable with the basic features of your Nooie 360 Cam, it’s time to explore some of the more advanced features. Here are some features that you might find useful:
Using Two-Way Audio Communication
One of the most useful features of the Nooie 360 Cam is its two-way audio communication. This allows you to communicate with people on the other end of the camera, whether it’s to say hello to a visitor or to warn an intruder that they’re being watched. To use this feature, simply tap on the microphone icon in the Nooie app and speak into your phone’s microphone. Your voice will be transmitted through the camera’s built-in speaker.
Leveraging 360 Cam’s Full Rotation Capabilities
The Nooie 360 Cam is designed to rotate both horizontally and vertically, giving you a full 360-degree view of the room. To take full advantage of this feature, use the joystick in the Nooie app to control the camera’s rotation. You can also set up automatic rotation schedules in the app to ensure that the camera is always pointing in the right direction.
When using the rotation feature, keep in mind that the camera’s rotation is limited to a certain degree. If you try to rotate the camera beyond its limits, it may become damaged or stop working altogether.
Overall, the Nooie 360 Cam is a versatile and powerful security camera that can help keep your home safe and secure. By taking advantage of its advanced features, you can get even more out of this powerful device.
Troubleshooting Common Issues
https://www.youtube.com/watch?v=KZhHp2EijJI&embed=true
If you are facing issues with your Nooie 360 camera, don’t worry, you are not alone. Here are some common issues and their solutions:
Resetting Your Nooie 360 Camera
If your camera is not responding or is behaving erratically, resetting it may help. Here’s how to reset your Nooie 360 camera:
- Press and hold the reset button on the bottom of the camera for 10 seconds.
- Release the button when the LED light on the front of the camera turns off and then turns back on.
Your camera is now reset. You will need to set it up again using the Nooie app.
Resolving Login and Connectivity Problems
If you are having trouble logging in or connecting to your Nooie 360 camera, here are some things you can try:
- Make sure your camera is connected to a stable Wi-Fi network.
- Check that your smartphone or tablet is connected to the same Wi-Fi network as your camera.
- Confirm that your Nooie account username and password are correct. If you have forgotten your password, you can reset it by clicking on “Forgot Password?” on the login screen in the Nooie app.
- If you are still having trouble connecting to your camera, try rebooting your router and waiting a few minutes before trying again.
If none of the above solutions work, you can contact Nooie support for further assistance.
Remember, if you ever need to reset your Nooie 360 camera or troubleshoot any issues, the Nooie app has a comprehensive FAQ section and user manuals that can help you.
Customer Support and Warranty

If you encounter any issues with your Nooie 360 camera, don’t hesitate to contact Nooie’s customer service. They are available to help you resolve any problems you may be experiencing. Here’s how to get in touch with them:
Contacting Nooie Customer Service
You can reach Nooie’s customer service team via email at [email protected]. They are available to answer your questions and provide support from Monday to Friday, 9:00 AM to 5:00 PM PST. Alternatively, you can fill out the contact form on their website at nooie.com/pages/contactus.
When contacting customer service, be sure to provide them with as much information as possible about the issue you’re experiencing with your Nooie 360 camera. This will help them diagnose the problem more quickly and provide you with a solution.
Understanding Your Camera’s Limited Warranty
Your Nooie 360 camera comes with a limited warranty that covers any defects in materials or workmanship for a period of one year from the date of purchase. The warranty does not cover damage caused by misuse, abuse, or improper installation.
If you need to make a warranty claim, contact Nooie’s customer service team at [email protected]. They will provide you with instructions on how to return the defective product and receive a replacement.
It’s important to note that the warranty is only valid for the original purchaser of the product and is not transferable. Additionally, any repairs or modifications made to the product by unauthorized parties will void the warranty.
In conclusion, Nooie’s customer service team is available to help you with any issues you may be experiencing with your Nooie 360 camera. If you need to make a warranty claim, be sure to contact them as soon as possible.
Frequently Asked Questions
What steps are involved in setting up my Nooie Cam 360?
Setting up your Nooie Cam 360 is easy and straightforward. First, connect the camera to a power outlet and wait for 15 seconds until the red status light flashes. Next, download the Nooie App and create an account. After that, click on “Add Camera” on the front page of the app and follow the instructions until you hear the sound prompt. For a detailed step-by-step guide, please refer to the Nooie Cam 360 User Manual.
Why isn’t my Nooie Cam 360 scanning the QR code during setup?
If your Nooie Cam 360 is not scanning the QR code during setup, make sure that the camera lens is clean and free of any dirt or debris. Also, ensure that the QR code is properly aligned with the camera lens. If the issue persists, try resetting the camera and starting the setup process again. For more troubleshooting tips, please refer to the Nooie Cam 360 User Manual.
How can I resolve connectivity issues with my Nooie Cam 360 to WiFi?
If you are experiencing connectivity issues with your Nooie Cam 360, make sure that the camera is within range of your WiFi network and that the WiFi signal strength is strong enough. Also, ensure that your WiFi network is using a 2.4GHz frequency band, as the Nooie Cam 360 does not support 5GHz networks. If the issue persists, try resetting the camera and connecting it to your WiFi network again. For more troubleshooting tips, please refer to the Nooie Cam 360 User Manual.
What should I do if my Nooie camera starts making unexpected noises?
If your Nooie camera starts making unexpected noises, check to see if the camera lens is clean and free of any dirt or debris. Also, ensure that the camera is not placed near any heat sources or appliances that emit heat. If the issue persists, try resetting the camera and checking the Nooie App for any firmware updates. For more troubleshooting tips, please refer to the Nooie Cam 360 User Manual.
How do I deactivate motion detection on my Nooie Cam 360?
To deactivate motion detection on your Nooie Cam 360, open the Nooie App and go to the camera settings. From there, click on “Motion Detection” and toggle the switch to the off position. For more information on how to adjust motion detection settings on your Nooie Cam 360, please refer to the Nooie Cam 360 User Manual.
Where can I find the reset button on my Nooie 360 camera?
The reset button on your Nooie 360 camera is located on the bottom of the camera. To reset the camera, use a small pointed object to press and hold the reset button for 5 seconds until the status light flashes. For more information on how to reset your Nooie Cam 360, please refer to the Nooie Cam 360 User Manual.