Key Takeaways
- Drone 360 cameras offer unique spherical footage that captures immersive aerial perspectives, providing unmatched creative flexibility for storytelling.
- Key features like stabilization, resolution, and stitching quality are essential for smooth, high-quality visuals, even in challenging conditions.
- Thorough pre-flight preparations, including equipment checks and location scouting, are crucial for safe and efficient shooting.
- Mastering camera angles, natural lighting, and smooth movements enhances the cinematic quality of drone 360 footage.
- Post-processing with specialized software refines raw footage, improving image quality and creating professional results.
- Avoid common mistakes, like neglecting battery life or ignoring weather conditions, to ensure smooth and successful aerial shoots.
Capturing stunning aerial shots with a drone 360 camera isn’t just about flying high—it’s about mastering the techniques that bring your vision to life. These cameras open up endless creative possibilities, but without the right approach, your footage might fall flat.
I’ve learned that understanding angles, lighting, and smooth movements can transform an average shot into a breathtaking one. Whether you’re a pro or just starting out, following best practices ensures your aerial photography stands out. Let’s dive into the essentials to elevate your drone 360 shots to the next level.
Understanding Drone 360 Cameras
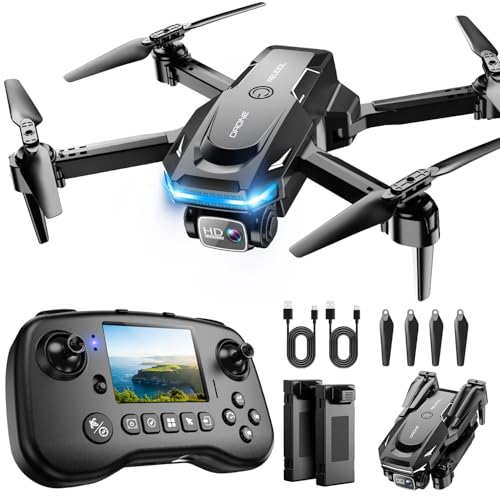
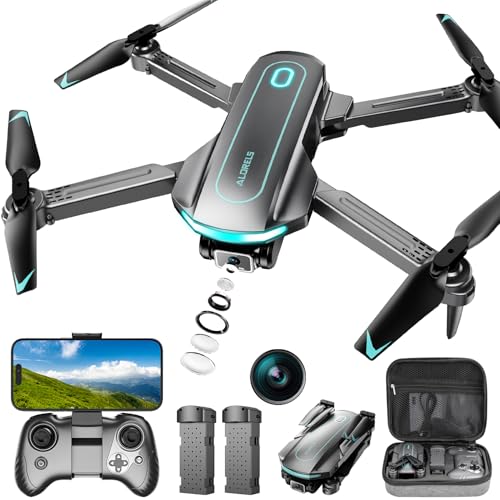
Drone 360 cameras transform how creators capture immersive aerial perspectives. Their unique ability to record spherical footage sets them apart from standard drone cameras.
What Makes Drone 360 Cameras Unique?
Drone 360 cameras capture everything around them simultaneously. Unlike traditional cameras, which require multiple angles to tell a full story, these devices provide an all-encompassing view. This spherical recording eliminates blind spots and allows dynamic reframing during post-production, offering unmatched creative flexibility.
Their compact design integrates seamlessly with drones, maintaining balance and stability during flights. Some models, like the Insta360 Sphere, can record up to 5.7K resolution footage, ensuring sharp visuals. This combination of aerial movement and complete scene coverage enhances storytelling opportunities for virtual tours, documentaries, and creative films.
Key Features to Look For
- Stabilization Technology: Advanced stabilization ensures smooth footage even in windy conditions. Optical flow stitching and algorithms, like those in products from Insta360 and Ricoh, reduce shakiness during high-speed flights.
- Image Resolution and Frame Rates: High-quality resolution, such as 5.7K or 8K, provides clear, detailed visuals. Faster frame rates, like 60fps, are essential for cinematic slow-motion effects.
- Stitching Quality: Internal stitching software combines footage from multiple lenses seamlessly. Poor stitching can affect the viewer’s immersion, so precise stitching is critical for effective 360-degree visuals.
- Field of View: An expansive field of view helps capture more detail above and below the drone. Look for cameras with lenses offering 200° or wider to avoid stitching gaps.
- Battery Life and Durability: Long flight times require dependable battery performance. Rugged builds withstand harsher conditions, a feature essential for outdoor videographers.
- Editing Options: Compatibility with post-production software, along with features like reframing and AI subject tracking, expands creative possibilities. Connecting with apps for real-time edits, such as Insta360 Studio, provides added convenience.
Essential Preparations for Aerial Shooting
Capturing breathtaking aerial footage with a drone 360 camera requires thorough preparation. Small details, from equipment checks to location choices, directly impact the quality of shots and overall experience.
Pre-Flight Checklist
Verified equipment helps avoid mid-air mishaps. I inspect the drone for damage, ensure propellers are securely attached, and confirm battery levels are sufficient for the planned shoot duration. Updating drone and camera firmware ensures access to the latest features and stability improvements.
Setting the camera parameters in advance eliminates the risk of rushed adjustments mid-flight. I typically configure photo or video resolution, frame rate, and exposure settings based on the time of day and lighting conditions. Adjusting manual settings like ISO, aperture, or shutter speed is vital for shots in changing light environments.
Checking no-fly zones prevents legal or safety issues. Apps like DJI Fly or AirMap provide real-time airspace information. Once airspace clearance is confirmed, I calibrate the drone’s compass and test GPS connectivity to avoid control loss while hovering or traveling. A quick pre-flight inspection guarantees seamless execution when airborne.


Choosing the Right Location
« The Rise of 360 Cameras in the Digital Age: How They’re Revolutionizing Content Creation
What Makes 360 Cameras Different from Traditional Cameras? Discover the Game-Changing Features »
The location shapes the results. Open areas with minimal interference from trees, buildings, or power lines offer smooth navigation and uninterrupted views. Nature reserves, coastal cliffs, and urban rooftops provide diverse backdrops for unique 360 perspectives.
Golden hours—early mornings or late evenings—are perfect for softer natural light without harsh shadows. Overcast conditions diffuse sunlight evenly, making colors and details pop. I always consider shooting at higher altitudes for wider landscapes, adjusting the drone’s height to leverage 360 camera advantages like dynamic skyline or ground composition.
Before the shoot, I scout the location or review satellite maps for obstacles like restricted zones, crowded public areas, or sudden elevation changes. Practicing drone maneuvers in a chosen spot sharpens my control, ensuring precision when capturing exciting compositions. Engaging exploration leads to standout visuals.
Techniques for Capturing Stunning Aerial Shots
Capturing stunning aerial shots with a drone 360 camera requires attention to detail and an understanding of photographic and videographic principles. I’ve combined my passion for 360 cameras and years of practical experience to share techniques that elevate aerial photography.
Mastering Camera Angles
Experimenting with dynamic angles enhances the immersive quality of 360 footage. Flying at varying altitudes brings unique perspectives—low altitudes emphasize foreground features like trees or terrain, while higher altitudes highlight expansive landscapes. I often tilt the drone slightly or experiment with orbits around a central object to create engaging spherical compositions. Keeping the horizon centered in the frame can also prevent distortion in post-production. Combining creative angles with intentional movement ensures each shot tells a story.


Leveraging Natural Light
Using natural light intentionally transforms aerial shots. Early mornings and late afternoons, known as golden hours, produce soft, warm light that adds depth and texture to landscapes. I position the drone to take advantage of backlighting or sidelighting for dramatic shadows and highlights. Cloudy days diffuse light evenly, ideal for minimizing harsh contrasts when shooting reflective surfaces like water. I also adjust exposure settings manually to avoid blown-out highlights or underexposed areas, ensuring optimal clarity across the 360 view.
Smooth Movements and Stability
Maintaining smooth drone movements eliminates distractions and keeps viewers immersed. I use gradual pans, slow ascents, or steady orbits instead of abrupt changes in direction. Tracking shots with a consistent pace can elevate the cinematic feel of a sequence. Built-in stabilization features in most drone 360 cameras minimize vibrations, but I also preview footage mid-flight to ensure fluid motion. Flying in calm weather reduces turbulence, and pre-programmed flight paths help achieve consistent, professional-quality results.
Post-Processing Tips for Drone 360 Photos and Videos
Post-processing sets the stage for turning raw drone 360 footage into compelling, professional-quality content. With the right tools and methods, it’s possible to efficiently refine and elevate your results.
Editing Software Recommendations
Selecting the right editing software directly impacts post-production efficiency. My top software picks for processing 360 content include:
- Adobe Premiere Pro: Offers powerful editing tools and compatibility with plug-ins like SkyBox for seamless 360 video workflows.
- Final Cut Pro X: Provides built-in support for 360-degree editing, including tools for reorienting footage and adding effects.
- Insta360 Studio: Ideal for beginners working with Insta360 drone cameras, offering an intuitive interface for stitching, reframing, and basic edits.
- DaVinci Resolve: Combines color grading, visual effects, and 360 video editing features in one robust package.
- Mistika VR: Excellent for advanced stitching, particularly for multicamera setups requiring precise alignment.
I recommend using plug-ins or extensions that enhance 360 features, such as orientation correction, VR-specific transitions, or spatial audio tools, depending on your editing goals.
Enhancing Image Quality
Enhancing image quality maximizes the impact of your drone 360 shots. Key steps include:
- Noise Reduction: Use noise reduction tools like Neat Video or Premiere’s denoise filters to eliminate grain from low-light shots.
- Color Grading: Adjust contrast, saturation, and highlights to make visuals pop. Focus on maintaining natural tones unless a specific stylistic effect is intended.
- Sharpness Adjustments: Apply subtle sharpening to accentuate details while avoiding over-sharpening that could introduce artifacts.
- Stitching Improvements: Refine stitching in software like PTGui or Mistika VR to fix seams and misalignments, especially in overlapping areas.
- Reframing: Experiment with angles and perspectives in post-production to emphasize key parts of your scene or create cinematic shots.
I often rely on LUTs (Lookup Tables) for cinematic grading, especially for landscapes, as they save time while delivering professional results. Always preview your edits in a VR headset if possible to confirm immersive quality.
Common Mistakes to Avoid
Avoiding common mistakes is essential when capturing aerial shots with a drone 360 camera. These errors can compromise the quality of your footage and negatively impact overall results.
Overlooking Battery Life
Monitoring battery life is critical for uninterrupted shooting sessions. Drone 360 cameras consume substantial power, especially when recording high-resolution spherical footage. Always start with fully charged batteries, and carry spares for extended shoots. Overlooking this can result in mid-flight shutdowns, risking both the footage and the drone.
Ignoring Weather Conditions
Paying attention to weather conditions ensures safe and stable flying. Windy or rainy weather can destabilize drones, leading to blurry footage and potential crashes. Check forecasts before flying and avoid shooting in extreme temperatures, as they can affect battery performance and camera functionality.
Conclusion
Mastering drone 360 cameras opens up endless possibilities for creating breathtaking aerial visuals. With the right combination of preparation, technique, and post-production skills, you can transform ordinary footage into immersive masterpieces. By prioritizing careful planning, experimenting with angles, and utilizing advanced editing tools, you’ll unlock the full potential of your drone 360 camera.
Whether you’re capturing cinematic landscapes or crafting engaging virtual tours, the key lies in attention to detail and a commitment to refining your craft. Embrace creativity, stay mindful of best practices, and let your aerial shots elevate your storytelling to new heights.